Sourdough Sandwich Loaf – Master Recipe Page
My kitchen used to be a place of trial and error with bread. Years ago, making a perfect sourdough sandwich loaf seemed like a dream. I had many failed attempts, dense loaves, and lots of frustration.
Now, I’m thrilled to share a beginner sourdough recipe that changed everything. This guide will help you make a soft, tasty sourdough sandwich loaf. It will make your taste buds happy.
If you’re new to baking or want to improve, this page is for you. You’ll learn expert tips and how to make the perfect sourdough sandwich loaf. It’s easy and fun.
Imagine taking a golden, crusty loaf out of the oven. Its tangy smell fills your kitchen, promising amazing sandwiches. That dream is now within reach.
Let’s start this tasty sourdough journey together. We’ll break down hard techniques into easy steps. This will boost your confidence and improve your baking skills.
Table of Contents
Understanding the Basics of Sourdough Baking
Starting your sourdough baking journey is exciting. It turns simple ingredients into amazing bread. You’ll learn about the special process that makes sourdough different from regular bread.
What Makes Sourdough Different from Regular Bread
Sourdough uses natural fermentation, not commercial yeast. This makes it special. The wild yeast and bacteria give it a tangy taste and unique texture. French bread sourdough is a great example, with a richer flavor than regular white bread.
- Natural fermentation creates deeper flavors
- Longer rising time develops better texture
- More digestible than commercial bread
The Science Behind Fermentation
“Fermentation is the heart and soul of sourdough baking” – Professional Bakers
Fermentation breaks down gluten and releases nutrients. This makes sourdough not only tasty but also easier to digest. Your starter is a living mix of microorganisms that turns flour and water into a flavorful bread.
Essential Equipment for Success
Getting ready for your sourdough recipe needs some basic tools. Good equipment helps you get great results every time.
- Large mixing bowl
- Digital kitchen scale
- Proofing basket
- Dutch oven or baking stone
With these tools, you’re set to start your sourdough baking. You’ll make delicious loaves that show off the beauty of natural fermentation.
Creating and Maintaining Your Sourdough Starter
Starting your sourdough journey is exciting. It begins with creating a lively starter. This starter is the core of any sourdough bread recipe, turning simple ingredients into a tasty, tangy loaf. For beginners, knowing how to care for your starter is key to success.
Creating a sourdough starter needs patience and regular care. You only need flour and water. Whole wheat or rye flour is best at first because they have more natural yeasts and bacteria.
- Use a clean glass jar with a loose lid
- Mix equal parts flour and water by weight
- Maintain room temperature around 70-75°F
- Discard and feed your starter daily
Your starter’s health depends on regular feeding. Consistency is key for a strong culture. This will make your sourdough bread recipe stand out.
| Starter Age | Feeding Frequency | Consistency |
|---|---|---|
| 0-7 Days | Daily | Bubbly, mild smell |
| 1-2 Weeks | Twice Daily | Strong, sour aroma |
| 3+ Weeks | Once Daily | Stable, predictable rise |
Look for signs of a healthy starter. It should bubble consistently, have a pleasant sour smell, and rise well after feeding. These signs will help you make the perfect sourdough recipe with confidence.
Essential Ingredients for Perfect Sourdough Sandwich Loaf
Making a tasty sourdough sandwich loaf begins with knowing the key ingredients. These ingredients turn simple parts into a special bread. Start your baking journey by picking top-quality ingredients to improve your baking.
Choosing the Right Flour
Flour is the base of your sourdough sandwich loaf. Experts suggest using:
- Bread flour with 12-14% protein content
- Unbleached all-purpose flour
- Organic wheat flour for better flavor
The protein in flour affects your bread’s texture and structure. More protein means stronger gluten, making your loaf more dense and robust.
Water Temperature and Quality
Water is key in your sourdough recipe. Use water that’s lukewarm, between 70-80°F. Water without chlorine helps yeast grow better, making your loaf ferment well.
Salt and Optional Ingredients
Salt does more than add taste in sourdough baking. It helps control how the dough ferments and makes the gluten stronger. You can also add:
- Seeds (sunflower, pumpkin)
- Herbs (rosemary, thyme)
- Dried fruits
- Nuts
These ingredients let you make your sourdough loaf unique. They turn a basic recipe into something special, just for you.
Step-by-Step Mixing Process
Mixing the perfect sourdough dough is an art. It turns simple ingredients into a tasty french bread sourdough. This process needs patience, skill, and knowing how ingredients work together.
Start by getting your ingredients ready in a clean, big mixing bowl. Your simple sourdough bread recipe needs exact measurements and careful mixing of ingredients.
- Measure flour accurately using a kitchen scale
- Create a well in the center for wet ingredients
- Mix gently to avoid overworking the dough
For a traditional french bread sourdough, use gentle mixing. Begin by mixing your active sourdough starter with water. This makes a smooth liquid base. Then, slowly add flour, letting it soak up the liquid naturally.
“The magic of sourdough is in its simplicity and technique” – Artisan Bakers Guild
Kneading is crucial for developing gluten structure. Instead of kneading, use the stretch-and-fold method. This method builds strength without harming the fermentation process.
- Wet your hands to prevent sticking
- Grab one side of the dough
- Stretch upward and fold over the center
- Rotate the bowl and repeat 4-6 times
Your aim is a smooth, elastic dough with even texture. Look for signs of right hydration. The dough should feel slightly tacky but not too wet.
Mastering the Autolyse and Bulk Fermentation
To make the perfect sourdough sandwich loaf, you need to know about autolyse and bulk fermentation. These steps turn a simple recipe into a bread with deep flavors and the right texture.
The autolyse process is a big help for home bakers. It involves mixing flour and water and letting them rest. This lets gluten develop naturally, making the dough easier to work with.
Understanding Dough Temperature
Temperature is key for fermentation. The best dough temperature is between 75-80°F. This warmth helps wild yeast and bacteria grow well.
- Use a digital thermometer to check dough temperature
- Adjust room temperature or water temperature as needed
- Maintain consistent warmth during bulk fermentation
Reading Fermentation Signs
Good fermentation turns your sourdough recipe into something special. Look for these signs:
| Fermentation Stage | Visual Indicators |
|---|---|
| Early Stage | Slight bubbling, mild increase in volume |
| Mid Stage | Significant bubbles, noticeable rise |
| Advanced Stage | Doubled volume, jiggly surface |
Timing Your Bulk Rise
Bulk fermentation usually takes 4-6 hours. Patience is key – rushing can hurt your loaf’s texture and taste.
- Watch for volume increase
- Check for bubbles throughout dough
- Perform gentle stretch and fold tests
Shaping Your Sourdough Sandwich Loaf
Mastering the art of shaping is key to a perfect sourdough loaf. Your techniques shape the loaf’s structure and texture. The right method turns a wet, sticky dough into a beautiful loaf.
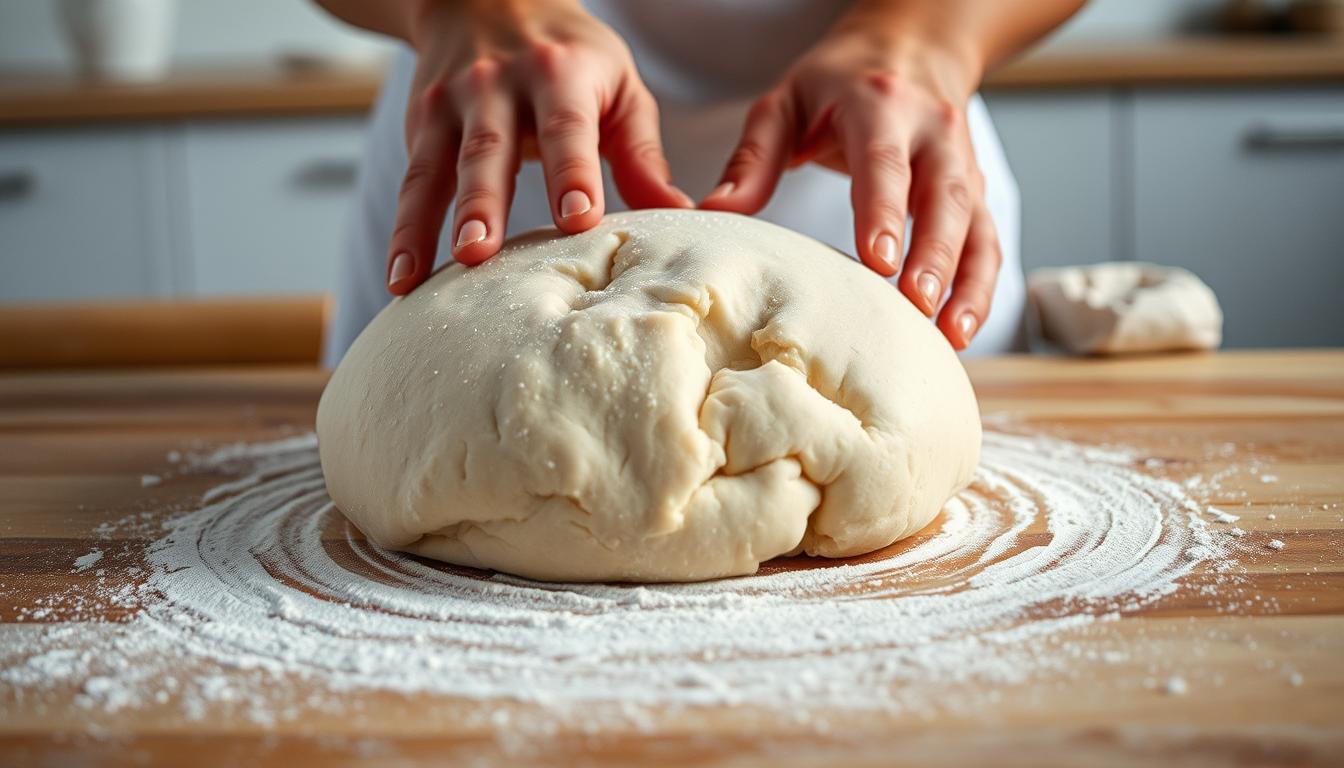
Start with a clean, lightly floured surface. You aim to create tension that keeps the loaf’s shape during proofing and baking.
- Gently stretch the dough into a rectangular shape
- Fold the edges towards the center
- Roll the dough into a tight cylinder
- Pinch the seam to seal
For a classic sandwich loaf, use a bread pan. French bread sourdough, however, needs a longer, narrower shape.
| Shaping Technique | Best Used For | Key Characteristic |
|---|---|---|
| Batard | Sandwich Loaf | Rounded ends, medium length |
| Baguette | French Bread | Long, thin shape |
| Boule | Round Loaf | Circular, high rise |
Practice makes perfect in sourdough shaping. Each try will make your loaves more consistent and tasty.
Proofing Techniques for Perfect Rise
Getting the perfect rise is key for a great sourdough sandwich loaf. Your simple sourdough bread recipe needs the right proofing. This stage turns your dough into a light, airy delight.
Proofing is more than just waiting for the dough to rise. It’s about finding the right mix of time, temperature, and fermentation. This brings your sourdough sandwich loaf to life.
Room Temperature Proofing: The Traditional Approach
Room temperature proofing is easy for home bakers. Your dough grows flavor and structure at a steady pace, usually in 3-4 hours. Here are some tips:
- Keep the room temperature between 70-75°F
- Watch for dough expansion
- Look for gentle bubbles and more volume
Cold Proofing: Slow and Flavorful
Cold proofing makes your sourdough bread even tastier. By chilling the dough, fermentation slows down. This brings out deeper flavors.
- Refrigerate the dough for 12-24 hours
- Expect a tangier taste
- It’s great for flexible baking times
Signs of Proper Proofing
Knowing when your sourdough is ready takes time. Look for these signs:
- Gentle Indentation Test: Press the dough lightly. It should spring back slowly
- See air bubbles near the top
- The dough should have grown by 50-75%
Mastering proofing takes patience and practice. Each loaf teaches you something new on your sourdough journey.
Baking Methods and Temperature Control
Mastering the baking process is key for a great sourdough recipe. Temperature control is vital for the perfect crust and crumb. This is true for your french bread sourdough.
Different baking methods can change your sourdough’s texture and taste. Professional bakers suggest several techniques for the best results:
- Preheating your baking vessel for even heat
- Using a Dutch oven for moisture
- Keeping oven temperatures at 425-450°F
- Creating steam in the first baking phase
For a crispy french bread sourdough, high initial heat is important. The first 15 minutes of baking are most critical for developing a beautiful golden crust. Start with a covered Dutch oven to trap steam, which helps create that signature crisp exterior.
Understanding these temperature nuances will help your beginner sourdough recipe. Professional bakers suggest using an oven thermometer for precise heat management.
“The secret to perfect sourdough is patience and precise temperature control.” – Artisan Baker’s Wisdom
Try different baking surfaces like baking stones or cast-iron skillets. Each method has its own benefits for creating the perfect sourdough bread.
Troubleshooting Common Issues
Baking the perfect simple sourdough recipe can be tough. Even skilled bakers face challenges making a sourdough sandwich loaf. Knowing common problems and their fixes can help you make delicious bread every time.
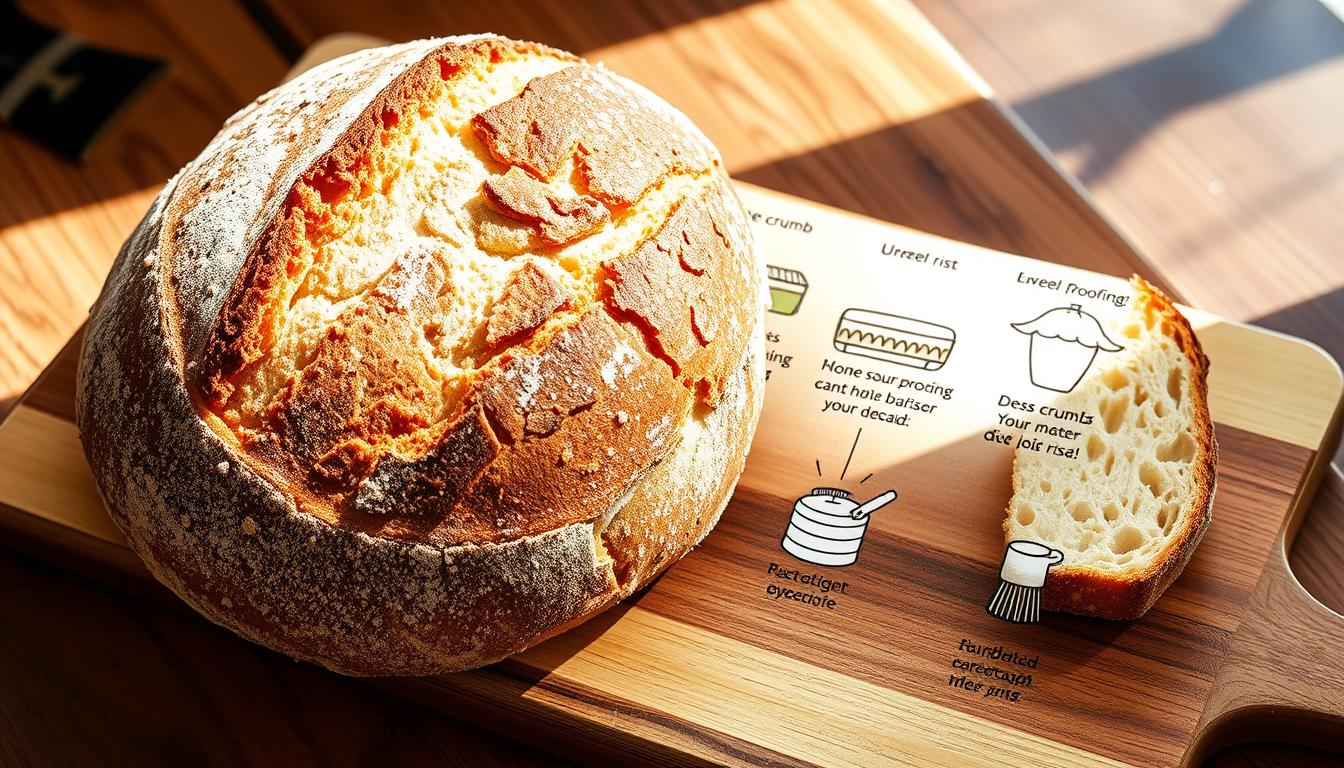
Sourdough baking needs patience and practice. Let’s look at some common issues you might run into.
Dealing with Dense Loaves
Dense sourdough sandwich loaves can come from a few main reasons:
- Weak starter activity
- Insufficient fermentation time
- Overworking the dough
- Incorrect hydration levels
To fix dense texture, make sure your starter is active and bubbly before mixing. Give it enough time to ferment properly. Also, handle the dough gently when shaping.
Fixing Uneven Rises
Uneven rises can mess up your sourdough’s structure. Look at these possible causes:
- Inconsistent room temperature
- Uneven starter distribution
- Improper dough shaping
- Drafty proofing environment
Make sure your proofing area is stable. Also, mix your starter well into the dough.
Preventing Gummy Texture
A gummy sourdough sandwich loaf is a problem. Here are some ways to avoid it:
- Bake at the right temperature
- Ensure complete fermentation
- Allow enough cooling time
- Use an accurate instant-read thermometer
For a perfect crumb, aim for an internal bread temperature of 208-210°F. This helps get rid of excess moisture.
Storage and Serving Suggestions
Keeping your sourdough bread fresh is key. It’s best when stored right, so you can savor every bite of your homemade french bread sourdough.
Here are some tips to keep your bread fresh longer:
- Store it at room temperature in a bread box or paper bag
- Stay away from plastic bags, as they can make bread soggy
- Place the bread cut-side down on a cutting board to keep it dry
If you want to freeze your sourdough, here’s how:
Wrap the loaf tightly in plastic wrap and then in aluminum foil. To thaw, let it sit at room temperature. Then, warm it up in the oven to get that crispy crust back.
Want to make day-old bread taste fresh again? Just sprinkle it with water and reheat it in a 350°F oven for 5-10 minutes. This trick adds back moisture and texture.
Here are some ways to use your sourdough:
- Make gourmet toast with avocado or ricotta
- Create croutons for salads
- Use stale bread for breadcrumbs or French toast
By using these storage and serving tips, you’ll enjoy your homemade sourdough even more. Each slice will be as tasty as when it first came out of the oven.
Alternative Flour Combinations
Exploring new flours can make your sourdough recipe exciting. Each flour adds its own taste, texture, and nutrients. This makes every loaf a special treat.
It’s important to know how different flours work. Some absorb more moisture, so you might need to adjust the water. Finding the right mix can turn your sourdough into something truly special.
Whole Wheat Exploration
Whole wheat flour boosts your sourdough’s nutrition and flavor. Try a mix that includes:
- 70% bread flour
- 30% whole wheat flour
- 5-10% more water
Specialty Grain Blends
Specialty grains can add amazing flavors to your sourdough. Here are some interesting choices:
- Rye flour: Gives a tangy taste and better fermentation
- Spelt flour: Adds a nutty flavor
- Einkorn flour: Brings a rich, ancient grain taste
Your sourdough recipe can be a creative space. Each flour adds its own twist, turning a simple recipe into a work of art.
Conclusion
Making the perfect sourdough sandwich loaf is an art. It mixes science, patience, and creativity. You’ve learned the basics of this simple sourdough bread recipe. Now, you can turn simple ingredients into a delicious homemade bread.
Every step you’ve taken is important. From caring for your starter to mastering baking, it’s all part of your sourdough journey. The sourdough sandwich loaf you make is a sign of your hard work and growing skills in traditional baking.
Remember, each loaf is a chance to learn. Your skills will get better with each try. So, keep practicing and don’t get discouraged by early setbacks. With time, you’ll understand dough, shaping, and baking better than any recipe can teach.
Keep exploring sourdough baking and try new things. Your sourdough sandwich loaf will show off your creativity and baking style. It will be a reflection of your passion for baking.
FAQ
How long does it take to make a sourdough sandwich loaf?
A sourdough sandwich loaf takes 24-36 hours to make. This includes starter prep, mixing, fermentation, proofing, and baking. Most time is spent on fermentation and resting.
Can I make sourdough bread if I’m a complete beginner?
Yes, you can make sourdough bread even if you’re new to it. It takes patience and practice. Start with a simple recipe and don’t worry if your first loaves aren’t perfect. Each try will improve your skills.
Do I need special equipment to make sourdough bread?
You’ll need basic items like a large bowl, kitchen scale, Dutch oven or stone, and proofing basket. A digital scale is key for accurate measurements. Most home bakers already have these items.
How do I know if my sourdough starter is ready to use?
A ready starter doubles or triples in 4-8 hours after feeding. It smells pleasant and has lots of bubbles. If it floats in water, it’s active and ready.
What type of flour works best for sourdough bread?
Bread flour with 12-14% protein is best for sourdough. You can also try whole wheat or mix flours for different tastes. King Arthur and Bob’s Red Mill are great brands.
How can I store my sourdough bread?
Keep sourdough at room temperature in a paper bag or bread box for 2-3 days. For longer storage, freeze in an airtight bag for up to 3 months. Cool the bread completely before storing to avoid moisture.
Why is my sourdough bread dense and heavy?
Dense bread can come from several issues. These include under-proofed dough, inactive starter, wrong hydration, or not enough gluten. Make sure your starter is active, do enough stretch and folds, and let it ferment well for a lighter crumb.
Can I make a sourdough starter from scratch?
Yes, you can make a starter from flour and water. It takes 5-7 days of regular feeding. Use equal parts flour and water and keep it at room temperature.
How often should I feed my sourdough starter?
Feed your starter daily if it’s at room temperature. Once a week if it’s in the fridge. Before baking, feed it 1-2 times to make sure it’s active.
Is sourdough bread healthier than regular bread?
Sourdough can be more digestible and nutritious. The long fermentation breaks down gluten and makes nutrients easier to absorb. But, it’s still bread, so eat it in moderation.

