Perfect Sourdough Sandwich Bread Recipe – Soft & Fluffy Every Time!
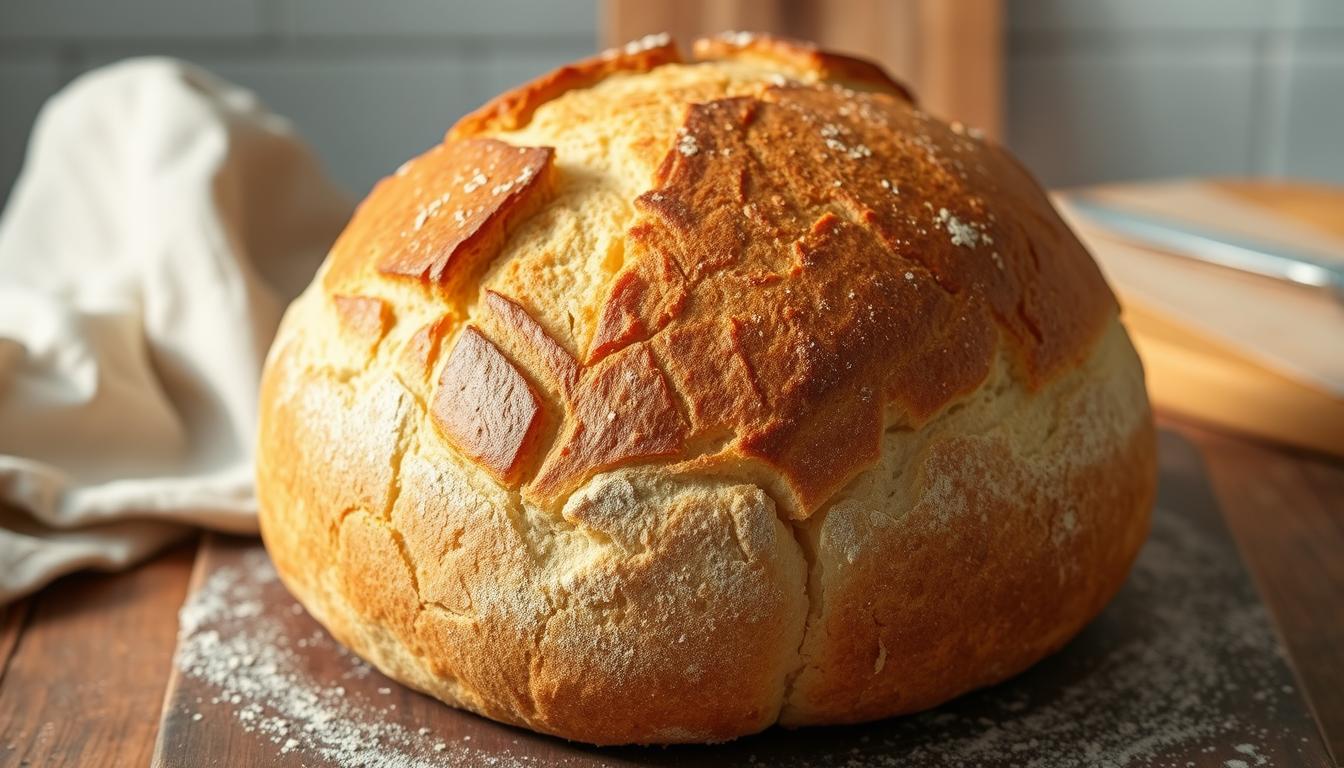
Imagine slicing into a freshly baked loaf of homemade sourdough bread. The aroma fills your kitchen. The taste takes you to a world of artisanal baking. This guide will teach you how to make your own sourdough sandwich bread at home.
Our step-by-step video tutorial will guide you through the process. It’s easy to get professional results. Whether you’re experienced or new, you’ll find this guide clear and detailed.
By following this guide, you’ll make bread with a crusty outside and soft inside. It’s like artisan sourdough bread. Get ready to improve your baking and enjoy the rich flavors of homemade bread.
Table of Contents
The Magic of Sourdough Sandwich Bread
Explore the world of sourdough sandwich bread. Every bite shows the magic of natural fermentation. It’s an art that blends tradition with modern touches, loved by many.
What Makes Sourdough Special
Sourdough bread is special because of the sourdough starter. This starter is a mix of wild yeast and bacteria. It gives sourdough its rise, tang, and deep flavor.
Benefits of Homemade vs. Store-Bought
Homemade sourdough sandwich bread has many benefits. It’s fresher and has no preservatives. You can also choose what goes into it, making it healthier and more to your liking. By using the best sourdough bread recipe, you get a loaf that’s full of flavor and good for you.
- Control over ingredients and their quality
- Absence of commercial preservatives and additives
- Enhanced nutritional value due to the fermentation process
- Customizable flavors to suit any taste
Essential Ingredients for Perfect Sourdough Sandwich Bread
The key to a tasty sourdough sandwich bread is its ingredients. You need to pick the right parts to make it flavorful and textured.
Flour Options and Recommendations
The flour you pick shapes your sourdough’s taste. Bread flour is best for sourdough because it has lots of protein. This helps the bread get a strong gluten structure.
You can also try whole wheat or ancient grain flours. They add more flavor and nutrients. Think about the protein and wheat type to change the bread’s texture and taste.
Other Key Ingredients
Flour isn’t the only thing you need. You also need water, salt, and a sourdough starter. Water makes the dough wet, salt adds flavor and controls yeast, and the starter makes the bread rise and tangy.
Using fresh, good-quality ingredients makes your bread better.
Optional Add-ins for Flavor
For more flavor, add caraway seeds, parmesan cheese, or herbs like rosemary or thyme. These can make the bread smell and taste better. Try different mixes to find what you like best.
Tools and Equipment You’ll Need
Before you start mixing your sourdough, you need the right tools. Making sourdough bread baking successful begins with the basics.
Basic Equipment List
You’ll need a few key items to begin. A large mixing bowl, a spatula, and a loaf pan are must-haves. A digital scale is also important for precise ingredient measurements. This is key for the right homemade sourdough bread consistency.
Nice-to-Have Tools
Some tools are nice but not necessary. A Dutch oven helps create a steamy environment for baking. This improves your bread’s crust, making it more artisanal. Other helpful tools include a dough scraper and a proofing basket for easier dough handling and shaping.
Understanding Your Sourdough Starter
The journey to baking perfect sourdough bread starts with knowing your starter. It’s a mix of wild yeast and bacteria that makes your bread special. To get the best sourdough bread recipe, you need a healthy starter.
Keeping your starter alive means feeding it often and watching how it acts. A good starter is bubbly, frothy, and smells tangy. Knowing when your starter is ready and how to keep it happy is key.
How to Tell When Your Starter is Ready
A sourdough starter is ready when it’s active and bubbly. Check its size and activity after feeding. Look for these signs:
- It doubles in size in 4-6 hours after feeding.
- It’s full of bubbles and feels frothy.
- It smells tangy and slightly sour.
When your starter shows these signs, it’s time to use it in your sourdough bread.
Feeding Schedule for Optimal Results
To keep your starter healthy, feed it often. How often depends on your starter’s environment.
| Environment | Feeding Frequency |
|---|---|
| Room Temperature (around 70°F-75°F) | Once a day |
| Cooler Environment (around 65°F) | Once every 24-48 hours |
Stick to this feeding schedule to keep your starter active. This is important for the best sourdough bread.
Step-by-Step Sourdough Sandwich Bread Recipe
Now that your sourdough starter is ready, it’s time to bake. This guide will help you make the perfect sourdough sandwich bread.
Ingredient Measurements and Ratios
First, measure your ingredients carefully. For a basic sourdough sandwich bread, you’ll need:
| Ingredient | Quantity | Ratio |
|---|---|---|
| Bread Flour | 500g | 100% |
| Water | 350g | 70% |
| Sourdough Starter | 150g | 30% |
| Salt | 10g | 2% |
These amounts are key for the right texture and taste in your bread.
Mixing the Dough
Start by mixing the sourdough starter and water in a big bowl. Mix until the starter is fully dissolved. Then, add the bread flour and mix until just combined. This first mix is called autolyse and is important for the dough’s structure.
Initial Rest Period
Let the dough rest for 20-30 minutes after mixing. This autolyse time helps the flour soak up the water. After, add salt and knead the dough.
Mastering the Stretch and Fold Technique
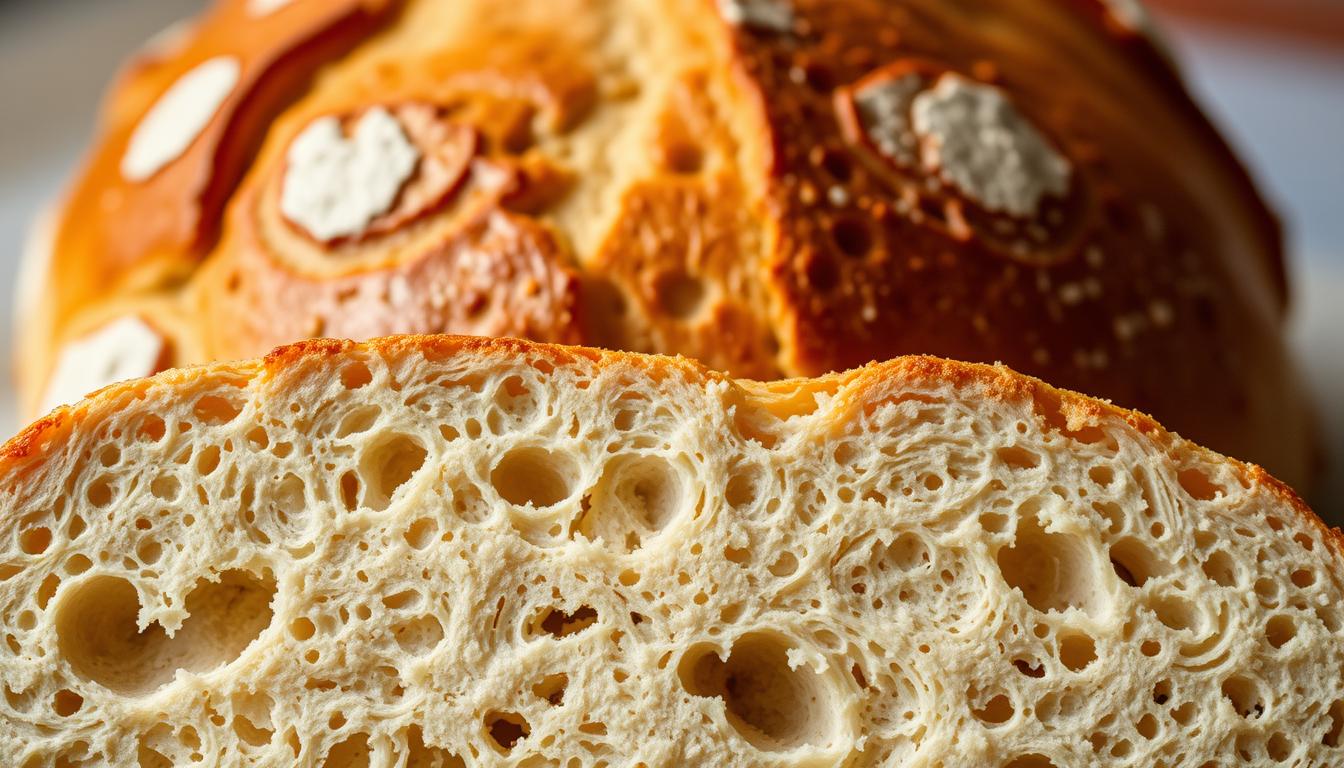
Building dough structure is vital for artisan sourdough bread. The stretch and fold technique is key. It involves stretching and folding the dough to strengthen its gluten network.
Proper Hand Positioning
To do the stretch and fold right, proper hand positioning is key. Wet your hands to avoid sticking. Then, grasp the dough from below and stretch it out.
Fold the dough over itself, turning the bowl as you fold. This keeps the tension even.
Timing Between Folds
The timing between folds is very important. Do a stretch and fold every 30 minutes. Do this 4-6 times during bulk fermentation.
This helps build dough strength without over-working. It leads to better flavor and texture in your sourdough bread.
Bulk Fermentation: The Key to Flavor Development
Bulk fermentation is a key step in making sourdough bread. It affects the bread’s taste and texture. During this time, the dough goes through complex reactions that make it special.
Temperature Considerations
The dough’s temperature is very important. It should be between 75°F to 78°F (24°C to 25°C) for the best results. If it’s too hot or cold, the bread might not turn out right.
Visual Cues for Proper Fermentation
Watching your dough is important. Look for signs like it getting bigger, bubbles on the surface, and a rounded shape. These mean it’s fermenting well.
Timing Guidelines
The time for bulk fermentation varies. It depends on your starter’s strength, the dough’s temperature, and how strong you want the flavor. Usually, 4 to 5 hours is good, but you can adjust it.
To get the best sourdough, balance temperature, visual signs, and time. This way, your bread will be tasty and have a great texture.
Shaping Your Sourdough Sandwich Loaf
Shaping your sourdough sandwich bread is key. It needs gentle hands and some skill. This step is important for a loaf that tastes good and looks great.
Preparing Your Loaf Pan
First, get your loaf pan ready. Grease the pan well with butter or spray. This helps the bread come out easily after baking.
Shaping Techniques for Even Slices
To shape your loaf, start by softening the dough. Shape it into a rectangle and roll it up tightly. Put it in the pan, seam-side down. This makes sure your slices are even.
| Technique | Description | Benefit |
|---|---|---|
| Gentle Rolling | Roll the dough gently to form a tight log. | Even crumb structure. |
| Tucking and Folding | Tuck the edges under and fold the dough over. | Improved loaf shape. |
| Pre-shaping | Shape the dough into a preliminary form before final shaping. | Eases the final shaping process. |
Final Proofing and Baking
After shaping your sourdough loaf, it’s time for final proofing and baking. These steps are key to getting the perfect texture and flavor for your sourdough sandwich bread.
Signs of Properly Proofed Dough
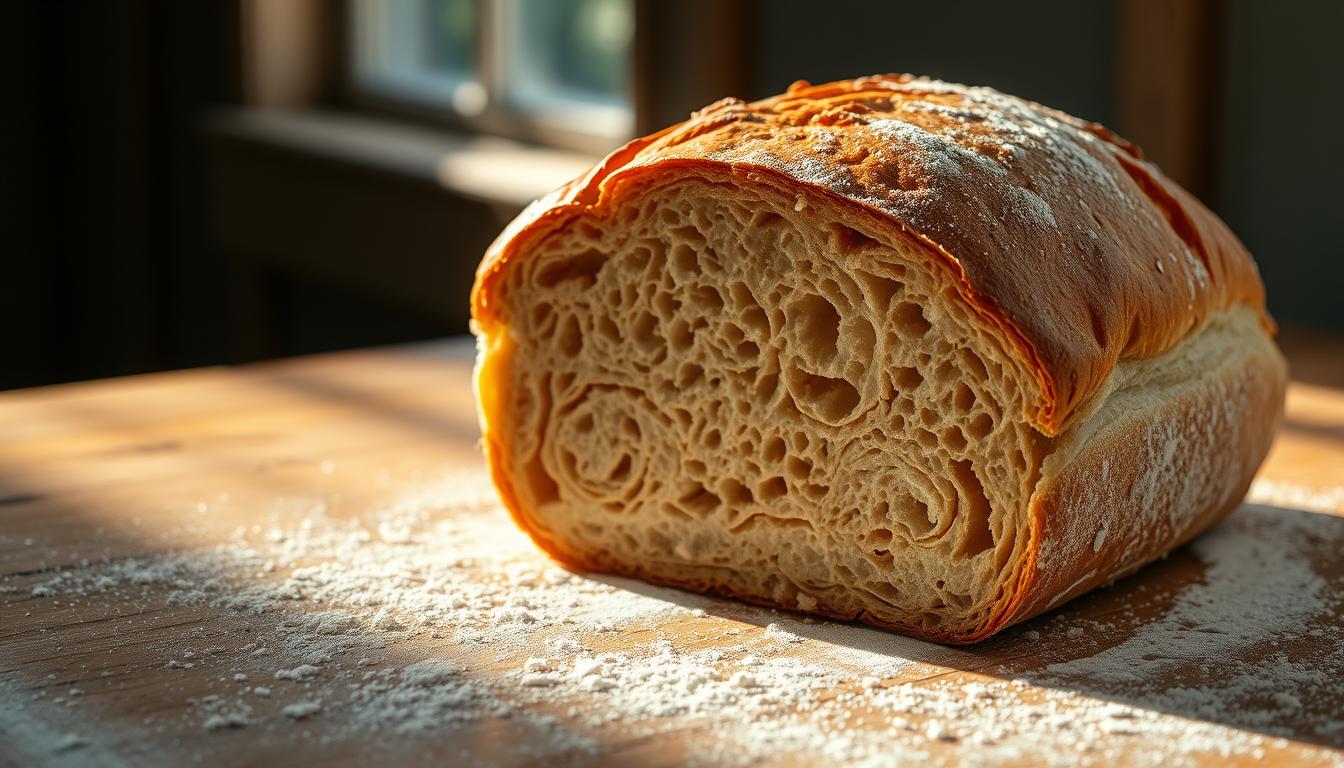
A dough that’s proofed right is essential for your bread’s texture. Look for these signs: the dough should have grown and have big bubbles on top. It should feel soft and spring back slowly after being poked.
Oven Temperature and Steam Methods
Getting your oven to the right temperature is crucial. For sourdough sandwich bread, aim for about 450°F (230°C). Steam is also key for a crispy crust. You can use a Dutch oven or a pan of water in the oven to create steam.
Checking for Doneness
To see if your sourdough is done, check for a golden-brown crust. Tap the bottom of the loaf; it should sound hollow. You can also use a thermometer; the internal temperature should be around 205°F to 210°F (96°C to 99°C).
| Checking Method | Description | Indicator of Doneness |
|---|---|---|
| Visual Inspection | Look at the crust color | Golden-brown |
| Tapping | Tap the bottom of the loaf | Hollow sound |
| Thermometer | Check internal temperature | 205°F – 210°F |
Troubleshooting Common Sourdough Bread Problems
Starting with sourdough baking can bring up some common issues. But, with the right fixes, you can overcome these problems. Knowing how to solve these challenges is crucial for making perfect sourdough sandwich bread.
Dense or Gummy Interior
A dense or gummy interior often comes from underproofing or overmixing. Make sure your dough proofs long enough. Also, mix the ingredients just until they stick together. Check your sourdough starter’s activity before mixing to avoid any issues.
Poor Rise or Flat Loaf
If your loaf doesn’t rise as it should, it might be because your starter is inactive or your oven temperature is off. Refresh your starter and check your oven temperature with a thermometer to fix this.
Overly Sour Flavor
An overly sour taste means your dough fermented too long. Try adjusting your proofing time or using a sourdough bread tip like keeping a consistent temperature to balance the flavor.
| Issue | Possible Cause | Solution |
|---|---|---|
| Dense or Gummy Interior | Underproofing, Overmixing | Adjust proofing time, Mix just until combined |
| Poor Rise or Flat Loaf | Inactive starter, Incorrect oven temperature | Refresh starter, Check oven temperature |
| Overly Sour Flavor | Over-fermentation | Adjust proofing time, Maintain consistent temperature |
Creative Sandwich Ideas for Your Homemade Sourdough Bread
Now that you’ve mastered baking sourdough sandwich bread, it’s time to explore sandwich creations. Your homemade sourdough is perfect for many delicious sandwiches. From classic comfort food to gourmet delights, the possibilities are endless.
Classic Combinations
Classic combinations are always a hit, and sourdough makes them even better. Try pairing your bread with turkey and avocado for a healthy, satisfying option. The BLT is also a favorite, with sourdough’s tanginess matching bacon’s smokiness perfectly.
Grilled cheese sandwiches also get a boost from sourdough’s unique flavor. They become a gooey, cheesy delight.
Gourmet Inspirations
For gourmet sandwiches, sourdough is a versatile base. Try a cubano sandwich with ham, roasted pork, pickles, and mustard for a flavorful twist. Or, go for a brie and fig jam sandwich for a sweet and savory mix.
For a vegan option, try roasted vegetables and hummus. It’s healthy and delicious.
Conclusion
Now you know how to make artisan sourdough bread. Follow the steps in this article to bake delicious homemade sourdough. You’ll make bread as good as any bakery.
Making sourdough sandwich bread is both art and science. Your sourdough starter is the base. You’ll make bread that tastes great and is healthy. Homemade sourdough bread shows your creativity and hard work.
Keep trying new recipes and techniques as you go. Add different flavors and ingredients to make your own unique sourdough. With time, you’ll get better and can try many new things.
Begin baking your own sourdough bread today. Enjoy the joy of making something special. Every bite will remind you of the love and effort you put into it.
FAQ
What is sourdough sandwich bread?
Sourdough sandwich bread is made with a natural starter. It has a unique flavor and texture.
How do I create a sourdough starter from scratch?
Mix equal parts flour and water in a container. Let it rest in a warm, draft-free place. Feed it regularly until it’s bubbly and active.
What type of flour is best for making sourdough sandwich bread?
Use high-protein flour like bread flour or high-protein all-purpose flour. It gives the bread structure and texture.
How long does it take to make sourdough sandwich bread?
Making sourdough sandwich bread takes about 24 hours. It includes mixing, bulk fermentation, shaping, proofing, and baking.
Can I use a sourdough starter that has been refrigerated?
Yes, you can use a refrigerated sourdough starter. Just feed it and let it come to room temperature before using.
How do I store my homemade sourdough sandwich bread?
Store your sourdough sandwich bread in an airtight container at room temperature for up to 3 days. Freeze it for longer storage.
What are some creative ways to use sourdough sandwich bread?
Use sourdough sandwich bread for sandwiches, toast, croutons, or as a base for bread pudding. It’s delicious and versatile.
How do I achieve a crispy crust on my sourdough sandwich bread?
Bake your sourdough sandwich bread at a high temperature for a crispy crust. Use steam during baking to enhance the crust.
Can I make sourdough sandwich bread without a stand mixer?
Yes, you can make sourdough sandwich bread by hand. Use a wooden spoon or dough whisk for mixing and kneading.
How do I know when my sourdough bread is done baking?
Check for doneness by looking for a golden-brown crust. Listen for a hollow sound when tapping the bottom. Use a thermometer for the internal temperature, which should be 205°F to 210°F.

