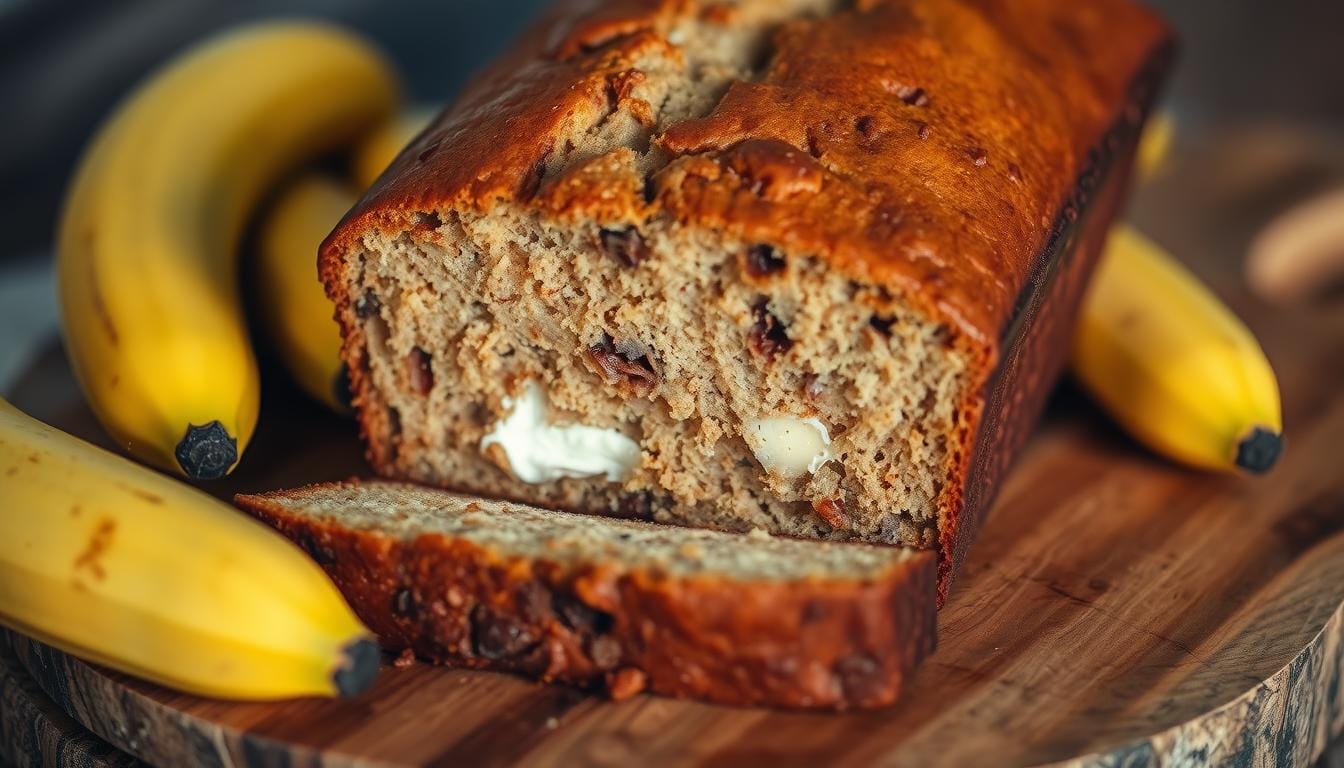
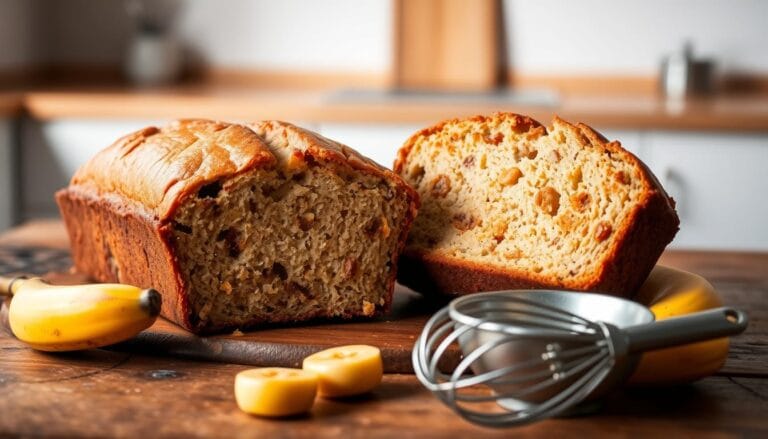
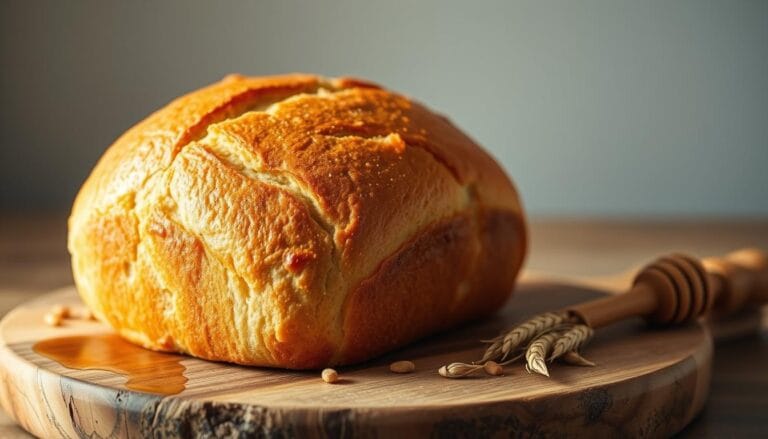
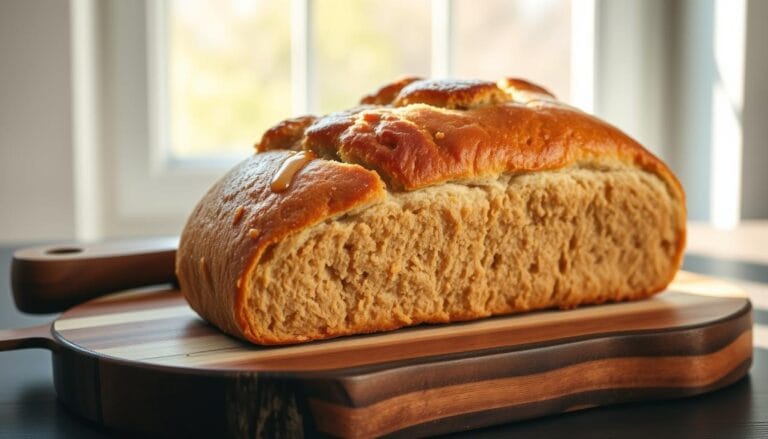
Homemade Moist Banana Bread Recipe with Sour Cream
There’s something magical about the aroma of warm spices wafting through the kitchen. It’s the kind of smell that wraps you in memories—maybe of rainy afternoons with a loved one or lazy Sundays spent savoring simple joys. If you’ve ever craved that exact feeling in every bite, you’re not alone.
This isn’t just another guide for baking enthusiasts. It’s a story passed down through generations, starting with a Hawaiian grandfather who believed treats should nourish both body and soul. His legacy? A method that replaces shortcuts with wholesome ingredients, like tangy dairy for unmatched softness.
What makes this approach special? Texture that lasts. Unlike dry or crumbly versions, the addition of a certain ingredient creates a tender crumb while balancing sweetness. It’s why slices stay fresh for days, as if time slows down just for you.
You’ll also notice a subtle richness—a hint of complexity that makes each mouthful memorable. It’s the kind of detail born from years of tweaking ratios and testing methods, all to give you confidence in your baking.
So why trust this method? Because it’s been perfected through laughter, shared meals, and the kind of love that turns simple ingredients into something extraordinary. Ready to create your own story?
Introduction to a Delicious Banana Bread Experience
Imagine biting into a slice so tender it feels like a hug from your oven. That’s what happens when science meets tradition in your mixing bowl. After testing 12 variations, we cracked the code for balancing richness and lightness—no more guessing games.
| Batch | Bananas Used | Texture Result |
|---|---|---|
| 1-4 | 2 medium | Dense center |
| 5-8 | 3 large | Improved rise |
| 9-12 | 3.5 mashed | Perfect fluff |
Tangy dairy acts like a secret agent here. It tenderizes gluten strands while locking in hydration. This means your creation stays springy for three days—no sad, stale slices.
You’ll learn techniques that upgrade all quick treats. Like how proper mashing releases natural sugars for caramelized edges. Or why alternating wet/dry mixes prevents tunneling.
The real magic? Knowing why each step matters. When you grasp how fats interact with fruit acids, you become the architect of unforgettable flavors.
Inspiration and Family Tradition Behind the Recipe
Every slice tells a story—one that began under the Hawaiian sun with Grandpa Clarence’s weathered hands. His backyard tree on O’ahu bore fruit so sweet, neighbors would leave baskets at his gate when their own ripened too fast. “Food tastes better when shared,” he’d say, stirring vanilla into batter with a wooden spoon worn smooth by decades of use.
This wasn’t just about using up spotted fruit. It was a lesson in aloha—the art of giving without expectation. Bankers received warm loaves wrapped in wax paper. Postal workers found treats tucked beside mailboxes. Even the local grocer got slices drizzled with honey, a silent “thank you” for saving bruised produce.
Three elements made his creation unforgettable:
- Bananas left to blacken until their sugars concentrated
- Vanilla measured by heart, not teaspoons
- Batter mixed clockwise “to follow the sun’s path”
You’ll taste more than spices in this version. There’s the tang of sea air from open kitchen windows, the earthy sweetness of island-grown fruit, and the warmth of hands that baked to connect, not just feed. Share yours with someone who makes your world brighter—it’s how traditions stay alive.
Essential Ingredients and Their Roles
Have you ever wondered why some loaves stay fresh for days while others crumble by sunset? The answer lies in two powerhouse components that transform basic batter into something extraordinary. Let’s explore how these elements work in harmony to create texture and flavor that linger long after baking.
The Role of Dairy in Texture and Longevity
Tangy dairy acts like a culinary multitasker. Its acidity breaks down gluten gently, resulting in a tender crumb that resists drying out. This ingredient also reacts with baking soda, creating tiny air pockets that give your creation a cloud-like rise. “It’s the difference between good and unforgettable,” explains a pastry chef we consulted.
Fruit Ripeness: Sweetness Meets Science
Fruit speckled with dark spots isn’t just for smoothies. As bananas ripen, their starches convert to natural sugars, boosting flavor intensity. This process also softens the fruit’s cell structure, allowing it to blend seamlessly into batter. Underripe versions lack this depth, often leaving baked goods tasting bland and dense.
Here’s a quick guide to spotting peak ripeness:
- Skin covered in brown freckles
- Flesh that yields slightly when pressed
- A sweet aroma detectable through the peel
When combined, these elements create chemical reactions that elevate your results. The acids in both ingredients activate leaveners, while their sugars caramelize during baking. This synergy produces golden crusts and interiors that stay springy for days—no magic required.
Step-by-Step Banana Bread Preparation Guide
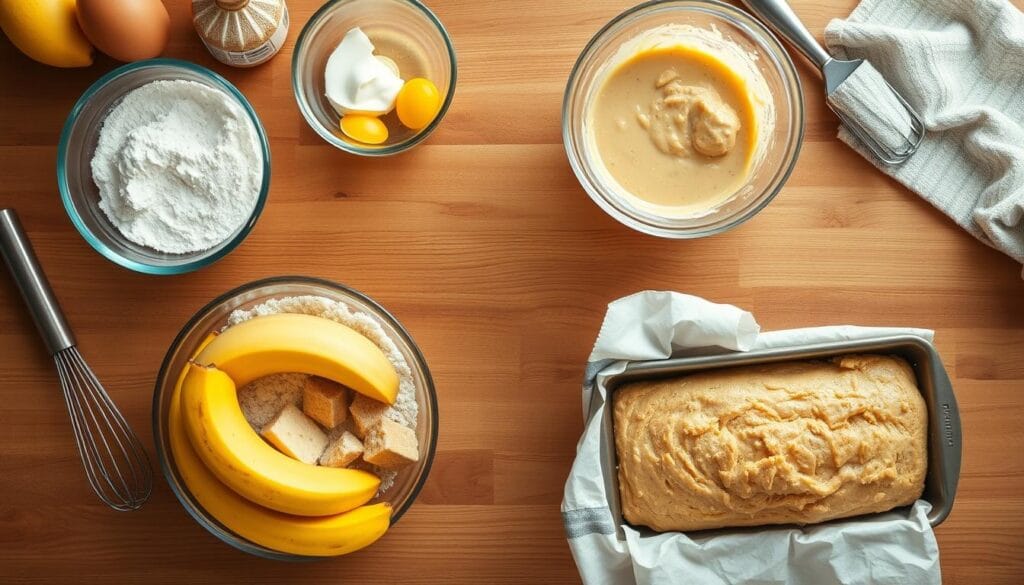
The secret to bakery-quality results starts before you even mix your first ingredient. Precision in setup and technique separates good from extraordinary—let’s ensure your efforts yield golden perfection.
Preparing Your Loaf Pan and Preheating the Oven
Position your oven rack in the center—this ensures heat circulates evenly around your pan. Preheat to 350°F while you prep; rushing this step creates uneven baking. Pro tip: Use an oven thermometer to verify accuracy—many appliances run hot or cold.
| Loaf Pan Size | Dimensions | Bake Time Adjustment |
|---|---|---|
| Standard | 9×5 inches | 55-65 minutes |
| Mini | 8.5×4.5 inches | 45-50 minutes |
| Jumbo | 10×5 inches | 70-75 minutes |
Lightly coat your pan with nonstick spray, then place it on a baking sheet. This catches drips and makes handling safer. Avoid parchment paper liners—they can create uneven edges.
Mixing the Wet and Dry Ingredients with Care
Combine dry components first to distribute leaveners evenly. When adding to wet mixtures, use a spatula—not a whisk—and fold gently. “Fold until you no longer see streaks—that’s the sweet spot,” advises professional baker Elena Carter.
Overmixing activates gluten, leading to toughness. Stop when the batter just comes together—small lumps are okay. Pour into your prepared pan immediately to prevent settling.
Mastering Banana Mashing and Measuring Techniques
The foundation of perfect texture lies in how you handle your fruit. While most home cooks grab a bowl, professionals know better. Flat surfaces like cutting boards provide stability, letting you apply even pressure without chasing slippery pieces across countertops.
Tips for Even Mashing on a Flat Surface
Peel your fruit and lay the flesh on a sturdy plate. Use a fork in sweeping motions, working from one end to the other. This method crushes fibers thoroughly while preventing over-processing that can turn fruit gluey.
| Banana Size | Quantity | Mashed Yield |
|---|---|---|
| Large | 4 | 1 ¼ – 1 ⅓ cups |
| Medium | 5 | 1 ½ cups |
| Small | 6 | 1 ¾ cups |
Spotty peels indicate peak ripeness—their soft texture blends seamlessly into batter. Measure mashed fruit precisely using dry measuring cups leveled with a knife. Too little creates dryness; excess makes slices soggy.
Your efforts here determine whether the final product has uniform pockets of sweetness or uneven dense spots. Perfect mashing ensures every crumb stays tender from crust to center.
Creaming Butter and Sugar for a Fluffy Batter
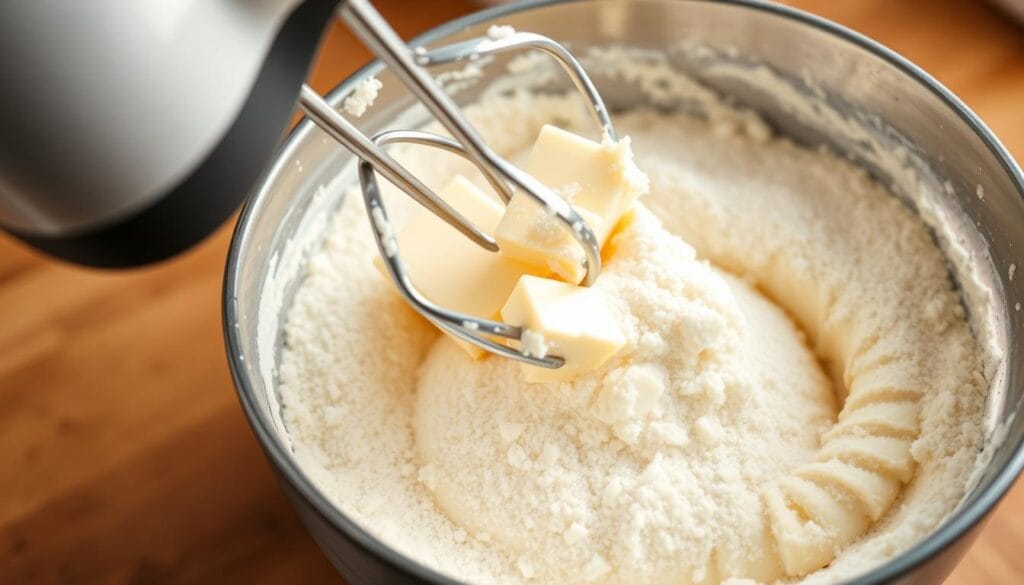
Your mixer’s paddle holds the secret to a cloud-like crumb. When done right, this step transforms basic ingredients into a base that lifts your creation to new heights. Room-temperature butter is non-negotiable—cold chunks can’t trap air, while melted versions turn greasy.
Start by beating butter and sugar on medium speed. Watch as the granules carve tiny pockets into the fat, creating microscopic air chambers. “Proper creaming builds the architecture for lift,” notes award-winning baker Marco Perez. Scrape the bowl’s sides every 60 seconds to prevent uneven mixing—streaks here mean dense spots later.
| Mixing Duration | Texture Outcome | Visual Cue |
|---|---|---|
| 1 minute | Grainy, dense | Pale yellow |
| 2-3 minutes | Fluffy, aerated | Pale cream |
| 4+ minutes | Overworked, greasy | Separated |
Perfect results resemble whipped frosting. Test by lifting a spatula—the mixture should ribbon slowly, holding its shape briefly before melting back into the bowl. This stage determines whether your final product has a tender bite or chewy disappointment.
Timing matters. Set a 3-minute timer, but adjust if your kitchen feels warm. Humid environments soften butter faster, potentially shortening the process. Pair this technique with precise measurements, and you’ll craft slices that stay springy for days.
moist banana bread recipe with sour cream: Tips and Tricks
Transform your results using methods chefs guard like family secrets. While many focus solely on fruit ripeness, professionals know success lies in balancing chemistry and technique.
The Silent Workhorse in Your Mixing Bowl
Rich dairy does more than add tang—it’s a triple-threat ingredient. Its acidity weakens gluten bonds for softer crumbs while fat molecules coat starch to delay staling. “Think of it as edible armor against dryness,” says pastry instructor Lila Moreno.
| Factor | Full-Fat Version | Low-Fat Alternative |
|---|---|---|
| Fat Content | 18-20% | 10-12% |
| Acidity Level | pH 4.5 | pH 4.9 |
| Texture Impact | Velvety crumb | Grainy feel |
Architecting Airiness
Timing matters when introducing this ingredient. Fold it into wet components after creaming butter but before adding dry goods. This sequence protects air pockets while ensuring even distribution.
Watch for these visual cues:
- Batter should mound on your spatula
- Surface appears slightly glossy
- No visible streaks remain
Full-fat varieties provide structural integrity that light versions can’t match. Their thickness prevents over-spreading during baking, yielding loaves that rise tall rather than flatten. Share your creation within 48 hours for peak freshness—though we doubt it’ll last that long.
Customizing Your Banana Bread with Add-Ins
Personal touches turn classic treats into signature creations. While the base recipe shines on its own, thoughtful mix-ins can elevate it to new heights. Follow these guidelines to enhance flavor and texture without compromising structure.
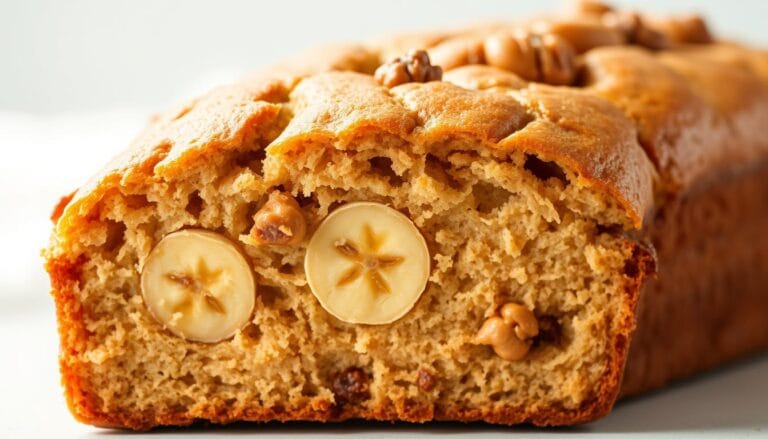
Nutty Variations for an Extra Crunch
Toasted walnuts or macadamias add earthy depth to every bite. Heat nuts in a dry skillet over medium heat for 3 minutes, stirring constantly. This releases natural oils that prevent sogginess during baking. Pro tip: Chop after cooling to maintain crisp edges.
Incorporating Chocolate Chips for a Sweet Twist
Mini chocolate chips distribute evenly, while standard-sized ones create molten pockets. For balanced richness, combine ½ cup mini chips with ¼ cup dark chunks. Fold gently into batter using a figure-eight motion—overmixing causes sinking.
| Add-In Type | Recommended Amount | Preparation Tip |
|---|---|---|
| Chopped Nuts | ¾ cup max | Toast & cool first |
| Chocolate Chips | ½ – ¾ cup | Mix sizes for layers |
Measure additions carefully—exceeding ¾ cup per loaf weighs down the crumb. Dust chocolate pieces with flour before folding in to prevent clustering. Your creation will boast professional-level texture while staying true to its roots.
Baking and Temperature: Achieving the Perfect Crust
The golden crust of a perfectly baked treat isn’t just luck—it’s science meeting patience. Proper heat management ensures your creation rises evenly while developing that irresistible caramelized exterior. Let’s break down the essentials for oven mastery.
Oven Preheating and Rack Positioning Essentials
Always start with a fully heated oven. Set it to 350°F and wait until the indicator light confirms readiness—about 15 minutes. Center your rack to allow heat circulation around the pan. Off-center placement leads to lopsided browning.
Monitoring Bake Time and Pan Filling Tips
Fill your pan three-quarters full to prevent overflow. Bake for 55-65 minutes, rotating halfway for even color. Check doneness at the 50-minute mark by inserting a skewer near the top—it should emerge with crumbs, not wet batter. Let rest 10 minutes before slicing to lock in moisture.

