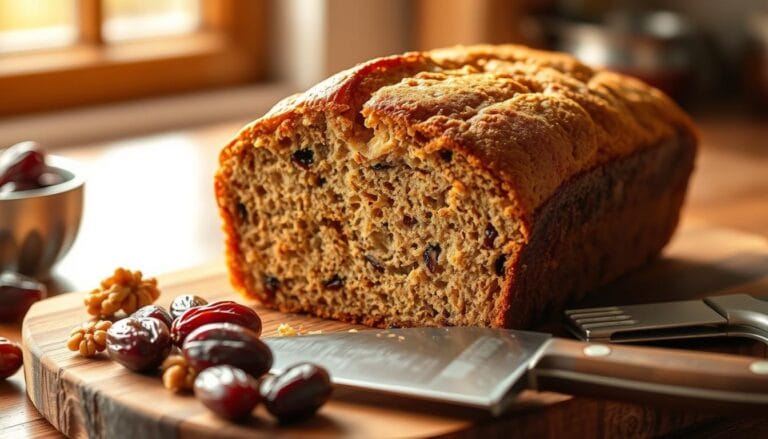
Easy Moist Banana Bread Recipe: A Simple Guide for You
There’s something comforting about the aroma of freshly baked goods filling your kitchen. Maybe it reminds you of weekend mornings with family or those moments when you need a warm, homemade treat to brighten an ordinary day. If you’ve ever stared at overripe fruit on your counter and wondered how to give it new life, you’re not alone.
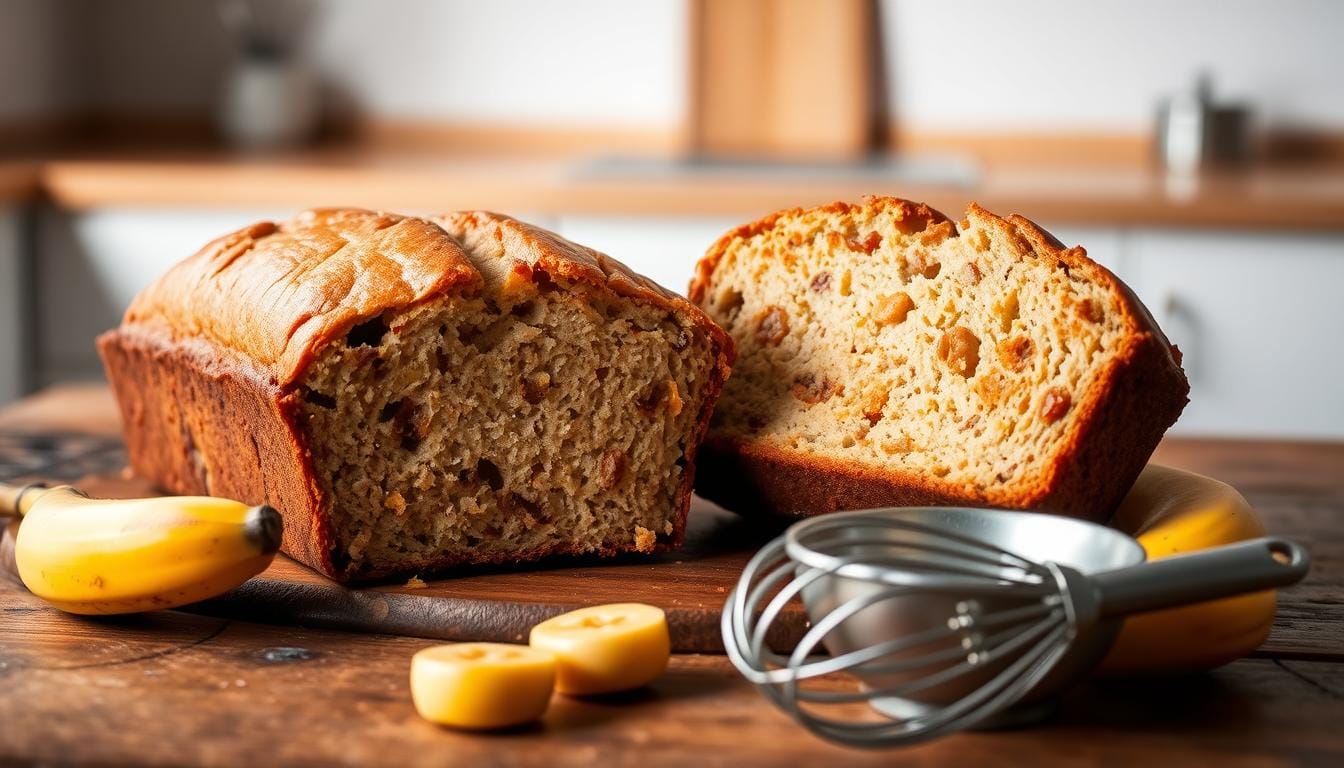
This beloved baking method has earned hundreds of 5-star reviews for good reason. It transforms speckled, sweetened bananas into a loaf with an incredibly tender crumb that stays soft for days. No fancy tools or hard-to-find ingredients—just straightforward steps that deliver reliable results every time.
You’ll appreciate how the process embraces simplicity. Whether you’re using a mixer or folding ingredients by hand, the batter comes together quickly. The final product works beautifully for busy mornings, afternoon snacks, or sharing with neighbors during holiday gatherings.
What makes this approach stand out? It balances richness with practicality. The golden-brown crust gives way to a fluffy interior packed with natural sweetness. And because it freezes well, you can always have a slice ready to thaw and enjoy.
Ingredients and Essential Supplies
The secret to a flawless result starts with selecting premium items. Whether you’re baking for the first time or refining your technique, understanding your components ensures consistency. Let’s break down what you’ll need to create a tender, flavorful loaf.
Pantry Staples for Structure and Flavor
Your kitchen likely holds most essentials already. All-purpose flour forms the base, while sugar enhances sweetness naturally released by fruit. A teaspoon of baking soda lifts the batter, and a pinch of salt balances flavors. Pure vanilla extract adds depth without overpowering other elements.
Selecting Fresh Components
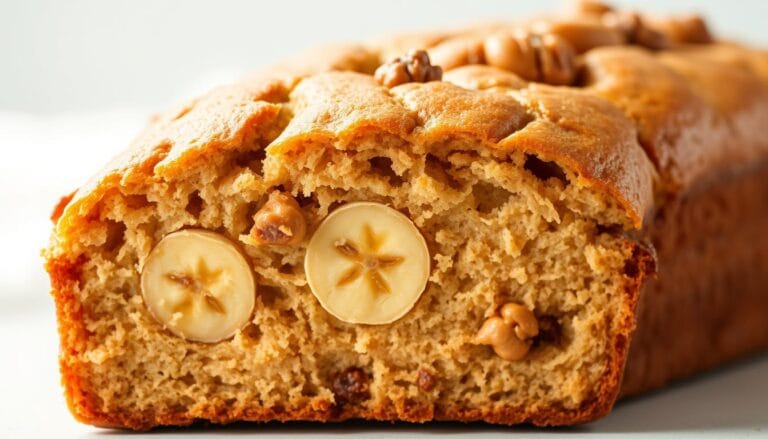
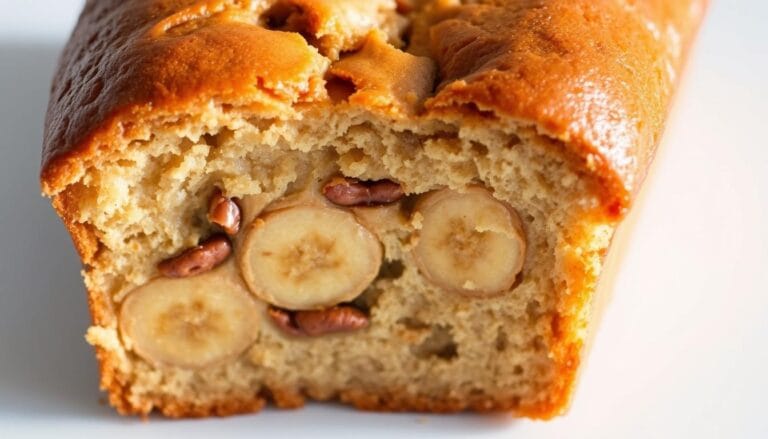
Spotty, soft ripe bananas are non-negotiable—their concentrated sweetness replaces extra sugar. Always use unsalted butter to manage sodium levels precisely. Room-temperature butter blends smoothly with eggs, creating a velvety base. For added texture, fold in walnuts or raisins after mixing.
Stick with these quality elements, and substitutions become simple. Swap white sugar for honey or try whole-grain flour for nuttiness. The right foundation lets creativity shine while maintaining reliability.
Preheating and Equipment Tips
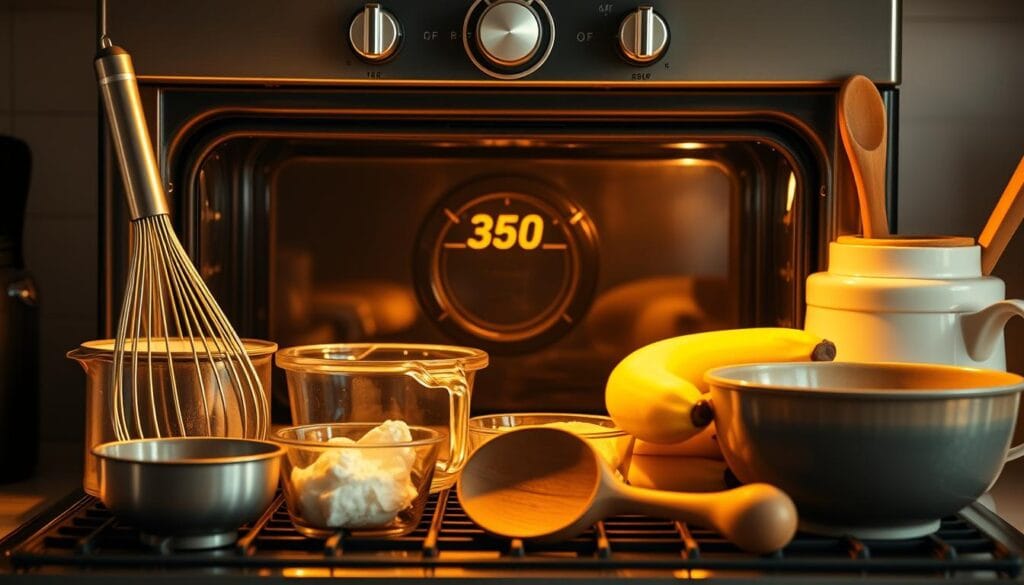
Your tools and oven settings lay the foundation for success. Proper preparation prevents sticking and uneven baking. Let’s explore how to set up your workspace for optimal results.
Preheat Oven and Proper Pan Setup
Begin by heating your appliance to 350°F. Most ovens take 15 minutes to reach this temperature. If yours runs hot or cold, adjust by 25 degrees for consistent results.
Prepare your 9.25 x 5.25-inch pan thoroughly. Grease with butter or spray, then dust with flour. For easier removal, line it with parchment paper before pouring batter.
Choose your mixing style:
| Method | Effort Level | Best For |
|---|---|---|
| Stand Mixer | Low | Large batches |
| Hand Mixer | Medium | Precise control |
| Manual Mixing | High | Small portions |
Keep wet and dry ingredients in separate bowls. This ensures even blending regardless of your chosen technique. Double-check your oven’s heat accuracy with a thermometer for perfect doneness.
How to Select and Prepare Your Bananas
The foundation of a flavorful loaf begins long before mixing ingredients. Choosing and preparing the right fruit determines texture, sweetness, and overall quality.
Identifying Peak Ripeness
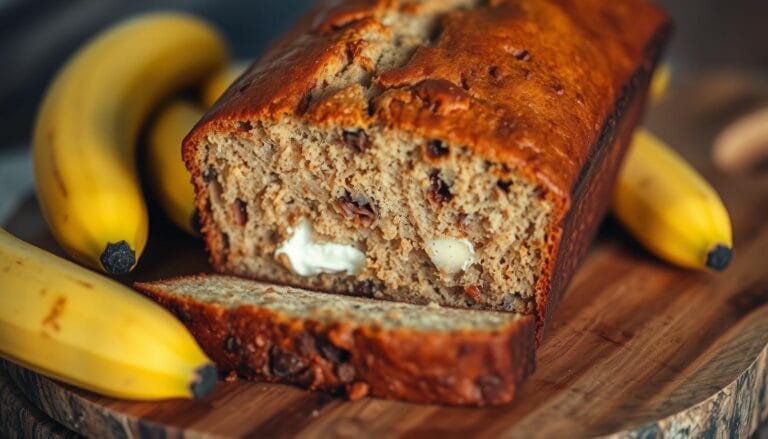
Look for skins covered in brown speckles or dark patches. These visual cues signal concentrated natural sugars. Gently squeeze the fruit—it should feel soft but not mushy. Black spots often indicate ideal starch-to-sugar conversion.
Accelerating the Process
Need ripe fruit fast? Place slightly green pieces on a baking sheet at 250°F for 15-20 minutes. For slower ripening, use a paper bag at room temperature. Add an apple to boost ethylene gas production.
Freeze unpeeled pieces in airtight bags for later use. Thawed fruit works perfectly in batters. When ready to use, mash until smooth with small lumps remaining. This consistency blends evenly while adding subtle texture.
Store frozen portions up to three months. Label bags with dates for freshness tracking. Proper preparation ensures consistent results whether baking today or next season.
Mixing the Wet and Dry Ingredients
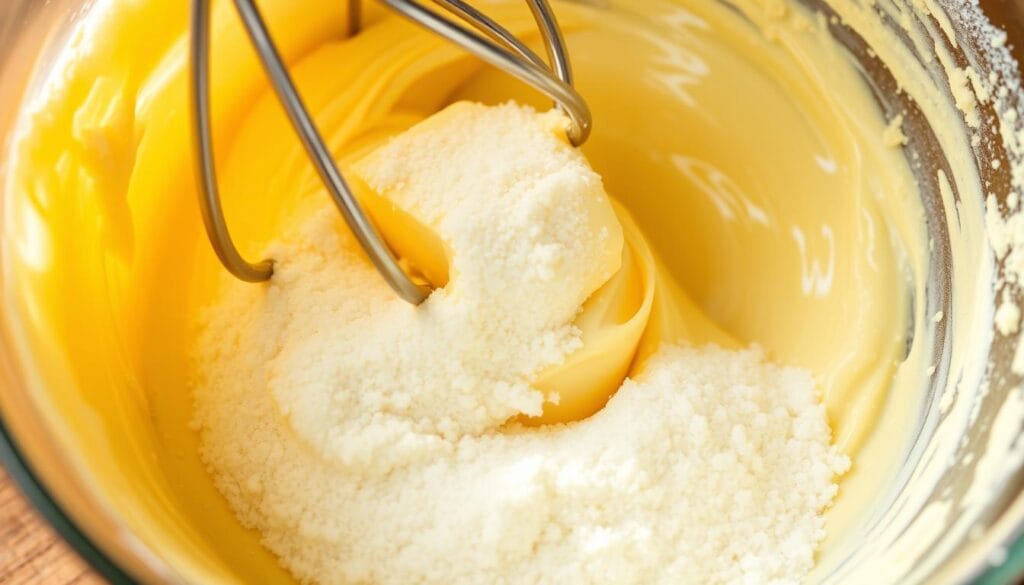
Texture and structure depend on how you combine your components. Proper technique creates balance between richness and lift, ensuring each slice holds its shape while remaining tender.
Creaming Butter and Sugar
Start with room-temperature butter (8 tablespoons) and ¾ cup sugar. Beat them 3-4 minutes until pale and fluffy. Cold butter resists blending, while melted versions collapse air pockets. The goal? Tiny bubbles that expand during baking.
In a separate bowl, whisk 1½ cups flour, 1 tsp baking soda, and ½ tsp salt. This distributes leavening agents evenly. Pour dry ingredients into the creamed mixture gradually. Mix just until streaks disappear—overworking develops gluten, leading to toughness.
| Mixing Method | Time Required | Texture Outcome |
|---|---|---|
| Stand Mixer | 3 minutes | Ultra-light |
| Hand Mixer | 4 minutes | Consistent |
| Manual Whisk | 6 minutes | Denser |
Watch for visual cues: properly creamed butter doubles in volume with a whipped appearance. Fold in other wet ingredients gently to preserve airiness. Your batter should pour smoothly but hold slight peaks when lifted.
Step-by-Step Directions for the Easy Moist Banana Bread Recipe
Mastering the mixing process ensures your loaf rises evenly while retaining its signature tenderness. Follow these precise steps to blend ingredients without compromising airiness or flavor balance.
Incorporating Eggs, Mashed Bananas, and Vanilla
Start by adding lightly beaten eggs one at a time to the creamed butter mixture. Mix thoroughly after each addition—this prevents separation and creates a stable base. Fold in mashed fruit next, aiming for a chunky applesauce consistency. Small lumps add texture without overwhelming the crumb.
“The key is gradual integration,” notes a professional baker. “Rushing this step leads to uneven distribution and dense results.” Stir just until golden streaks form, then pause.
Combining Dry Ingredients with the Wet Mixture
Pour your pre-mixed dry components into the bowl in three batches. Use a spatula to gently fold—overmixing activates gluten, causing toughness. Once flour disappears, add vanilla extract and optional mix-ins like walnuts. The batter should remain slightly lumpy with visible fruit pieces.
| Mixing Tool | Optimal Time | Texture Impact |
|---|---|---|
| Stand Mixer | 90 seconds | Airy & Light |
| Hand Whisk | 2 minutes | Balanced |
| Silicone Spatula | 3 minutes | Dense & Chewy |
Your final mixture should pour smoothly into the pan. If it clings to the bowl, add a teaspoon of milk. Properly prepared, it bakes into a golden treat with consistent moisture.
Baking Time, Temperature, and Adjustments
Precision in timing and heat management separates good results from exceptional ones. Small tweaks during this phase ensure even cooking and prevent common issues like sinking centers or burnt edges.
Ideal Baking Settings
Set your oven to 350°F—the sweet spot for gradual rising. Standard 9.25″ x 5.25″ pans need 55-60 minutes. Larger or smaller containers? Adjust using this guide:
| Pan Size | Initial Bake | Secondary Bake |
|---|---|---|
| 8×4 inches | 35-40 mins | None |
| 9×5 inches | 35 mins | 20-25 mins at 325°F |
Using Toothpick Test and Oven Tweaks
Check doneness at 45 minutes. Insert a skewer into the center—clean or crumb-coated means ready. If the top darkens too fast, lay foil loosely over the pan.
“Oven thermometers prevent underbaking,” advises a pastry chef. “Many appliances run 25°F hotter or cooler than displayed.” For certainty, verify internal temps reach 200-205°F.
Let the loaf cool 15 minutes before slicing. This rest period locks in moisture and completes the cooking process. Adjustments based on altitude or pan material? Add 5-10 minutes for glass containers or high-elevation locations.
Variations to Customize Your Banana Bread
Personal touches turn simple baked goods into signature creations. Even classic recipes become new favorites with thoughtful additions that match your taste or occasion.
Mix-Ins for Enhanced Flavor and Texture
Toasted walnuts add earthy crunch—roast them lightly in a skillet first for deeper flavor. Stir continuously to prevent burning, then chop roughly before folding into batter. For sweetness without extra sugar, try plump raisins soaked in warm water for 10 minutes.
Mini chocolate chips distribute evenly compared to standard sizes. Add them last to avoid sinking. Spice lovers can blend 1 teaspoon cinnamon into dry ingredients or sprinkle nutmeg over the batter before baking.
Allergy-friendly versions shine too. Skip nuts entirely or substitute sunflower seeds. Replace dairy butter with coconut oil for plant-based alternatives. Each tweak maintains the loaf’s signature texture while reflecting your preferences.

