Your Easy Banana Bread Recipe with Oil: A Quick Guide
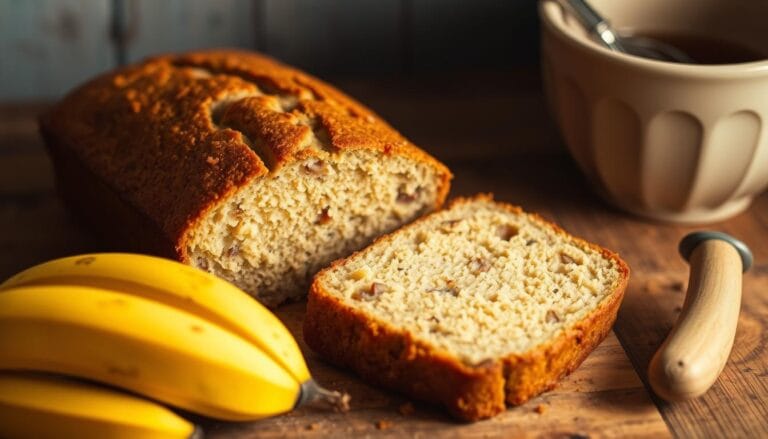
Ever opened your pantry to find speckled bananas begging for attention? Those forgotten fruits hold magic. Transforming them into something warm and comforting isn’t just practical—it’s deeply satisfying. Imagine the scent of cinnamon wafting through your kitchen as golden batter rises in the oven. That’s the promise of this method.
Traditional versions often rely on butter, but here’s a secret: oil creates a softer crumb and longer-lasting freshness. Whether you’re a weekend baker or juggling a hectic schedule, this approach requires minimal effort. One bowl. No special tools. Just wholesome ingredients you probably own right now.
Why does this matter? Overripe bananas deserve better than the compost bin. They’re packed with natural sweetness and moisture, perfect for creating treats that feel homemade without the fuss. The result? A tender loaf that stays delicious for days—ideal for breakfasts, snacks, or sharing with neighbors.
You’ll learn how simple swaps, like choosing oil over solid fats, impact texture and shelf life. Discover how to adapt the formula for add-ins like nuts or chocolate chips. Most importantly, you’ll gain confidence to make this a go-to solution for busy weeks or last-minute gatherings.
Introduction: Discover Your Easy Banana Bread Recipe with Oil
Have you ever pulled a loaf from the oven only to watch it turn dry by morning? The solution hides in your cupboard. Unlike solid fats, liquid oils bond with flour proteins differently, creating a moisture-locked crumb that resists staleness. This scientific edge means your creation stays tender three days later—perfect for meal prep or unexpected guests.
Professional kitchens frequently choose oil for its reliability. Butter’s water content evaporates during baking, while oil maintains consistent hydration. You’ll notice:
- A springy texture that doesn’t crumble when sliced
- Even browning without dense spots
- Flexibility to serve warm or at room temperature
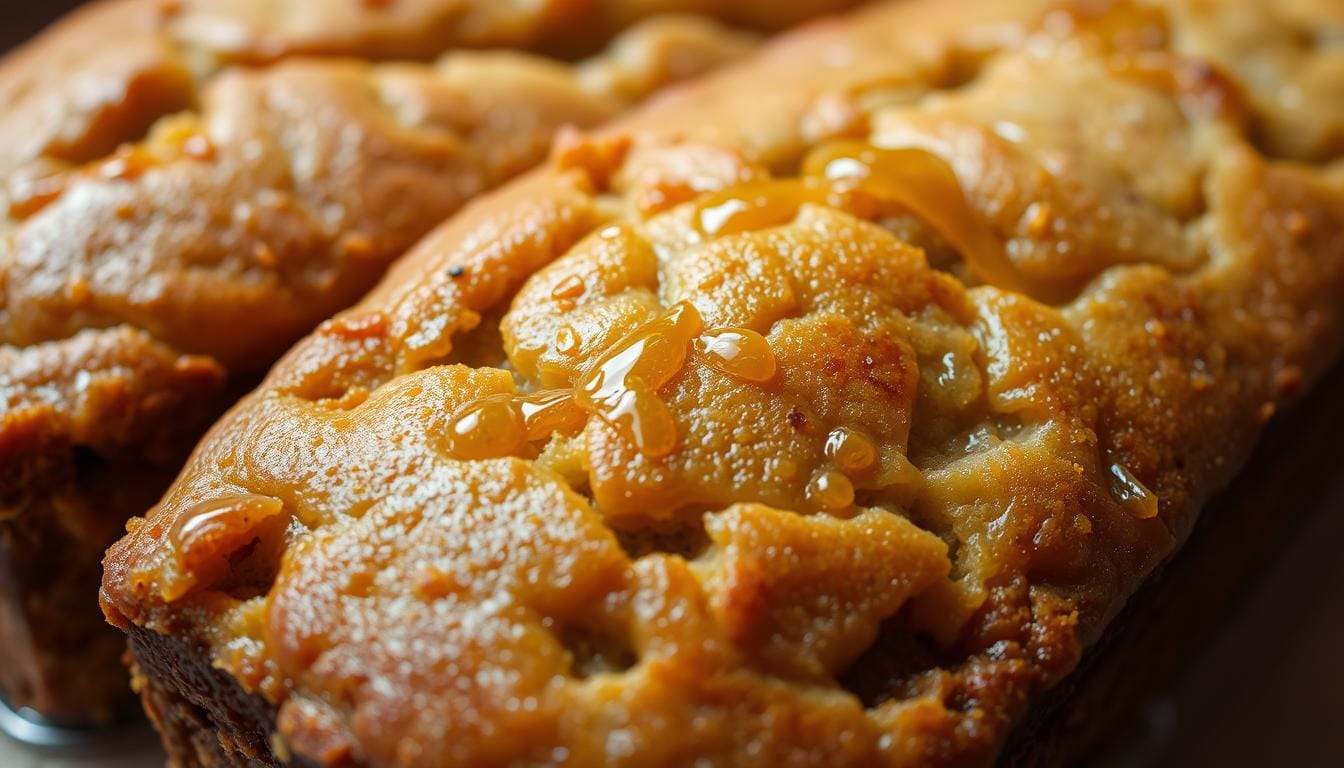
This method solves two common frustrations: gummy centers and cracked tops. The fat distribution prevents sinking while baking, giving you bakery-worthy structure every time. Whether drizzled with honey or paired with coffee, it adapts to any occasion.
New bakers appreciate the forgiving nature of oil-based mixes. No creaming butter or worrying about temperature. Just pour, stir, and bake. Your reward? A golden loaf that tastes like patience—without the effort.
Gathering Your Ingredients and Kitchen Tools
Great baking starts with intentional preparation. Before preheating your oven, success hinges on selecting components that collaborate seamlessly. This approach ensures consistent results, whether you’re a seasoned baker or crafting your first loaf.
Essential Ingredients for a Moist Loaf
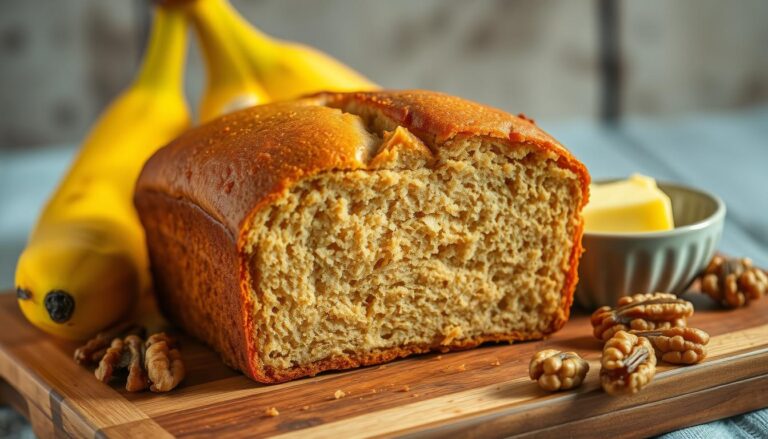
Your ingredient lineup works like a symphony. Vegetable oil (¾ cup) keeps the crumb tender, while a blend of granulated and brown sugar (1 cup total) balances sweetness. Two room-temperature eggs bind the mixture, creating structure without toughness.
Overripe bananas (3 medium) are non-negotiable—their black-speckled skins signal peak flavor. Combine them with 1¾ cups all-purpose flour, 1 teaspoon baking soda, and ½ teaspoon salt. This foundation adapts effortlessly to add-ins like walnuts or cinnamon.
Must-Have Kitchen Equipment
No fancy gadgets required. A standard 9×5-inch loaf pan ensures even baking, while parchment paper prevents sticking. Use one large bowl for mixing—whisk dry ingredients first, then fold in wet components. Measuring cups and spoons guarantee precision, especially for leavening agents.
Pro tip: Mash bananas directly in the bowl using a fork. This eliminates extra dishes and preserves their natural texture. Your tools should simplify the process, not complicate it.
The Role of Oil: Why It Makes Banana Bread So Moist
What separates a dry loaf from one that stays tender for days? The answer lies in fat chemistry. Unlike solid alternatives, liquid oils bond with flour proteins to lock in hydration. This creates a protective barrier against staleness while maintaining softness.
Oil Versus Butter: Benefits and Differences
Butter contains roughly 15% water. During baking, this moisture evaporates—leaving gaps in the crumb structure. Oils like vegetable or canola stay 100% fat, ensuring consistent hydration from edge to center. Here’s why professionals favor oil:
- Moisture mastery: No water evaporation means slower drying
- Texture control: Creates dense yet tender crumbs without gumminess
- Shelf life boost: Stays fresh up to four days at room temperature
Neutral-flavored options like avocado or grapeseed oil work equally well. They distribute evenly in batter, coating flour particles for uniform rise. Butter’s dairy solids can create uneven pockets—especially if undermixed.
Commercial bakeries rely on oil-based recipes for predictable results. The liquid fat blends seamlessly with other ingredients, eliminating temperature-sensitive steps like creaming. Your final product? A reliably moist treat that tastes freshly baked days later.
Step-by-Step Preparation and Baking Process
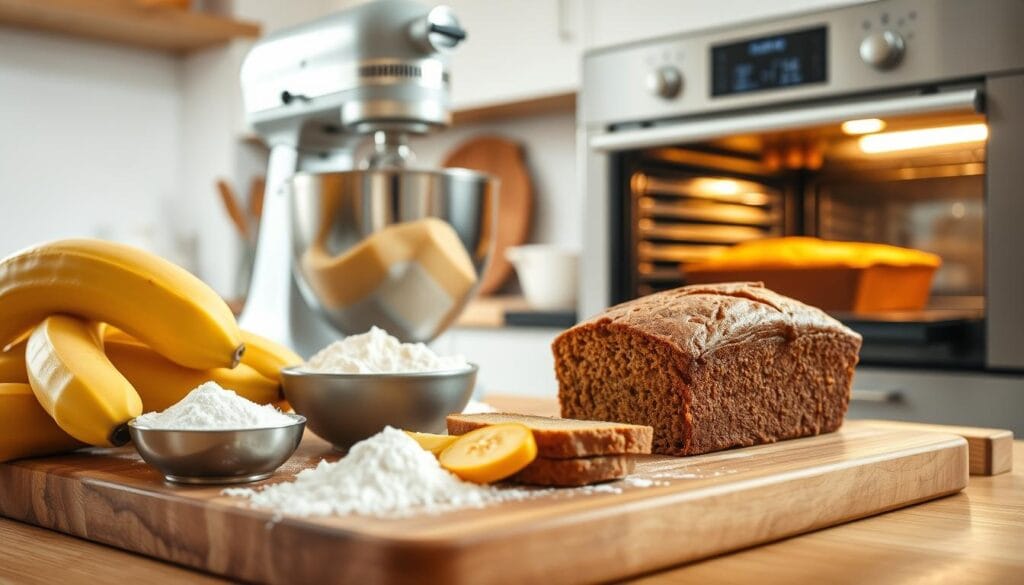
Precision in blending components ensures bakery-quality results. This method relies on sequential mixing and temperature control to achieve a tender crumb. Let’s break down each phase for foolproof execution.
Mixing the Wet and Dry Ingredients
Start by whisking oil, sugars, and eggs in a large bowl until silky. Fold in mashed fruit gently—lumps are fine. Combine flour, baking soda, and salt separately. “The key is adding dry components gradually,” says pro baker Emma Clarke. Stir until just incorporated to avoid gluten development.
Baking Techniques and Timing Tips
Preheat your oven to 325°F for even heat distribution. Line the pan with parchment, leaving overhang for easy lifting. Pour the batter and smooth the top. Bake 55-70 minutes, covering with foil at the 30-minute mark. Test doneness when cracks form on the surface.
| Oven Temp | Pan Size | Bake Time |
|---|---|---|
| 325°F | 9×5-inch | 65-70 mins |
| 350°F | 8×4-inch | 55-60 mins |
| 325°F | Mini Loaves | 35-40 mins |
“Perfect doneness isn’t about the clock—it’s about watching for pulled edges and springy texture.”
Rotate the pan halfway through baking if your oven has hot spots. Let cool 15 minutes before slicing. The wait allows starches to set, preventing gummy slices.
Mastering the “easy banana bread recipe with oil” for Perfect Texture
Achieving that perfect golden crumb requires more than just ripe fruit—it’s a science of balance. The magic happens when wet and dry ingredients harmonize. Too much flour? Expect dryness. Not enough hydration? Say hello to cracks. Your goal: a tender crumb that stays soft for days.
Measure like a chemist for consistent results. Use liquid measuring cups for oils and nested dry cups for flour. Level each scoop with a knife—those extra granules matter. Room-temperature eggs blend smoother, creating air pockets without overmixing.
Watch your batter’s consistency. It should pour slowly off the spatula, leaving trails that disappear in 3 seconds. Lumpy bananas are fine, but dry pockets? Not so much. Fold ingredients until just combined—overworking activates gluten, leading to toughness.
Baking time makes or breaks moisture. Set timers 5 minutes early. Check doneness when cracks look dry and edges pull from the pan. “Insert a toothpick—it should emerge with moist crumbs, not clean,” advises pastry chef Lara Mills. Let it cool completely before slicing to lock in steam.
- Fluff flour before measuring to prevent compaction
- Mix dry ingredients first for even distribution
- Bake at lower temps (325°F) for gradual rise
This formula’s moisture-rich ratio prevents sinking centers. The oil coats every starch molecule, creating a barrier against dryness. Whether enjoyed fresh or days later, each slice delivers cloud-like softness.
Exploring Recipe Variations and Creative Mix-ins
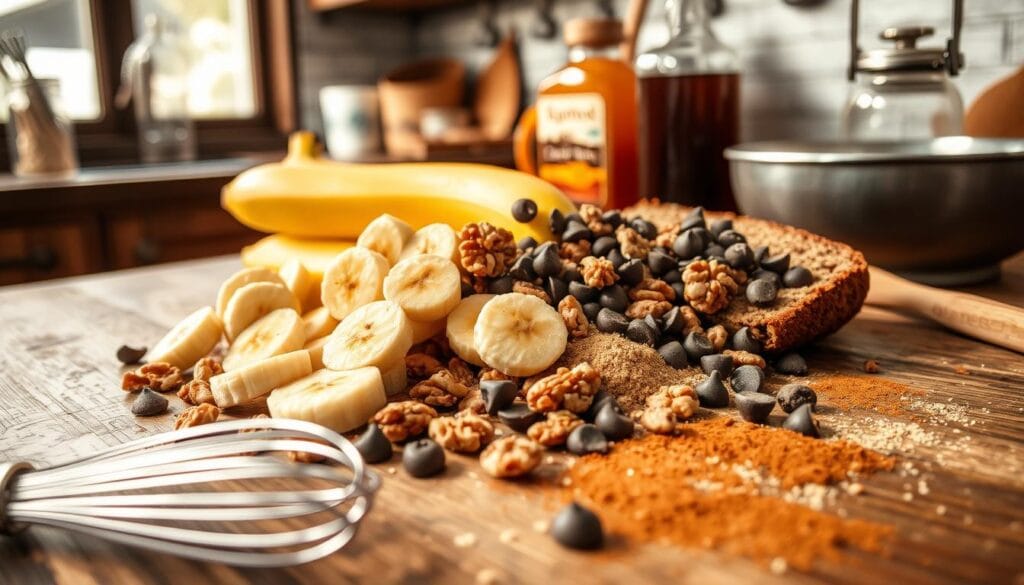
Customization turns basic into brilliant—your mix-ins become the signature. The base formula welcomes bold flavors and smart swaps. Let’s elevate your creation beyond the ordinary.
Flavor Boosters That Stay Put
Fold in ¾ cup chocolate chips or chopped nuts for texture contrasts. Semi-sweet, dark, or white varieties all work. Toss them with 1 teaspoon flour first—this keeps them suspended instead of sinking. Walnuts add crunch, while pecans offer buttery notes.
Spices like cinnamon or nutmeg deepen warmth without overpowering. Start with ½ teaspoon, then adjust. For muffins, fill liners ¾ full and bake 20 minutes. Individual portions freeze well for grab-and-go mornings.
Inclusive Twists for Diverse Needs
Gluten-free? Swap all-purpose flour 1:1 with almond or oat blends. Vegan bakers can use flax eggs and maple syrup. Reduce sugar by 25% if preferred—the fruit’s natural sweetness compensates.
Pro tip: Add mashed blueberries or shredded zucchini for moisture retention in modified versions. Dairy-free chocolate chips maintain richness in plant-based adaptations.
- Chocolate chips: 3 types with flour coating technique
- Nut quantities: ½ cup max to avoid density
- Spice ratios: ¼ tsp increments for balance
Troubleshooting Common Baking Issues
Even experienced bakers encounter hiccups when creating moist treats. Recognizing early warning signs prevents wasted ingredients and frustration. Let’s tackle three frequent challenges head-on.
Fixing Texture and Heat Challenges
Overmixed batter often causes dense results. Stop stirring once streaks of flour disappear—lumps are harmless. Gluten development accelerates with vigorous mixing, leading to rubbery textures. If your loaf resembles cake, check your folding technique.
Oven inconsistencies create uneven browning. Use an independent thermometer to verify accuracy. Hot spots? Rotate pans halfway through baking. For fast-browning tops, tent foil loosely over the loaf after 30 minutes.
| Issue | Sign | Solution |
|---|---|---|
| Overmixed Batter | Rubbery texture | Fold dry ingredients 12 strokes max |
| Oven Hot Spots | Uneven rise | Rotate pan + lower rack position |
| Premature Browning | Dark top/raw center | Cover with foil at 30-minute mark |
Timing matters more than clocks. Check doneness when cracks look dry and edges retreat from pan sides. Press the top gently—it should spring back. “If it jiggles, it’s not ready,” advises baker Marcus Lee.
Test multiple ways: toothpick crumbs indicate perfect moisture. Internal temperature should reach 200-205°F. Cool completely before slicing to avoid gummy layers. These adjustments turn kitchen mishaps into mastery.
Storing and Serving Your Delicious Banana Bread
Freshly baked treats deserve proper care to maintain their quality. How you store your creation impacts its texture and flavor longevity. Follow these guidelines to enjoy every slice at its peak.
Best Practices for Room Temperature and Freezer Storage
Always let your loaf cool completely before storing. Trapped steam creates condensation, leading to soggy spots. For countertop storage, wrap tightly in beeswax paper or place in an airtight container. It stays fresh up to four days this way.
Freezing extends enjoyment for months. Slice cooled bread first for grab-and-go portions. Wrap individual pieces in plastic, then seal them in a freezer-safe container. Thaw overnight at room temperature or warm slices in a toaster oven.
Label containers with dates to track freshness. Avoid refrigerating—cold temperatures accelerate starch crystallization, drying out the crumb. “Room temperature storage preserves moisture better than any other method,” confirms food scientist Dr. Elena Torres.
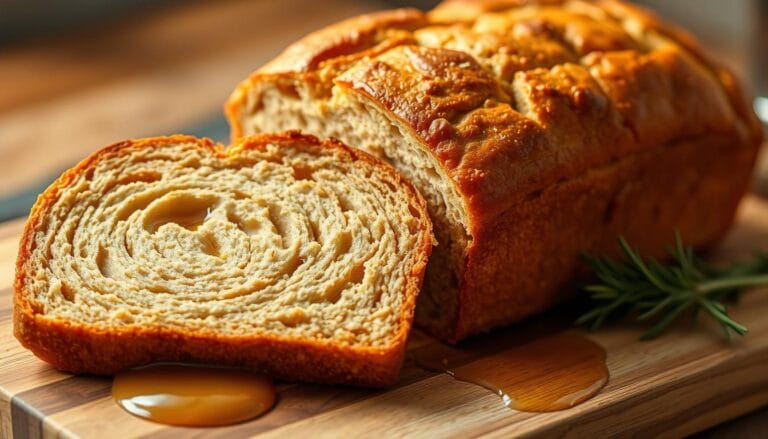
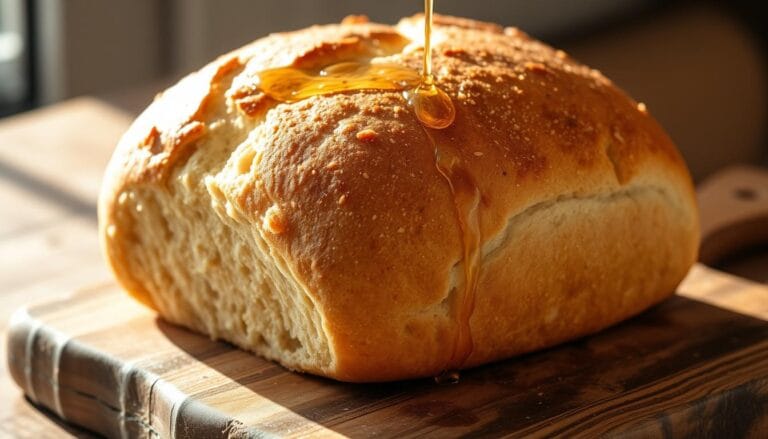
Serve slices plain or elevate them with spreads. Nut butter adds protein, while honey drizzle enhances natural sweetness. Pair with afternoon tea or pack as lunchbox treats. Proper storage ensures your efforts yield delicious rewards long after baking day.

