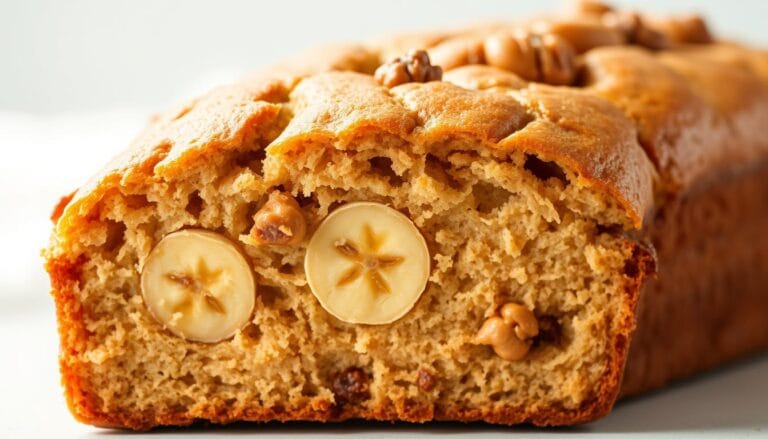
Moist & Delicious Banana Bread Recipe with Mayo
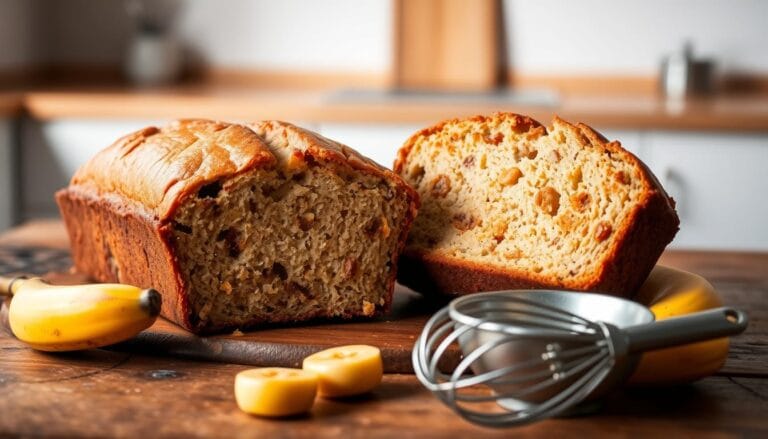
There’s something magical about transforming speckled, overripe fruit into a warm, fragrant loaf that fills your kitchen with comfort. I’ll never forget the first time my grandmother handed me a slice of her signature creation – its tender crumb and golden crust became my definition of home.
This crowd-pleasing version has earned near-perfect ratings from thousands of bakers, and for good reason. The secret? A surprising pantry staple adds unmatched moisture without altering the classic flavor you love. Yes, it works – even if it sounds unconventional at first.
You’ll need just 10 minutes of active prep to create a treat that stays fresh for days. Perfect for rushed mornings or last-minute gatherings, it adapts effortlessly to preferences. Fold in walnuts for crunch, chocolate chips for indulgence, or keep it simple for pure nostalgia.
What truly sets this version apart is its reliability. With a 4.98-star average across thousands of reviews, it consistently delivers bakery-quality results. The method balances simplicity with smart technique, ensuring your loaf emerges golden every time.
Introduction: Discover the Moist Twist in Banana Bread
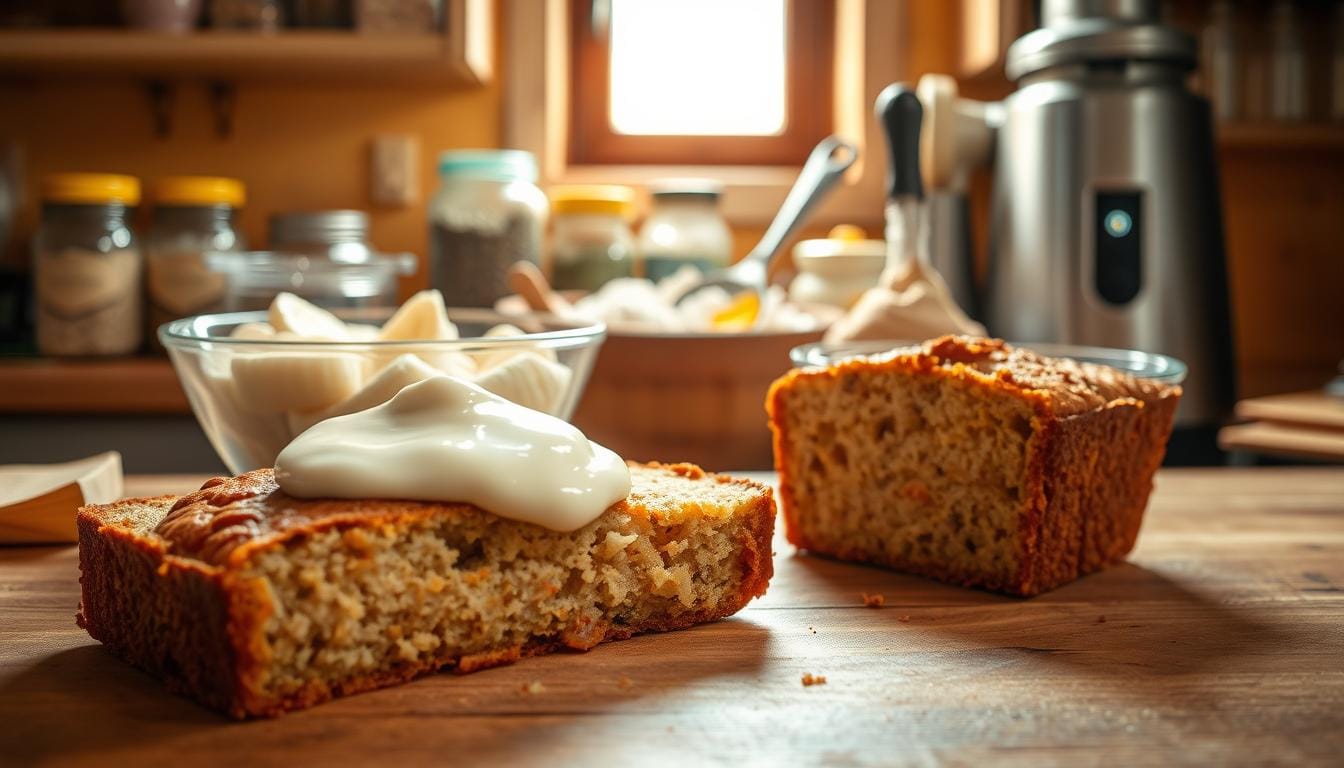
Bakers have whispered about this trick for decades: a dollop of mayo transforms dense loaves into cloud-soft treats. Unlike butter or oil, mayonnaise combines eggs and vegetable oil in perfect proportions. This pre-mixed duo locks in moisture while creating a velvety crumb structure. No specialty ingredients required – your fridge staple does the heavy lifting.
Generations of home cooks swear by this swap. It originated in Depression-era kitchens, where resourceful bakers used mayo to stretch expensive ingredients. Today, it eliminates guesswork – the emulsion ensures even fat distribution. Your loaf stays tender for days, not hours.
Science backs the method. Mayo’s oil hydrates flour slowly during baking, while eggs provide structure. You get richness without heaviness, unlike butter-based versions. The result? A golden slice that feels indulgent yet light.
This approach works for all skill levels. Novices avoid tricky creaming steps, while pros appreciate consistent results. Fold in mix-ins or keep it classic – the base adapts without becoming gummy. Your next breakfast or potluck just got an upgrade.
The Story Behind Banana Bread with Mayo
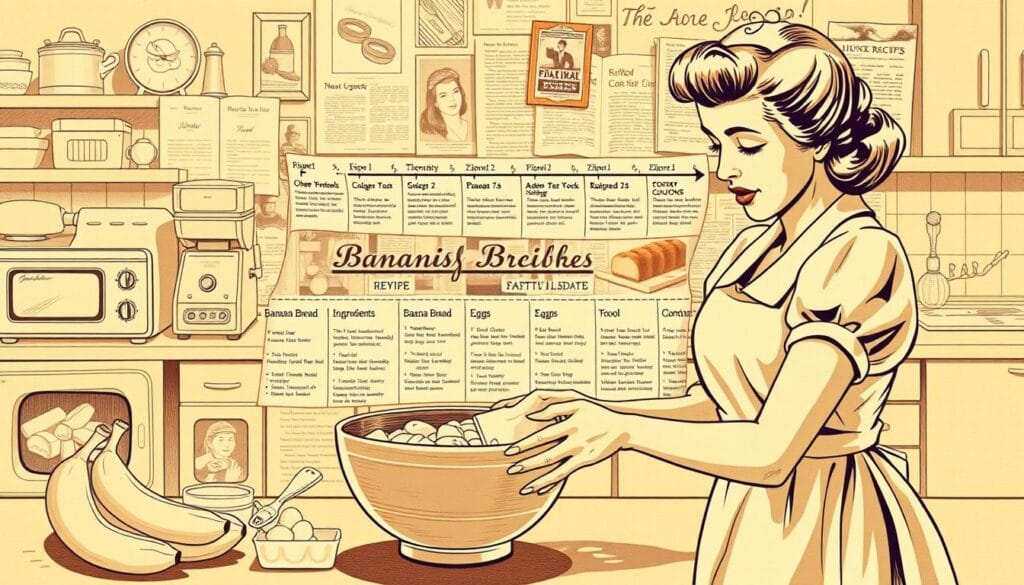
Mayo’s role in baking began as a Depression-era hack. When eggs and oil grew scarce, home cooks discovered their condiment shelf held a perfect substitute. This accidental innovation solved two problems: preserving moisture and stretching limited ingredients.
Community cookbooks from the 1930s reveal early adaptations. One entry notes: “A tablespoon of salad dressing keeps cakes springy for weeks.” These handwritten notes traveled through church groups and neighborhood exchanges, creating a quiet revolution in home baking.
Traditional recipes often produced dry loaves. The table below shows why mayo became a game-changer:
| Method | Moisture Source | Shelf Life | Ingredient Cost |
|---|---|---|---|
| Butter-based | Dairy fat | 2 days | High |
| Oil-based | Vegetable oil | 3 days | Medium |
| Mayo method | Emulsified oil & eggs | 5 days | Low |
Word-of-mouth testimonials fueled its popularity. Neighbors shared slices at potlucks, marveling at the velvety texture. No one guessed the secret ingredient until recipes started circulating in the 1950s.
This technique endures because it works. Modern bakers appreciate how mayo simplifies measuring while boosting reliability. It’s not just nostalgia – it’s science-backed practicality that still delivers results.
easy banana bread recipe with mayo – Why Mayo Makes a Difference
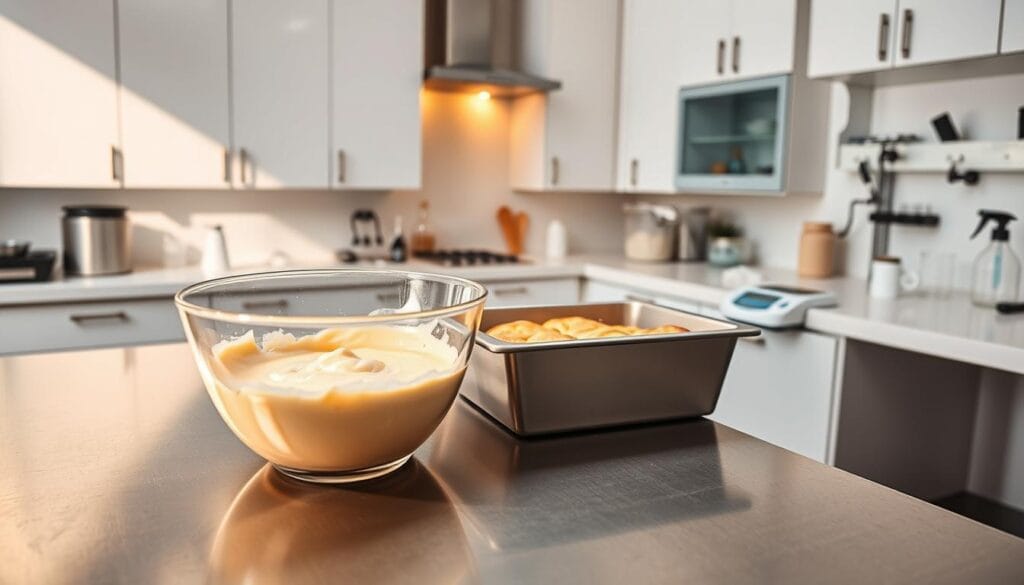
Kitchen chemistry reveals why mayo outperforms standard baking fats. Its emulsified structure – oil droplets suspended in egg proteins – coats flour particles evenly. This creates a tender crumb that resists drying out. No dense patches or greasy streaks plague your loaf.
Traditional fats like butter separate during mixing, leading to uneven texture. Mayo’s pre-blended emulsion ensures consistent distribution. You get reliable results without advanced techniques. Just stir and bake.
See how different fats compare:
| Fat Type | Mixing Ease | Moisture Retention | Total Fat per Serving |
|---|---|---|---|
| Butter | Requires creaming | Moderate | 12g |
| Oil | Easy | Good | 10g |
| Mayo | Effortless | Excellent | 8g |
Eggs in mayo act as natural binders, reducing the need for extra ingredients. Oil hydrates flour gradually during baking. Together, they create structure without heaviness. Your treat stays fresh longer – up to five days at room temperature.
This method cuts total fat by 33% compared to butter-based versions. You save calories without sacrificing texture. It’s not magic – just smart ingredient synergy that home bakers have trusted for generations.
Ingredient Spotlight: Bananas, Mayo, and More
Every great loaf begins with quality components. Let’s examine how each element contributes to texture and flavor balance. Proper measurements and smart substitutions ensure success whether you’re baking for breakfast or gifting to neighbors.
Choosing the Perfect Bananas for Baking
Black-speckled peels signal peak ripeness. These fruits develop concentrated sweetness as starches convert to natural sugars. Use 3 medium specimens (1 cup mashed) for ideal moisture without sogginess.
Need ripe fruit fast? Bake unpeeled bananas at 300°F for 15 minutes. Cool completely before mashing. Overripe specimens yield deeper flavor, while underripe ones create dense results.
The Role of Mayonnaise and Other Essentials
Regular mayonnaise beats Miracle Whip for neutral flavor. Brands like Hellmann’s or Duke’s provide consistent oil-to-egg ratios. This emulsion replaces traditional fats while enhancing shelf life.
| Ingredient | Purpose | Key Tip |
|---|---|---|
| All-purpose flour | Structure | Substitute 1:1 with whole wheat or gluten-free blends |
| Baking soda | Lift | Combine with acidic ingredients to activate |
| Granulated sugar | Sweetness & moisture | Reduce by 2 tbsp for less sweetness |
| Salt | Flavor enhancer | Use fine grain for even distribution |
Nuts and seeds add crunch without compromising texture. Walnuts and pecans remain classics, but sunflower seeds or shredded coconut offer exciting twists. Toast additions first for intensified flavor.
Essential Baking Techniques for a Moist, Tender Loaf
Perfecting your loaf starts with technique, not just ingredients. Two critical factors determine whether your creation emerges bakery-soft or brick-dense: how you handle the batter and how heat interacts with it.
The Art of Gentle Mixing
Gluten development makes sandwich bread chewy but ruins quick breads. Stir just until the flour disappears – lumps are better than overworked batter. Professional bakers call this “mixing to shaggy”:
| Mixing Style | Texture Result | Moisture Level |
|---|---|---|
| 10+ stirs | Tender crumb | High |
| 30+ stirs | Rubbery chew | Low |
Use a silicone spatula instead of electric mixers. Fold wet and dry ingredients together in a large bowl, scraping the bottom to incorporate pockets of flour.
Heat Management Secrets
Preheat oven 350°F – this moderate temperature allows gradual rise without crust hardening. Baking soda needs acidic ingredients (like brown sugar) to activate fully. Check these variables:
- Dark pans bake faster than glass – reduce time by 5 minutes
- High-altitude bakers: Increase temp to 375°F
- Cold mixture? Add 3-5 minutes to bake time
Insert a toothpick at 55 minutes. If crumbs cling, continue checking every 5 minutes. The loaf should pull slightly from the pan edges when done.
“A perfectly baked loaf sings when you tap its top – a hollow sound means stop baking immediately.”
Line your pan with parchment paper for foolproof removal. Let the bread cool 15 minutes before slicing to prevent crumbling.
Step-by-Step Guide to Crafting Your Banana Bread
Transform your kitchen into a bakery with this fail-safe method. Start by preheating your oven to 350°F – consistent heat ensures even rising. Lightly grease an 8×4-inch or 9×5-inch loaf pan, then line it with parchment paper for effortless removal later.
Mash three ripe fruits in a medium bowl using a fork. Aim for a chunky puree – small lumps add texture. Combine with ½ cup mayonnaise, one room-temperature egg, and 1 teaspoon vanilla. Room-temperature ingredients blend smoothly, preventing curdling in your mixture.
In a separate large bowl, whisk together:
- 1½ cups all-purpose flour
- ¾ cup granulated sugar (up to 1 cup for sweeter loaves)
- 1 teaspoon baking soda
- ½ teaspoon fine salt
Pour wet ingredients into dry components. Fold gently with a silicone spatula until just combined – stop when you see no flour streaks. Thick batter indicates proper hydration. Fold in nuts or chocolate chips now if desired.
Bake 60-70 minutes based on pan size. Smaller pans need longer time. Insert a toothpick at 55 minutes – moist crumbs mean continue baking. Cool in the pan 15 minutes before transferring to a rack. This resting period prevents crumbling while sealing in moisture.
Key timing notes:
- Dark metal pans: Check 5 minutes early
- High-altitude adjustment: Increase temp to 375°F
- Double-check doneness if batter was cold
Customizing Your Banana Bread to Suit Your Taste
Your loaf becomes a canvas once the base is mastered. Fold in toasted walnuts for earthy crunch or dark chocolate chunks for decadent pockets. Crumbled pretzels add salty contrast, while dried cranberries bring tart brightness. The batter welcomes bold experiments without losing its tender structure.
Dietary needs? Swap all-purpose flour for oat or almond varieties. Reduce sugar by 25% and add mashed dates for natural sweetness. Vegan bakers can substitute flax eggs and plant-based mayo. Every tweak maintains that signature moisture thanks to the emulsion’s flexible chemistry.
Spice enthusiasts might stir in cardamom or grated ginger. Citrus lovers can zest an orange into the wet ingredients. For morning energy boosts, mix in chia seeds or protein powder – just add 2 extra tablespoons of milk.
Remember: juicy add-ins like blueberries require patting dry first. Store customized loaves differently too. Nut-free versions last 5 days wrapped tightly, while chocolate-studded slices taste best reheated briefly. Your creativity shapes each bite.

