Classic Bread Recipe with Honey – Whole Wheat Version for Better Flavor
The smell of fresh bread is my happy place. Growing up, my grandma’s kitchen was magical. It turned simple ingredients into warm, golden loaves that filled our home with comfort.
Now, I’m excited to share a honey whole wheat bread recipe. It captures that same warmth and nostalgia.
Baking your own bread is more than just nutrition. It’s about making something special with your hands. This honey whole wheat bread recipe combines wholesome ingredients with amazing flavor. It’s better than store-bought loaves.
Whether you’re an experienced baker or just starting, you’ll love making this bread. It’s a joy to create.
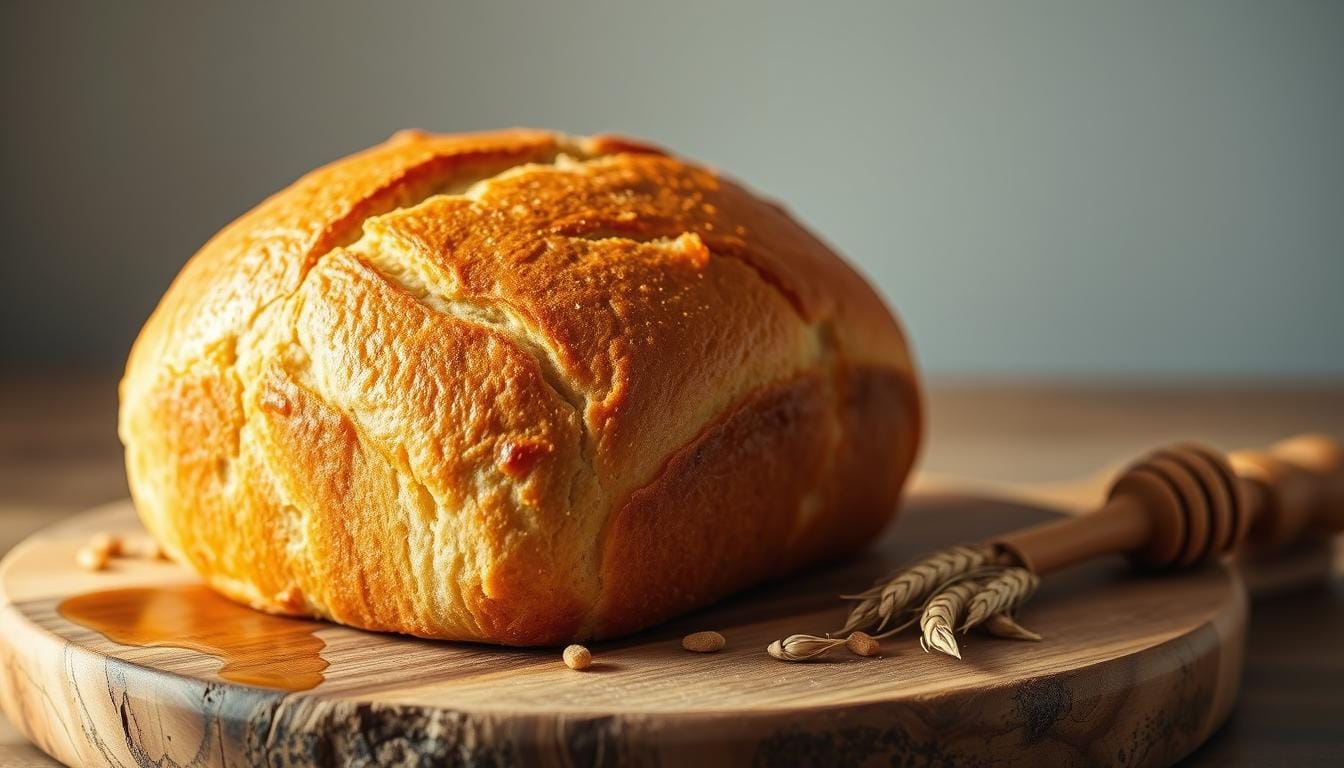
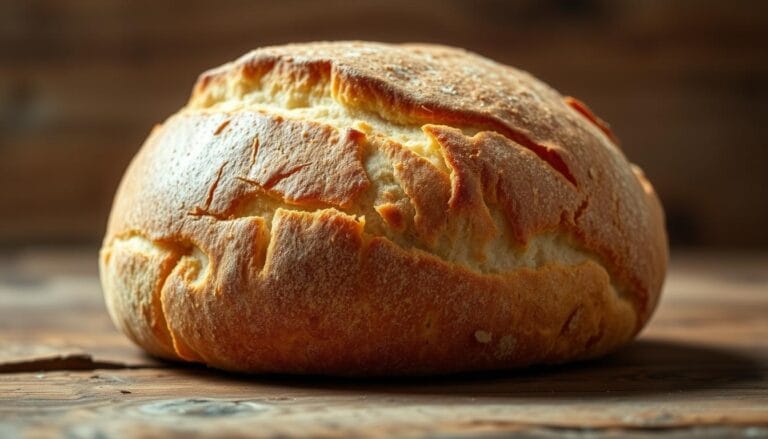
Imagine pulling a perfectly golden loaf from the oven. Its crust is crisp, and the honey’s sweetness dances through each slice. With a few simple ingredients and patience, you can make a culinary masterpiece. It will impress your family and friends.
Your journey into homemade bread starts here. Get ready to explore a honey whole wheat bread recipe. It will change your baking experience and bring home-baked goodness to your table.
Table of Contents
Why Make Homemade Honey Wheat Bread
Making your own honey grain bread is more than a fun activity. It’s also good for your wallet and health. It brings you closer to traditional cooking.
Cost-Effective Alternative to Store-Bought Bread
Baking bread at home saves money. Making honey wheat bread is cheaper than buying it. Here’s why:
- Ingredients cost less than store-bought loaves
- Buying flour in bulk saves money
- No extra packaging or markup costs
Health Benefits of Whole Wheat
Whole wheat flour is very nutritious. Your homemade honey grain bread is full of good stuff:
- It has more fiber
- It has natural vitamins and minerals
- No bad preservatives or additives
Superior Fresh-Baked Taste
Freshly baked bread has a special warm, inviting aroma. Your honey wheat bread tastes better than store-bought. Each slice is full of flavor.
Essential Ingredients for Perfect Honey Wheat Bread
Making a tasty wheat bread at home begins with picking the right ingredients. Each part is key for the bread’s taste, texture, and health benefits.
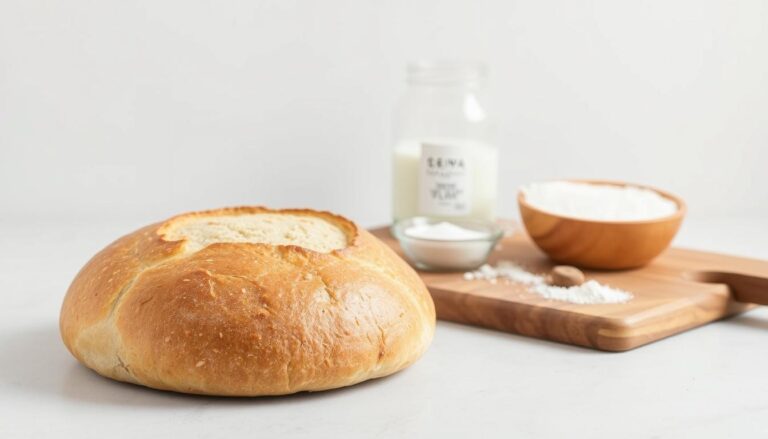
Your homemade wheat bread recipe needs a mix of important ingredients. They work together to make a delicious loaf:
- Whole Wheat Flour: The base of your bread, rich in nutrition and flavor
- All-Purpose Flour: Makes the bread lighter and softer
- Active Dry Yeast: Important for the bread to rise and get complex
- Local Honey: Adds sweetness and helps yeast work
- Extra Virgin Olive Oil: Adds moisture and a bit of richness
- Sea Salt: Boosts the flavor
- Warm Water: Needed to activate yeast and mix ingredients
When making wheat bread at home, quality is key. Pick fresh, organic ingredients if you can. Whole wheat flour adds nutrition, and a bit of all-purpose flour keeps it light.
Professional bakers say the secret to great bread is knowing how ingredients work together. Honey does more than sweeten; it feeds the yeast and makes the crust golden. Olive oil keeps the bread moist, so it doesn’t dry out.
Pro tip: Always use room temperature ingredients for the most consistent results in your homemade wheat bread.
Understanding Yeast Activation and Proofing
Mastering yeast activation is key for a great honey wheat bread machine recipe. Yeast turns simple ingredients into a fluffy, tasty loaf. Getting it right is crucial for your baking success.
Yeast needs the right conditions to activate and make your bread rise. Your recipe must create the perfect environment for yeast to thrive.
Proper Water Temperature
Water temperature is very important for yeast activation. Use water between 115-120°F. This warmth is just right for yeast without harming it. Here are some temperature tips:
- Below 105°F: Yeast stays dormant
- 105-115°F: Lukewarm and safe for activation
- 115-120°F: Perfect activation zone
- Above 130°F: Kills yeast completely
Signs of Active Yeast
It’s easy to tell if yeast is active in your recipe. Look for these signs:
- Foamy surface develops within 5-10 minutes
- Distinct yeasty aroma emerges
- Mixture becomes slightly cloudy
- Bubbles form across the liquid’s surface
Troubleshooting Yeast Issues
Yeast can be tricky. If your recipe isn’t rising, try these tips:
- Expired yeast: Check packet expiration dates
- Incorrect water temperature: Use a thermometer for precision
- Old flour: Replace flour every 6-12 months
- Insufficient proofing time: Allow adequate resting periods
Bread Recipe with Honey – Step-by-Step Instructions

Making the perfect honey whole wheat bread is all about precision and care. Your journey starts with getting all the ingredients ready and setting up your workspace.
- Begin by mixing your dry ingredients in a big bowl:
- 3 cups whole wheat flour
- 1 cup bread flour
- 2 teaspoons salt
- 2 tablespoons dry active yeast
- Then, mix warm water, honey, and yeast in another bowl:
- 1/4 cup warm water (110°F)
- 3 tablespoons honey
- Yeast mixture
- Mix the wet and dry ingredients together until smooth
- Knead the dough for 8-10 minutes until it’s elastic and smooth
- Let the dough rise in a warm, draft-free spot for 1 hour
- Punch down the dough, shape it into a loaf, and let it rise again
- Bake at 375°F for 30-35 minutes
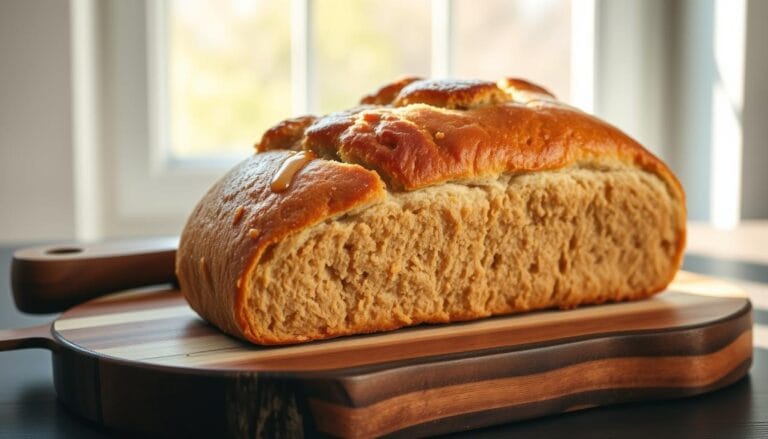
Your honey whole wheat bread will be golden and have a rich, nutty taste. The honey makes it sweet and keeps it moist.
Pro tip: Brush the top of the loaf with melted butter or more honey for a golden crust!
Fresh bread is always worth making. With practice, you’ll get better at this recipe. You’ll impress your family with homemade bread from your kitchen.
Mastering the Kneading Process
Kneading is key to making perfect honey grain bread. It turns your ingredients into a smooth, elastic dough. This dough will become a delicious loaf of bread. Knowing the right kneading methods can greatly improve your bread’s texture and taste.
Hand Kneading Techniques
When kneading by hand, follow these steps:
- Dust your work surface with a light layer of flour
- Push the dough away from you with the heel of your hand
- Fold the dough back over itself
- Give the dough a quarter turn
- Repeat the process for about 5-8 minutes
Stand Mixer Method
A stand mixer can make kneading easier. Use the dough hook attachment and mix on low to medium speed. The mixer works hard to develop gluten, ensuring a consistent texture.
How to Tell When Dough is Ready
Knowing when your dough is ready takes practice. Look for these signs:
- Smooth texture with no visible lumps
- Elastic quality that springs back when gently pressed
- Dough that no longer sticks to your hands
- Window pane test: Stretch a small piece of dough – it should become thin enough to see light through without tearing
Pro tip: Proper kneading is the secret to achieving a light, airy texture in your homemade bread.
First and Second Rise: Keys to Success

Mastering the rising process is key to making great wheat bread at home. The magic of bread-making happens in these stages. Yeast turns your dough into a light, airy masterpiece.
Your first rise, called proofing, lets the dough develop flavor and texture. You need to create the perfect environment for yeast to work its magic.
- Cover the dough with a clean, damp cloth
- Place in a warm, draft-free area
- Ensure temperature is between 75-80°F
- Wait until dough doubles in size (typically 1-2 hours)
After the first rise, gently punch down the dough. This step releases air bubbles. It helps create a uniform texture in your wheat bread.
“Patience is the secret ingredient in perfect bread-making” – Professional Baker’s Wisdom
The second rise, or proofing, happens after shaping your loaf. This final rise gives your bread its ultimate structure and volume before baking.
| Rise Stage | Duration | Expected Result |
|---|---|---|
| First Rise | 1-2 hours | Dough doubles in size |
| Second Rise | 30-45 minutes | Loaf reaches final shape |
Watch for visual cues: your dough should look puffy and feel soft. These signs mean your wheat bread is ready for the oven.
Baking Temperature and Timing Guide
Making the perfect honey wheat bread machine recipe needs precision. The right temperature and timing make a big difference. They turn your bread into something amazing, with a golden crust and soft inside.
Preheating Importance
Preheating your oven is key to making great honey wheat bread. A hot oven bakes evenly and makes the crust crispy. Turn your oven to 375°F at least 15-20 minutes before baking.
- Consistent temperature prevents uneven baking
- Helps activate yeast and create proper rise
- Promotes better crust development
Visual Cues for Doneness
Knowing when your honey wheat bread is done is more than just timing. Look for these signs:
- Deep golden-brown crust
- Slight cracking on the surface
- Bread pulls away from the sides of the pan
Internal Temperature Check
For the best way to check if your bread is done, use a digital thermometer. Your honey wheat bread should be 190-200°F inside. This method is more accurate than just timing.
Pro tip: Insert the thermometer into the bottom or side of the loaf for the most accurate reading.
Storage Tips for Extended Freshness
Keeping your homemade honey whole wheat bread fresh is key. The right storage can make your bread last longer. This way, you can enjoy it for days after baking.
Once your bread cools down, store it right to keep its taste and texture. Storing it at room temperature is best for a short time. It keeps your bread soft and tasty.
- Use a bread box or airtight container to prevent moisture buildup
- Keep bread away from direct sunlight and heat sources
- Slice only what you need to maintain overall freshness
There are ways to make your honey whole wheat bread last longer:
| Storage Method | Duration | Best For |
|---|---|---|
| Room Temperature | 2-3 days | Immediate consumption |
| Refrigerator | 5-6 days | Longer preservation |
| Freezer | Up to 3 months | Long-term storage |
Pro tip: When freezing your honey whole wheat bread, wrap it tightly in plastic wrap and then place it in a freezer bag to prevent freezer burn. Thaw at room temperature when ready to enjoy.
Reviving stale bread is easy. Just sprinkle it with water and warm it in the oven for a few minutes. This will make it soft and warm again.
Common Mistakes to Avoid
Baking the perfect honey grain bread needs care and detail. Even skilled bakers can make mistakes that affect their bread’s quality. Knowing these errors helps make delicious honey grain bread every time.
Flour Measurement Challenges
Getting flour measurements right is key in any honey grain bread recipe. The biggest mistake is using volume instead of weight. Professional bakers suggest:
- Use a kitchen scale for exact flour measurements
- Fluff flour before measuring to avoid packing
- Level off measuring cups with a straight edge
“Baking is a science, and precision matters more than intuition.” – Professional Baker
Temperature Control Difficulties
Water and room temperature greatly affect yeast and bread rising. Important points to remember are:
- Water should be between 105-110°F for best yeast action
- Keep a warm, draft-free spot for rising
- Check room temperature for dough development
Rising Time Mistakes
Getting the rising right can be hard in your honey grain bread recipe. Look out for these issues:
- Under-proofing makes bread dense and heavy
- Over-proofing causes bread to fall apart
- Use the poke test to see if dough is ready
Avoiding these mistakes will help you make perfect honey grain bread. It will impress your family and friends.
Variations and Flavor Enhancements
Making a unique wheat bread at home is exciting. Your basic honey wheat bread can become a fun adventure with simple changes. Try adding different ingredients and creative twists.
Start by learning how ingredients change your bread. When making wheat bread, think about these mix-ins:
- Nutty Additions: Chopped walnuts, pecans, or almonds add crunch and flavor
- Seed Sensations: Sunflower, pumpkin, or flax seeds boost nutrition and texture
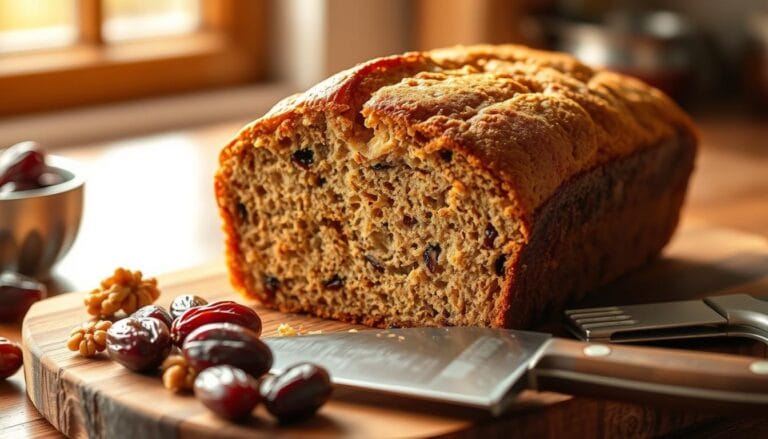
- Dried Fruit Options: Raisins, cranberries, or chopped dates add sweetness
Changing your flour can also change the bread’s taste. Use whole wheat as the base. Then, try other flours like:
- Rye flour for a deeper taste
- Spelt flour for more nutrition
- Oat flour for softness
“Bread baking is an art of patience and creativity” – Artisan Baker’s Wisdom
Herb and spice fans can make their bread better. Add fresh rosemary, thyme, or a bit of garlic powder. Remember to adjust the liquid when adding dry ingredients to keep the dough right.
Conclusion
Making your own honey wheat bread machine recipe is more than baking. It’s a way to connect with a long-standing tradition of home cooking. By mastering this recipe, you’ve gained a skill that brings fresh, nutritious bread right to your kitchen.
Each time you mix, knead, and bake your honey wheat bread, you’ll feel more confident. The process might seem hard at first. But with practice, you’ll learn about dough, yeast, and bread making.
Remember, bread making gets better with time. Don’t worry about mistakes at first. Every baker starts where you are. Try new things, change ingredients, and make your own honey wheat bread recipe.
We encourage you to share your bread-making stories, tips, and changes. Your journey to homemade bread is just starting. Each loaf is a story of creativity, nourishment, and the joy of baking from scratch.
FAQ
How long does homemade honey wheat bread stay fresh?
Your homemade honey wheat bread stays fresh for 3-5 days at room temperature. Keep it in an airtight container. For longer freshness, refrigerate it for up to a week or freeze for 3 months.
Can I make this bread without a bread machine?
Yes, you can! Use traditional hand-kneading or a stand mixer with a dough hook. Just mix and knead manually, following the same steps as the bread machine recipe.
What type of honey works best for this recipe?
Raw honey or local wildflower honey are great choices. They add the best flavor and sweetness. Choose pure, unprocessed honey for the best taste and nutrition.
Can I substitute all-purpose flour completely with whole wheat flour?
You can use 100% whole wheat flour, but the bread will be denser. For a lighter texture, mix whole wheat with all-purpose flour. A 50/50 or 60/40 ratio works best.
How do I know if my yeast is still active?
Dissolve yeast in warm water with honey. It should foam and bubble in 5-10 minutes. If not, your yeast is bad and needs to be replaced.
Can I add seeds or nuts to this honey wheat bread recipe?
Yes! Add sunflower seeds, pumpkin seeds, chopped walnuts, or flax seeds. Mix in 1/4 to 1/2 cup during the initial mixing for even distribution.
What’s the ideal rising temperature for bread dough?
The dough needs a warm, draft-free place. Aim for 75-85°F. You can use a slightly warmed oven or a warm appliance like a dishwasher.
How can I tell when the bread is fully baked?
Check the bread with three methods. It should have a golden crust, sound hollow when tapped, and have an internal temperature of 190-200°F.
Your turn: Bake it, Rate it, Share it!
There are no reviews yet. Be the first one to write one.

