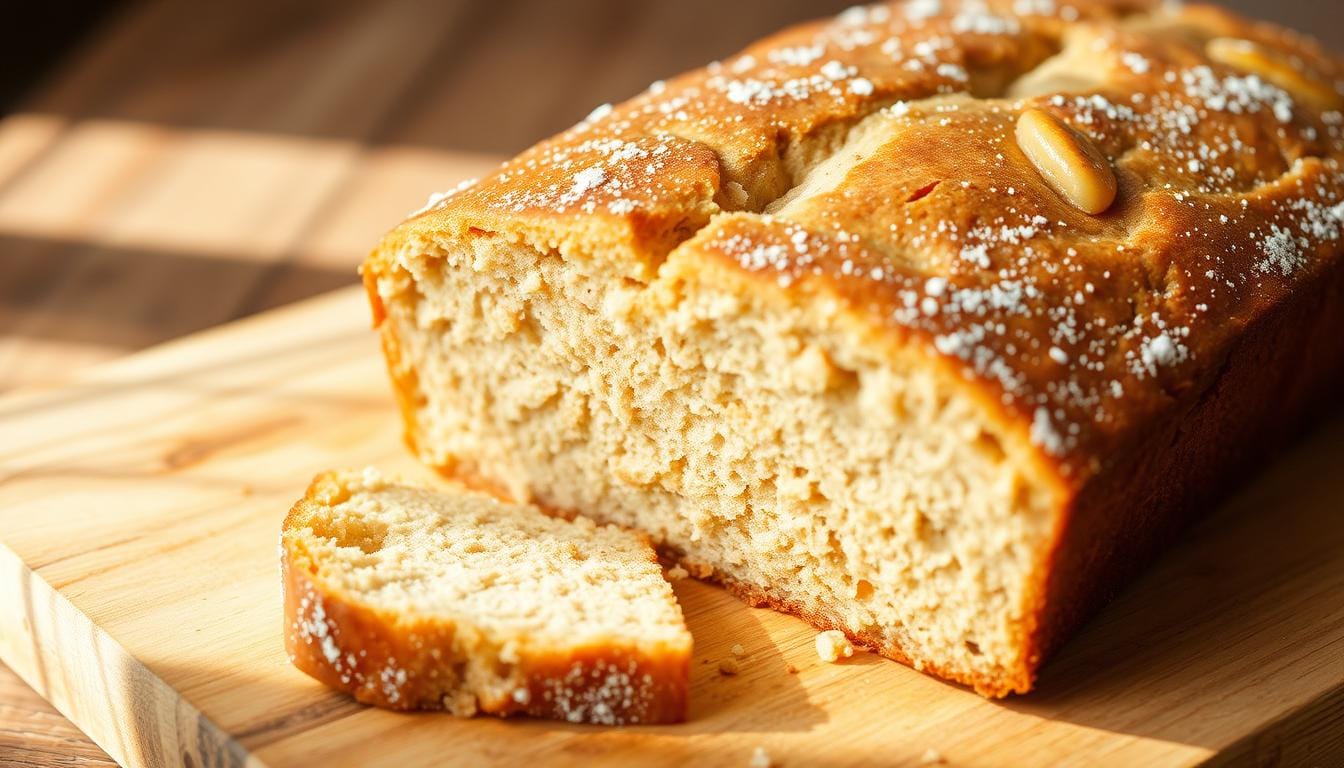
The Best 3 Ingredient Banana Bread – Simple & Moist
Have you ever craved something sweet and comforting but didn’t want to spend hours in the kitchen? Imagine a recipe so simple, it feels almost magical. This banana bread is here to change the way you bake forever.
What makes this recipe stand out? It uses just three basic ingredients: ripe bananas, self-rising flour, and milk. No butter, oil, eggs, or refined sugar are needed. It’s perfect for those moments when your pantry feels a little bare.
This accidental creation during recipe testing turned into a game-changer. The texture is bread-like, similar to Irish soda bread, yet it’s moist and satisfying. Plus, it’s versatile—swap in plant-based milk for a vegan option.
Not only is it easy to make, but it’s also healthier. Each slice is just 102 calories and contains only 1g of fat. It’s a guilt-free treat that doesn’t compromise on flavor. Ready to bake something extraordinary? Let’s get started.
Introduction to 3 Ingredient Banana Bread
Baking doesn’t have to be complicated—this recipe proves it. With the rise of minimalist baking trends, people are embracing recipes that require fewer ingredients and less effort. This easy banana bread is a perfect example of how simplicity can lead to delicious results.
Traditional recipes often call for 10 or more items, making them time-consuming and overwhelming. This version, however, uses just three basics. The secret lies in self-rising flour, which eliminates the need for additional leavening agents. It’s a clever shortcut that saves both time and effort.
One of the biggest advantages of this banana bread recipe is its efficiency. Prep takes just five minutes, and the bake time ranges from 35 to 40 minutes. No electric mixers or special equipment are needed—just a bowl and a spoon. It’s ideal for those lazy baking days when you want something quick and satisfying.
Another perk? You can use frozen bananas, making this recipe suitable year-round. Whether you’re a beginner or an experienced baker, this bread recipe is designed to make your life easier. It’s budget-friendly, versatile, and delivers a moist, flavorful result every time.
As someone who loves experimenting in the kitchen, I’ve found this recipe to be a lifesaver. It’s perfect for those moments when you want a homemade treat without the hassle. Give it a try, and you’ll see why this easy banana bread is a favorite among minimalist bakers.
Why You’ll Love This Recipe
Looking for a quick and effortless way to satisfy your sweet tooth? This recipe is designed to make your life easier. With just a few ingredients and minimal prep time, you’ll have a delicious treat ready in no time.
No advanced baking skills are needed. Whether you’re a beginner or a seasoned pro, this easy method ensures success every time. All you need are common kitchen tools like a fork, bowl, and loaf pan. It’s perfect for those moments when you want something homemade without the hassle.
This recipe is also highly adaptable. Swap in gluten-free flour or plant-based milk to suit dietary needs. It’s a cost-effective alternative to store-bought versions, saving you money while reducing food waste by using overripe fruit.
Got unexpected guests or sudden cravings? This treat is ready in under 45 minutes, making it ideal for last-minute situations. Plus, it’s a fun activity to do with kids, and cleanup is a breeze.
For meal prep enthusiasts, this recipe is freezer-friendly. Bake a batch, slice it up, and store it for later. It’s the perfect solution for busy schedules or when you need a quick snack on hand.
With its simplicity, versatility, and delicious results, this easy recipe is sure to become a favorite in your kitchen. Give it a try and see why it’s loved by so many!
Ingredients for 3 Ingredient Banana Bread
Sometimes, the best recipes come from the simplest ingredients. This recipe relies on just three basics, each playing a crucial role in creating a moist and flavorful treat. Let’s break down what you’ll need and why each item matters.
Bananas
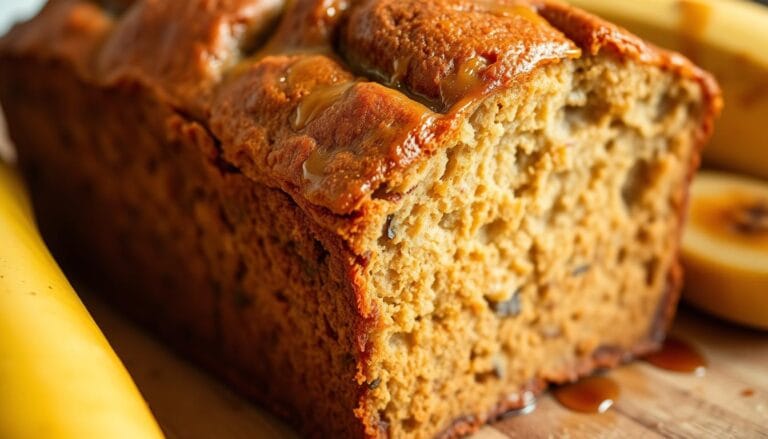
The star of the show, ripe bananas, bring natural sweetness and moisture. Look for 3-4 overripe ones with black spots. As bananas ripen, their starch converts to sugar, making them perfect for baking. If you’re not ready to bake, freeze them in their peel for later use.
Self-Rising Flour
This flour simplifies the process by already containing leavening agents. If you don’t have it on hand, make your own by mixing 2 cups of all-purpose flour, 1 tablespoon of baking powder, and ½ teaspoon of salt. For a gluten-free option, use 2 cups of gluten-free flour and 2 teaspoons of baking powder. Always measure flour using the spoon-and-level method to avoid overpacking.
Milk
Whether you choose dairy or plant-based, milk adds moisture and helps bind the ingredients. Room temperature milk works best for even mixing. Use a liquid measuring cup for accuracy, as dry cups can lead to incorrect measurements.
How to Make 3 Ingredient Banana Bread
Ready to whip up a delicious treat with minimal effort? This recipe is as straightforward as it gets. Follow these easy steps to create a moist and flavorful snack that’s perfect for any occasion.
Step 1: Prepare the Bananas
Start by mashing your bananas. You can use a fork for a chunkier texture or a blender for a smoother consistency. Three whole bananas typically yield about 1.5 cups of mashed fruit. If your bananas aren’t ripe enough, roast them in the oven 350°F for 10 minutes to enhance their sweetness.
Step 2: Mix the Ingredients
In a large bowl, combine the mashed bananas with self-rising flour and milk. Mix until the batter is thick but pourable. Use a silicone spatula to scrape the edges of the bowl, ensuring everything is well incorporated. Proper mixing is key to achieving the right consistency.
Step 3: Bake the Bread
Pour the batter into a greased or parchment-lined loaf pan. Bake at oven 350°F for 45-50 minutes. Rotate the pan halfway through for even browning. To check for doneness, insert a toothpick—it should come out clean. Alternatively, the bread should spring back when lightly pressed, and the internal temperature should reach 200°F.
| Step | Key Tips |
|---|---|
| Prepare | Use ripe or roasted bananas for best results. |
| Mix | Ensure the batter is thick but pourable. |
| Bake | Rotate the pan and test for doneness. |
Once baked, let the bread cool in the pan for 15 minutes before transferring it to a wire rack. This ensures it holds its shape and stays moist. Now, slice and enjoy your homemade creation!
Tips for Perfect Banana Bread
Achieving bakery-level results at home is easier than you think. With these professional tips, you can ensure your treat turns out moist and flavorful every time.
Start by using a digital scale for precise measurements. This ensures consistency and avoids common issues like a sunken middle or cracked top. If you notice browning too quickly, tent your pan with foil at the 25-minute mark.
To enhance moisture, add 1 tablespoon of Greek yogurt or applesauce to the batter. For a nutritional boost, mix in chia seeds or wheat germ. These small tweaks can make a big difference in texture and flavor.
If you’re doubling the recipe, freeze extra batter for up to three months. This saves time and ensures you always have a fresh batch ready. For presentation, dust with powdered sugar or create a cinnamon swirl before baking.
When reheating, use the microwave for 15-20 seconds to restore freshness. Interestingly, the flavor often improves the next day, making it even more enjoyable. With these tips, you’ll master the art of baking this classic treat effortlessly.
Variations of 3 Ingredient Banana Bread
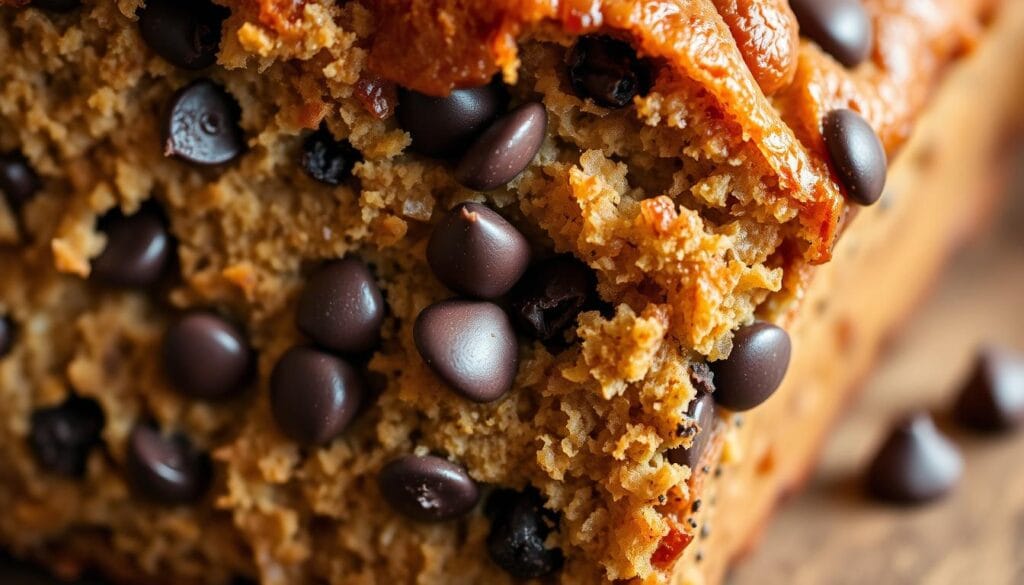
Want to take your baking game to the next level without complicating things? This recipe is incredibly versatile, allowing you to customize it to suit your taste or dietary needs. Whether you’re craving something sweet, savory, or gluten-free, there’s a variation for everyone.
Add Mix-Ins
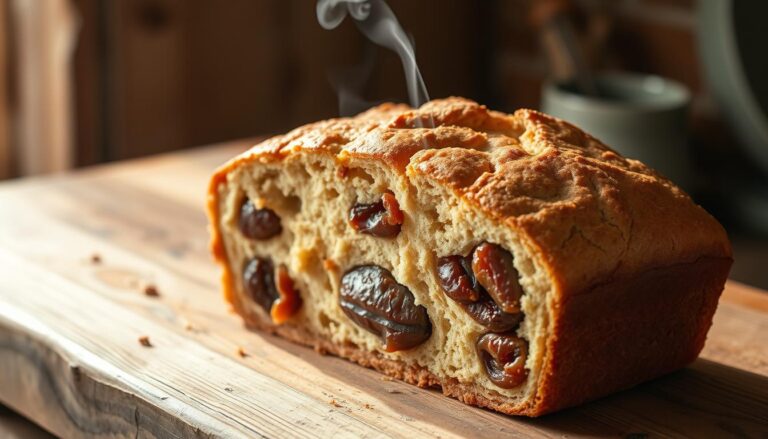
Enhance the flavor and texture by adding your favorite mix-ins. For a sweet twist, try folding in chocolate chips, caramel swirls, or dried fruit. If you prefer something savory, cheddar cheese or bacon bits can add a unique touch. For crunch, toasted coconut or granola clusters work beautifully.
Adjust Sweetness
Customize the sweetness to your liking. Natural options like honey or date paste add depth, while sugar-free alternatives like erythritol or monk fruit sweetener keep it light. Spices such as cardamom, ginger, or orange zest can also elevate the flavor profile.
Make It Gluten-Free
For a gluten-free version, substitute self-rising flour with oat flour or a blend of almond flour and psyllium husk. These alternatives maintain the moist texture while catering to dietary restrictions. You can also add collagen peptides or whey isolate for a protein boost.
| Variation | Options |
|---|---|
| Mix-Ins | Chocolate chips, caramel swirls, cheddar cheese |
| Sweetness | Honey, erythritol, cardamom |
| Dietary | Oat flour, almond flour, collagen peptides |
With these creative adaptations, you can mix and match to create a treat that’s uniquely yours. Experiment with different combinations to discover your favorite flavor profile.
How to Store and Freeze Banana Bread
Keeping your baked goods fresh and flavorful is easier than you think. Proper storage ensures your treats stay moist and delicious for days. Here’s how to store and freeze your creations like a pro.
For short-term storage, keep your loaf at room temperature. Wrap it in wax paper and place it in a bread box for up to two days. This method maintains the texture without drying it out.
If you need to store it longer, use the refrigerator. Place the loaf in an airtight container with a paper towel to absorb excess moisture. This keeps it fresh for up to four days.
For long-term storage, freeze your loaf. Double-wrap it in plastic and foil to prevent freezer burn. Alternatively, slice it first and use parchment dividers in freezer bags. Frozen bread stays fresh for up to three months.
When you’re ready to enjoy, thaw it overnight in the refrigerator or use 30-second microwave bursts. To refresh stale bread, microwave it for 10 seconds with a cup of water to restore moisture.
Always let your loaf cool completely before storing. This prevents condensation, which can make it soggy. Follow these tips, and your treats will stay fresh every time.
| Storage Method | Duration |
|---|---|
| Room Temperature | Up to 2 days |
| Refrigerator | Up to 4 days |
| Freezer | Up to 3 months |
Serving Suggestions

From breakfast to dessert, discover how versatile your creation can be. Whether you’re enjoying it solo or pairing it with other flavors, these ideas will take your treat to the next level.
For a quick breakfast, toast a slice and spread peanut butter or ricotta cheese. Drizzle with honey for a touch of sweetness. Or, turn it into a breakfast sandwich by adding scrambled eggs and avocado.
Craving something indulgent? Turn it into French toast by dipping slices in a custard mixture and frying until golden. Serve with a chocolate drizzle or maple syrup for a decadent twist.
For dessert, try making bread pudding with a vanilla sauce. Or, create an ice cream sandwich by layering slices with vanilla bean ice cream. These ideas are perfect for satisfying your sweet tooth.
Want something gourmet? Slice it thin and toast for crostini. Top with mascarpone and fresh berries for a sophisticated snack. Or, try a Bananas Foster flambé version for a show-stopping dessert.
Pair your treat with a cold brew coffee or a warm chai latte for the ultimate experience. These beverage pairings complement the flavors perfectly, making every bite even more enjoyable.
Conclusion
This recipe is a game-changer for anyone who loves baking at home. It’s simple, healthy, and versatile, making it perfect for any occasion. Whether you’re a beginner or a seasoned baker, this easy method ensures success every time.
Feel free to experiment with your own twists. Add mix-ins like nuts or chocolate for a personal touch. Don’t forget, you can freeze slices for quick snacks later. It’s a lifesaver for busy days.
Share your creations on social media using #3IngredientMagic. We’d love to see what you come up with! For your convenience, grab the printable recipe card below.
If you enjoyed this, check out our easy 2-ingredient cookies or 4-ingredient muffins. They’re just as simple and delicious. Happy baking!

