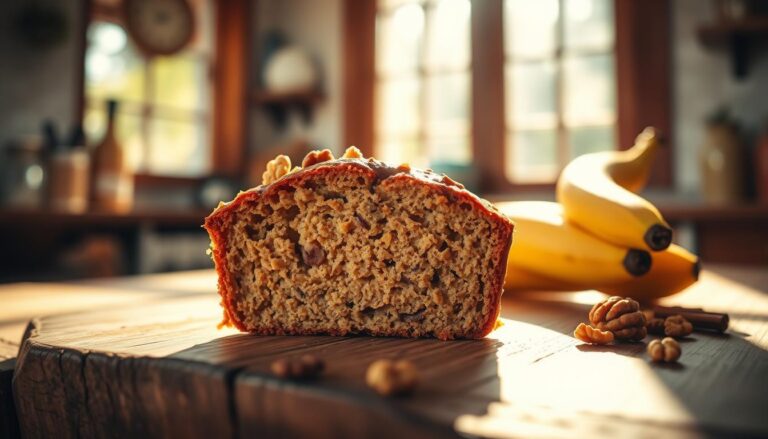
Delicious Homemade Banana Bread: Easy Recipe
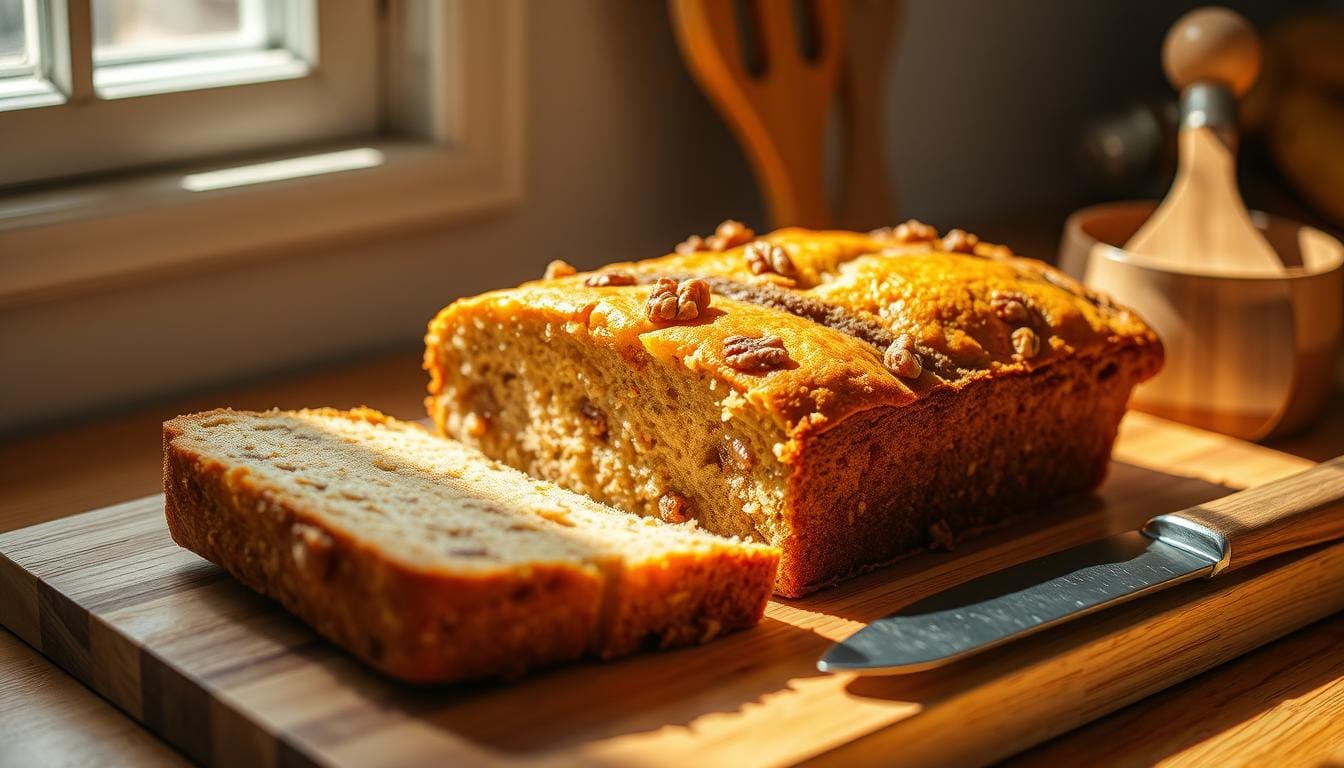
There’s something magical about pulling a golden-brown loaf from the oven, its aroma wrapping your kitchen in comfort. For many, this moment sparks memories of family gatherings or quiet Sunday mornings. That’s the power of a timeless classic—one that’s earned over 6,000 five-star reviews from bakers nationwide.
What makes this version stand out? It’s the harmony of simplicity and perfection. Unlike dense or dry alternatives, this creation balances tender crumb with rich flavor. The trick? Using fruit at peak ripeness and everyday ingredients like vanilla-kissed batter. No fancy tools required—just a bowl and your hands.
You’ll love how it adapts to your life. Bake it for weekend brunch, slice it for lunchboxes, or share it with neighbors. Over years of testing, bakers have found it stays fresh longer than most—no soggy middles or crumbling edges. One bite explains why it’s been cherished across countless kitchens.
Easy Moist Banana Bread Recipe: A Step-by-Step Guide
Transform overripe fruit into a kitchen staple with this method. You’ll need just 70 minutes total time—10 for prep and 60 for baking. Gather these ingredients first to streamline your workflow:
Preparation Overview and Ingredient Checklist
- 3 spotted bananas (the darker, the sweeter)
- ½ cup softened butter
- ¾ cup white sugar
- 2 room-temperature eggs
- 1½ cups flour + 1 tsp baking soda
- ½ tsp each salt and vanilla
Optional mix-ins like walnuts or raisins go in last. Pro tip: Let dairy items sit out 30 minutes before starting—this creates smoother batter.
Step-by-Step Baking Instructions
- Heat oven to 350°F. Grease a 9×5″ pan thoroughly
- Mash bananas with fork until creamy
- Beat butter and sugar 2 minutes until fluffy
- Mix in eggs, then banana mash
- Combine dry ingredients separately
- Fold everything together gently
Bake 55-60 minutes. Test with toothpick—crumbs should cling slightly. Cool 15 minutes before slicing. This bread recipe yields perfect texture every time when followed precisely.
Essential Ingredients for the Perfect Loaf
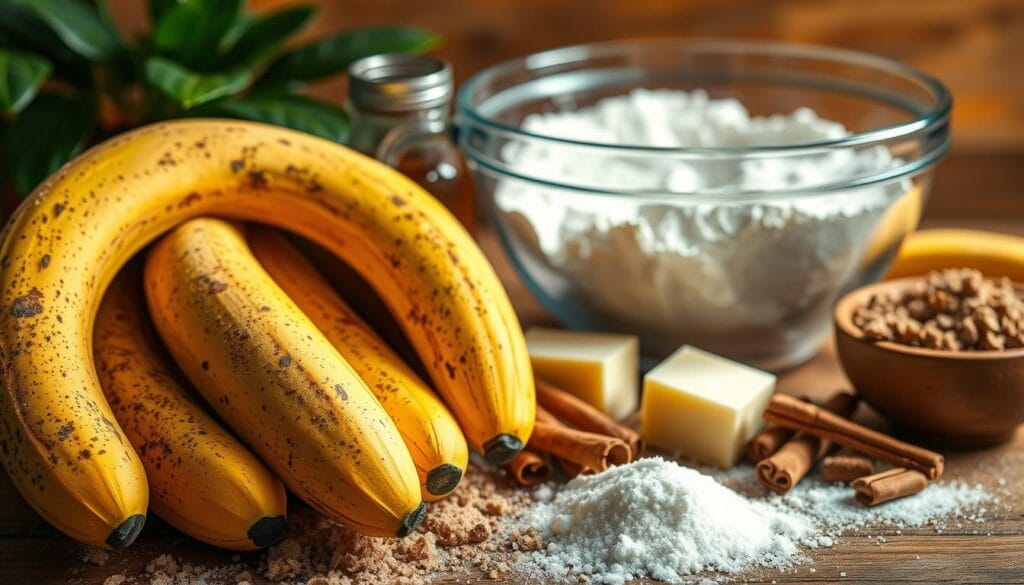
Behind every bite of perfection is a carefully curated blend of elements working in harmony. Each component in this beloved treat plays a specific role, from creating structure to locking in tenderness.
Dry Ingredients Explained
All-purpose flour forms the backbone with its balanced protein content. This creates a tender yet stable crumb. Baking soda activates during mixing, producing air bubbles for lift. A pinch of salt amplifies flavors without overpowering.
Wet Ingredients Unpacked
Unsalted butter delivers richness while letting you control sodium levels. Brown sugar’s molasses keeps slices soft for days. Room-temperature eggs blend seamlessly, ensuring even baking from edge to center.
Yogurt or sour cream introduces subtle tang while preventing dryness. Vanilla extract enhances the caramelized notes in ripe fruit. Pro tip: Measure flour by spooning it into cups – packing creates dense results.
Mixing Techniques and Equipment Options

Your tools shape the outcome more than you might realize. While this recipe adapts to any kitchen setup, understanding how mixing methods affect results helps you nail the ideal consistency. Let’s explore how different approaches influence your final product.
Stand Mixer vs. Hand Mixer: Tips and Tricks
Stand mixers excel at uniform blending. Their powerful motors integrate ingredients thoroughly, especially when creaming butter and sugar. For best results, scrape the bowl sides periodically to ensure even distribution. But don’t dismiss hand mixers—their nimble design lets you adjust speed quickly, preventing overworked batter.
Start by combining softened butter and sugar at medium-high speed. This creates tiny air pockets critical for a light crumb. Once flour enters the bowl, switch to low speed. Overmixing here develops excess gluten, leading to toughness. Watch for slight ribbon-like patterns in the batter—this signals proper blending.
Got butter that’s not soft enough? Chop it into chunks and let it sit at room temperature. If eggs cause curdling, add a spoon of flour while mixing. For fold-ins like nuts, use spatula swirls instead of beaters. Gentle motions preserve delicate textures without crushing additions.
Remember: Batter should ribbon when poured, not run like soup. Test by lifting your utensil—if the mixture slowly cascades, you’re golden. Equipment matters, but technique reigns supreme. Your hands can craft greatness with any tool.
Mastering the Role of Ripe Bananas
The secret to unforgettable flavor lies in nature’s sweetest transformation. When fruit reaches its final act of ripeness, it unlocks hidden depths of caramel-like richness that elevate baked goods beyond expectation.
Spotting peak performers is simple. Look for skins with deep amber speckles covering at least 30% of the surface. This visual cue signals starch conversion into fructose, creating intense sweetness without added sugar. The flesh beneath should yield gently to pressure—firm fruits lack the necessary breakdown for smooth integration.
How to Mash Bananas for Optimal Moisture
Texture matters as much as taste. For velvety batter with occasional tender chunks:
- Peel and break into 2-inch pieces before mashing
- Use a potato ricer for ultra-smooth consistency
- Fold in reserved chunks after initial mixing
Electric tools offer precision control. Start on low speed to prevent splatter, gradually increasing to medium-high. “Frozen varieties work beautifully when thawed overnight—just squeeze out excess liquid first,” advises professional baker Lila Monroe.
Measure mashed fruit carefully. Three medium specimens typically yield 1¼ cups—the golden ratio for balanced structure. Too little creates blandness; excess amounts lead to gummy layers. For rushed ripening, bake unpeeled fruits at 300°F for 15 minutes until skins blacken.
Baking Tips and Optimal Oven Settings
Precision transforms good results into exceptional ones. While ingredients lay the foundation, your oven’s behavior determines whether that potential gets fully realized. Three factors separate consistent success from unpredictable outcomes: heat management, positioning, and preparation.
Preheating, Temperature Control, and Loaf Pan Preparation
Always preheat oven to 350°F before mixing batter. This stabilizes the cooking environment, allowing proper rise during the first 15 minutes. Place racks in the lower third—this shields tops from direct heat while ensuring centers cook thoroughly.
Choose metal over glass loaf pans for even heat distribution. Compare preparation methods:
| Method | Advantage | Best For |
|---|---|---|
| Nonstick spray | Quick application | Standard recipes |
| Parchment sling | Effortless removal | Sticky batters |
| Butter + flour | Crispy edges | Crumb toppings |
At 55 minutes, tent the pan with foil if browning too fast. Rotate halfway for ovens with hot spots. Insert a toothpick near the center—it should emerge with moist crumbs, not wet batter. High-altitude bakers: reduce temperature by 25°F and extend time by 5-8 minutes.
Remember, ovens cycle heat on/off. Use an external thermometer to verify accuracy. Small adjustments create big differences in texture and structure.
Enhancing Flavor with Optional Add-ins
Your classic creation becomes a canvas for creativity with strategic mix-ins. These additions transform familiar comfort into personalized artistry, offering textures and flavors that delight diverse palates.
Texture Trio: Chocolate, Nuts & Dried Fruit
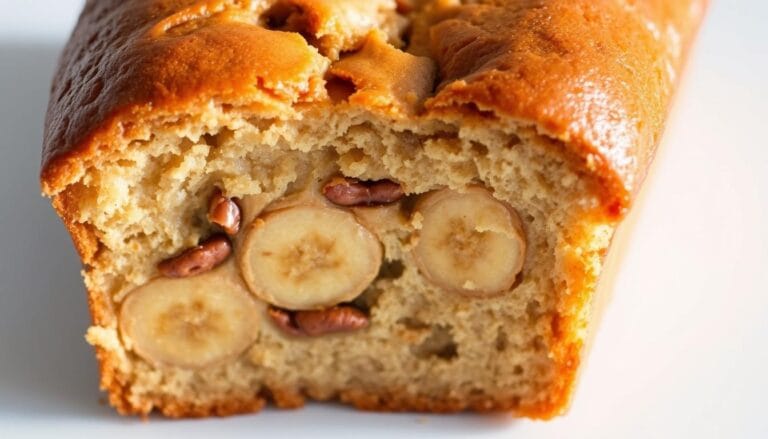
Walnuts shine when toasted—350°F for 8 minutes unlocks their earthy richness. Toss ¾ cup chopped nuts with batter last to maintain crunch. For chocolate chips, coat ½ cup mini morsels in 1 tsp flour before folding in. This prevents sinking while distributing sweetness evenly.
Raisins? Soak ½ cup in warm water first. They’ll plump up, avoiding chewiness. Combine all three for a symphony of contrasts:
- Crunchy pecans
- Melty chocolate pockets
- Juicy bursts of golden raisins
Unexpected Flavor Partnerships
Swap traditional spices for bold pairings. Cardamom + orange zest adds citrusy warmth. Ginger + dark chocolate chips creates depth. For savory flair, mix in:
- ½ tsp smoked sea salt
- ¼ cup crispy bacon bits
- 1 tbsp rosemary
Pro tip: Freeze add-ins 15 minutes before mixing. Cold ingredients hold their position better during baking. Whether you choose classic combos or daring mixes, balance remains key—never exceed 1½ cups total extras per loaf.
Healthy Substitutions and Ingredient Variations
Your kitchen experiments can yield delicious results without compromising quality. Smart swaps cater to dietary preferences while keeping that tender crumb intact. Let’s explore how to balance nutrition and flavor through strategic changes.
Using Whole Wheat Flour, Honey, and Alternative Sweeteners
Replace all-purpose flour with whole wheat for added fiber—use 1¼ cups whole wheat instead of 1½ cups all-purpose. Sift twice to prevent denseness. For natural sweetness, swap sugar with ¾ cup honey. Reduce other liquids by 2 tablespoons to maintain moisture balance.
Ground flaxseed boosts nutrition without altering texture. Substitute 1 tablespoon flour with flax per cup of all-purpose. When using extra-ripe fruit, decrease sugar to ½ cup. Their natural sugars shine through. Mashed avocado (⅓ cup) adds creaminess while cutting butter content.
Sour cream enhances richness—replace yogurt with ¼ cup for tangier notes. For lighter options, blend equal parts sour cream and Greek yogurt. Always spoon flour into measuring cups loosely. This prevents overpacking, especially with alternative grains.

