Pistachio Butter: A Creamy, Nutty Delight
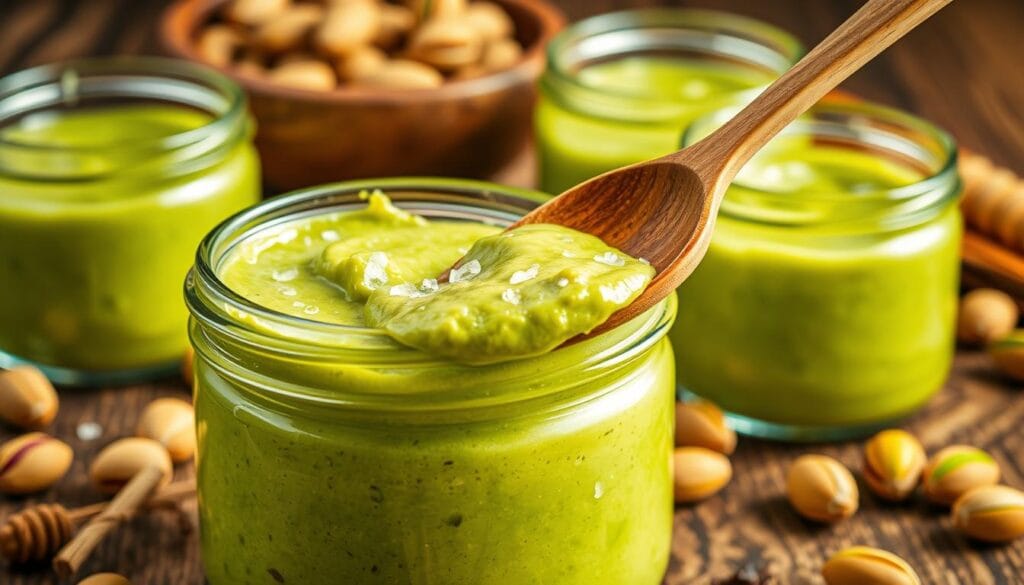
Ever opened a jar of something so vibrant it made your morning toast feel like a gourmet experience? That’s the magic of pistachio butter. Unlike its peanut or almond cousins, this emerald-hued spread offers a flavor that’s equal parts bold and buttery—like a secret weapon for elevating everything from oatmeal to desserts.
What makes it special? For starters, it’s crafted from California-grown pistachios, which account for 98% of U.S. production. These nuts aren’t just sustainably farmed—they’re packed with a rich, almost floral taste that shines in every spoonful. And here’s the best part: you don’t need fancy tools to make it yourself.
Imagine transforming a handful of nuts into a silky-smooth spread using just a blender. No preservatives, no hidden sugars—just pure, customizable goodness. Whether swirled into yogurt or drizzled over pancakes, this recipe turns ordinary meals into moments worth savoring.
Ready to discover why homemade versions outshine store-bought options? Let’s dive into how a single ingredient can redefine your pantry staples.
Introduction to Pistachio Butter
Not all nut spreads are created equal—some bring a splash of color and unmatched flavor. The secret lies in using premium ingredients that transform ordinary snacks into culinary adventures. Homemade pistachio spread stands out with its vivid green hue and earthy richness, offering a taste that’s worlds apart from synthetic alternatives.
What Makes This Spread Unique?
Commercial versions often rely on artificial coloring and sweeteners to mimic pistachio’s signature traits. In contrast, California-grown nuts deliver natural vibrancy. Their bold flavor profile balances creamy depth with subtle floral notes—no lab-made additives required. “It’s like tasting sunshine in a jar,” one chef remarked about fresh batches.
Why DIY Beats Store-Bought
Creating your own blend lets you skip preservatives and adjust textures. Want it saltier? Thinner? The choice is yours. Store varieties frequently add unnecessary oils, but homemade keeps things pure. You’ll also lock in peak freshness, ensuring every spoonful bursts with nutrients.
This approach isn’t just about taste—it’s about crafting something uniquely yours. Whether folded into cookie dough or layered in parfaits, the results speak for themselves.
Benefits of Making Your Own Nut Butter
Why settle for store-bought when your kitchen can become a nut butter lab? Crafting spreads at home puts quality and creativity in your hands. You decide what’s essential—and what’s not.
Control Over Ingredients and Flavor
Commercial versions often hide questionable additives. By making your own, you eliminate:
- Preservatives like potassium sorbate
- Hydrogenated oils that stiffen texture
- Excess sodium (some brands use 300mg per serving)
Adjust sweetness with honey instead of corn syrup, or skip sugar entirely for savory applications. A pastry chef once told me:
“Homemade lets flavors sing without artificial backup vocals.”
Cost-Effective and Customizable Options
Bulk nuts cost 40% less than pre-made spreads. See how savings stack up:
| Version | Cost per 8oz | Customization |
|---|---|---|
| Store-bought | $9.50 | Limited |
| Homemade | $5.20 | Unlimited |
Create thick versions for dips or thin batches for drizzling. Match textures to recipes—think chunky for cookies or silky smooth for ice cream toppings. Your pantry just became infinitely more versatile.
Choosing the Right Pistachios
Your homemade spread’s quality begins long before the blender starts whirring—it starts at selection. The nuts you choose directly impact flavor intensity, texture, and that signature emerald hue. Let’s break down how to source wisely.
Raw vs. Pre-Toasted: What to Look For
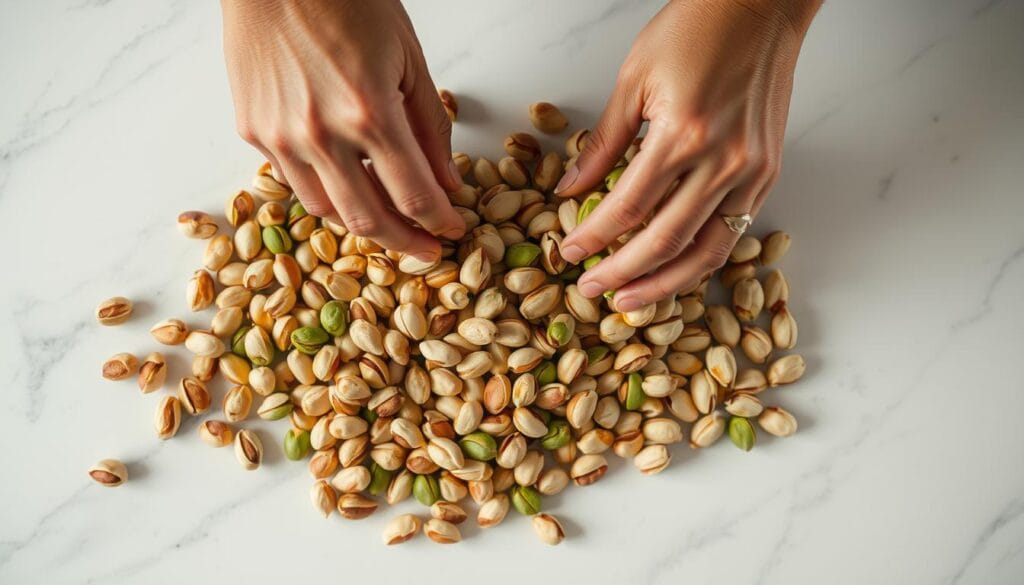
Always opt for raw pistachios when making nut spreads. Pre-roasted varieties lose moisture during processing, resulting in a duller taste and uneven blending. “Raw nuts preserve their natural oils,” explains a California-based chef. “That’s what gives homemade versions their velvety consistency.”
Avoid salted options, too. Excess sodium masks the nut’s delicate floral notes and makes controlling your recipe’s seasoning harder.
Sourcing the Greenest and Freshest Pistachios
Vibrant color signals peak freshness. Turkish and Sicilian varieties often outshine California-grown nuts with their deeper green tones. While shelling whole nuts takes effort, their inner kernels retain more pigment than pre-shelled options.
Seek suppliers who prioritize freshness. Specialty stores and online retailers specializing in premium ingredients typically store nuts in temperature-controlled environments. Check for uniform coloration and avoid batches with yellowing or dark spots—these indicate age or improper handling.
Preparation: Toasting and Blanching Techniques

The difference between good and exceptional nut spreads lies in preparation. Proper techniques unlock deeper flavors and brighter colors, transforming ordinary ingredients into something extraordinary.
Toasting for Enhanced Nutty Flavor
Preheat your oven to 325°F—this low temperature prevents burning while coaxing out rich aromas. Spread shelled pistachios in a single layer on a baking sheet. Roast for 5-10 minutes until fragrant, stirring halfway. “Toasting awakens hidden oils,” notes a professional baker. “It’s like giving the nuts a flavor massage.”
Watch closely during the final minutes. Nuts turn bitter if over-toasted. Perfectly roasted pistachios should feel warm, not browned, with a subtle crunch.
Blanching to Achieve a Vibrant Green Color
Boil shelled nuts for 20-30 seconds—no longer—then plunge them into ice water. This shock treatment stops cooking and loosens papery skins. Peeled pistachios reveal their brightest green cores, ideal for visually striking spreads.
Blanching works best with fresh, raw nuts. Older varieties may still show yellow undertones after processing. For maximum color impact, use Turkish or Sicilian pistachios.
Choose toasting for robust flavor or blanching for eye-catching appeal. Combine both methods when you want texture and visual drama in your creations.
How to Make Pistachio Butter
Your equipment choice makes or breaks homemade nut spreads. While enthusiasm matters, the right tools determine whether you’ll get gritty crumbs or velvety perfection.
Selecting the Best Food Processor or Blender
High-powered appliances are non-negotiable. Standard blenders struggle with dense mixtures—overheating risks are real. Food processors excel here, designed to handle thick consistencies without burnout. Models like Cuisinart or Breville offer durable blades that pulverize nuts efficiently.
Start by adding toasted pistachios to your machine’s bowl. Process in 1-minute bursts, scraping the sides after each cycle. Within 5 minutes, you’ll see:
- Fine powder forming
- Clumps binding together
- Silky paste emerging
Patience pays off. Let the processor rest every 2-3 minutes to prevent overheating. This cooling period protects your appliance and helps oils release naturally for smoother texture. One baker notes: “Rushing this step turns luxury spreads into sandy disappointments.”
While premium blenders like Vitamix can work, their narrow jars require frequent stopping to redistribute nuts. Food processors’ wider bowls allow even mixing, reducing clumps stuck to the sides. For best results, stick with appliances rated for heavy-duty tasks.
Enhancing Your Pistachio Butter

Transform your homemade creation from basic to extraordinary with three simple tweaks. A few thoughtful additions refine texture, amplify flavor, and adapt the spread for any recipe. Let’s explore how to elevate your blend without losing its natural charm.
Oil: The Secret to Silky Texture
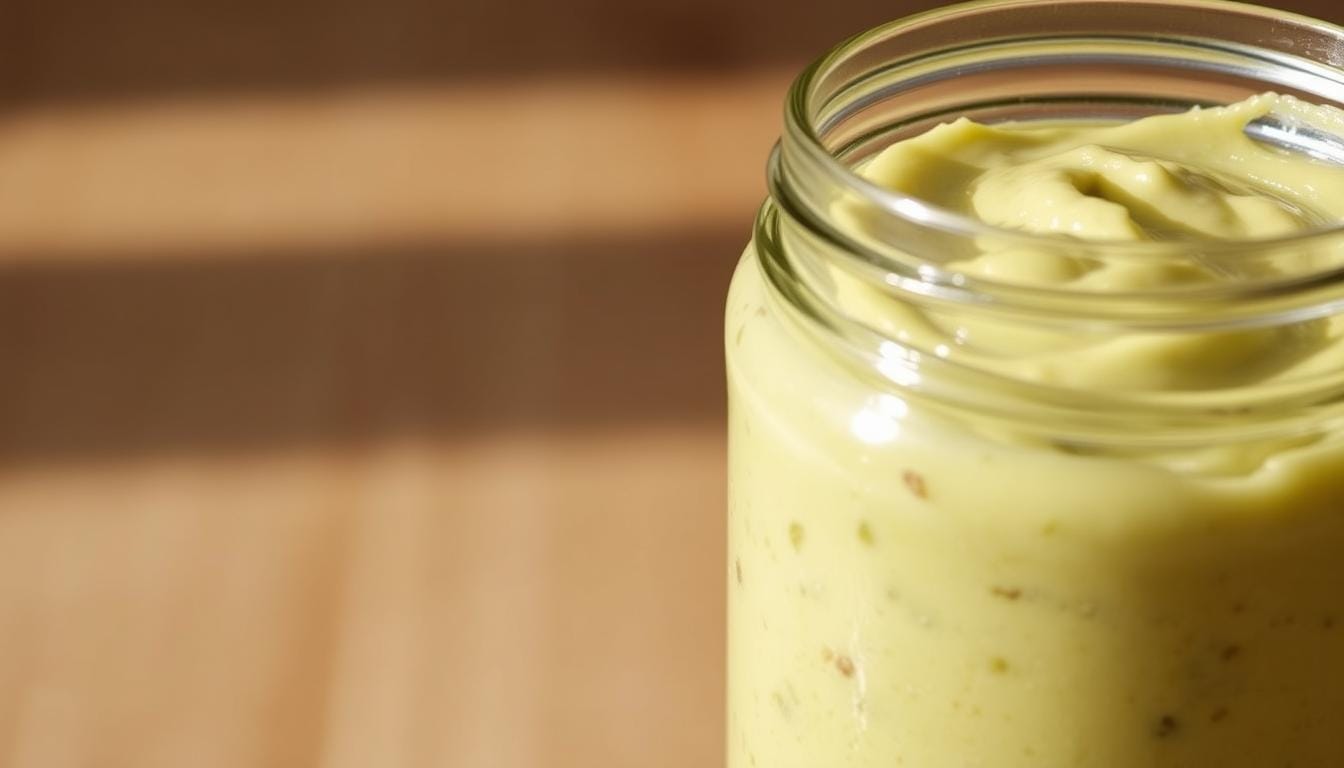
A teaspoon of neutral oil works wonders. Roasted pistachio oil adds depth, while almond oil keeps flavors subtle. This step prevents clumping and helps achieve that luxurious, spreadable consistency everyone loves.
Salt: Flavor’s Best Friend
A pinch of fine sea salt unlocks hidden notes in the nuts. It balances sweetness in desserts and intensifies savory applications. Think of it as a spotlight for the star ingredient.
Sweeteners: Subtle Complexity
Honey or maple syrup adds delicate sweetness without overpowering. Use sparingly—just 1-2 teaspoons lets the nut’s natural richness shine. Sugar works too, especially for baked goods.
| Addition | Purpose | Best Uses |
|---|---|---|
| Neutral oils | Smooths texture | Dips, sauces |
| Sea salt | Enhances flavor | Savory dishes |
| Honey | Adds sweetness | Breakfast spreads |
Add these during the final blending phase. Pulse until fully incorporated, then taste and adjust. Your customized creation will outperform anything from store shelves.
Pistachio Butter in Recipes
Transform everyday meals into culinary masterpieces with this versatile spread. Its creamy texture and earthy notes adapt seamlessly to both sweet and savory creations, making it a pantry essential for adventurous cooks.
Creative Uses in Sweet and Savory Dishes
Elevate desserts with chocolate pistachio thumbprints—a cookie where nutty richness meets white chocolate ganache. For frozen treats, blend the spread into gelato for triple-layered depth. Savory applications shine too:
- Swirl into pasta sauces for velvety texture
- Toss with roasted carrots or Brussels sprouts
- Whisk into vinaigrettes for salads
One chef describes its flexibility: “It bridges the gap between dessert and appetizer like no other ingredient.”
Serving Suggestions for Breakfast and Snacks
Start mornings with artisan toast slathered in the green-hued spread. Top with:
| Pairing | Flavor Boost |
|---|---|
| Fresh berries | Adds tart contrast |
| Chia jam | Introduces fruity sweetness |
| Sliced pears | Offers crisp texture |
Drizzle over pancakes or blend into smoothies for protein-packed fuel. For snack boards, use as a dip for apple slices or pretzels. The possibilities expand as far as your creativity.
Storage and Shelf Life
Preserving your homemade creation’s freshness ensures every spoonful stays vibrant. With simple storage strategies, you’ll extend its nutty richness for weeks.
Proper Container and Refrigeration Tips
Use glass jars or airtight containers to lock in flavor. Though the spread stays safe at room temperature for 7 days, refrigeration extends its life to a full month. For longer storage, freeze portions in sealed jars up to 3 months.
Avoid plastic containers—they absorb odors over time. If oil separates, stir gently before use. Keep jars away from heat sources like stoves or sunny windowsills. Your efforts guarantee that bold, earthy taste remains intact.


