Delicious Honey Grain Bread Recipe
Baking bread is more than just making food. It’s about creating warmth and love in your kitchen. The honey grain bread recipe I’m sharing today turns simple ingredients into a nourishing experience. It connects generations through the art of breadmaking.
When you make your own wheat bread, you get more than just a tasty loaf. This recipe is a journey into traditional baking. Each slice tells a story of care, patience, and nutrition.
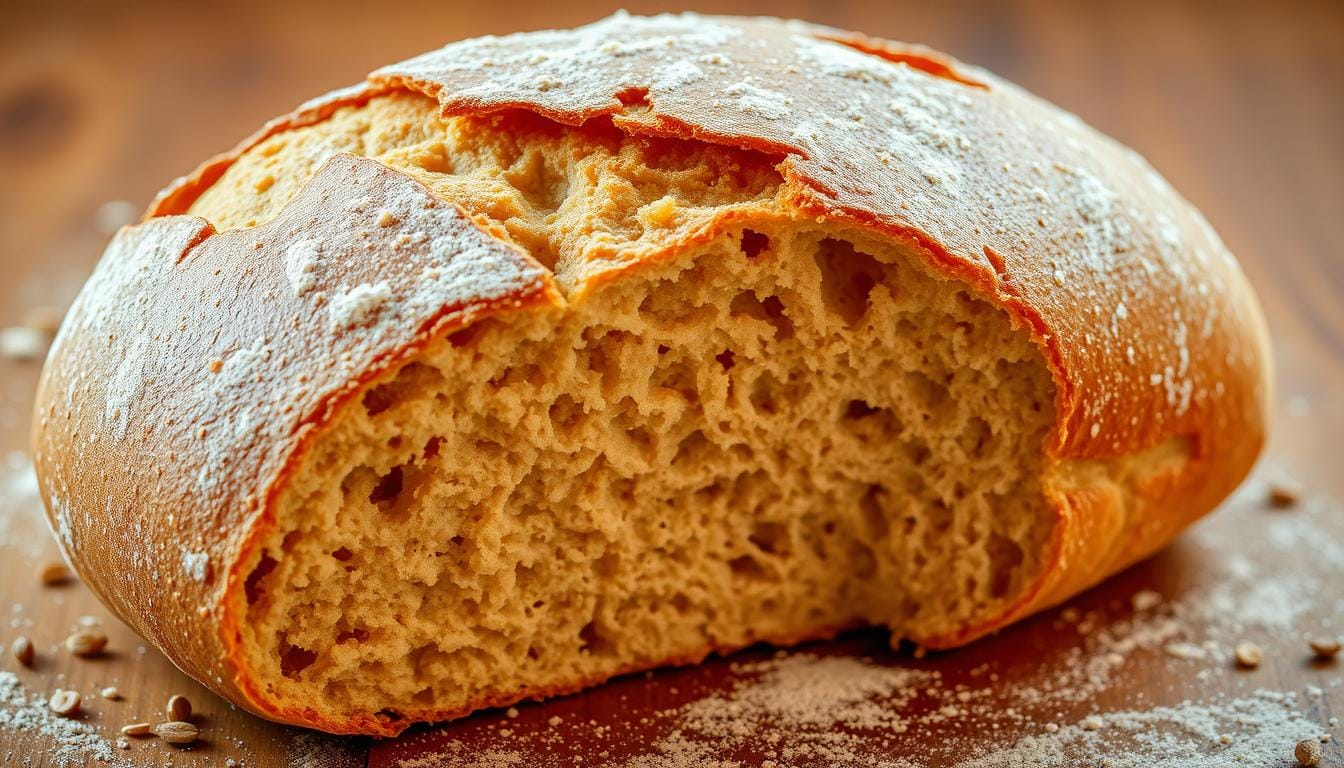
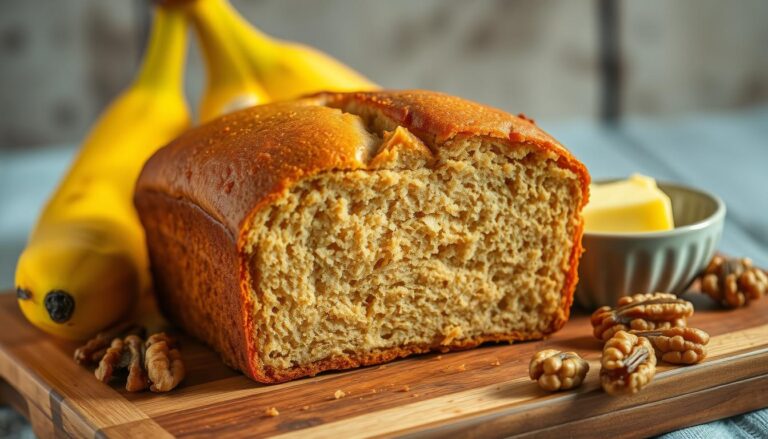
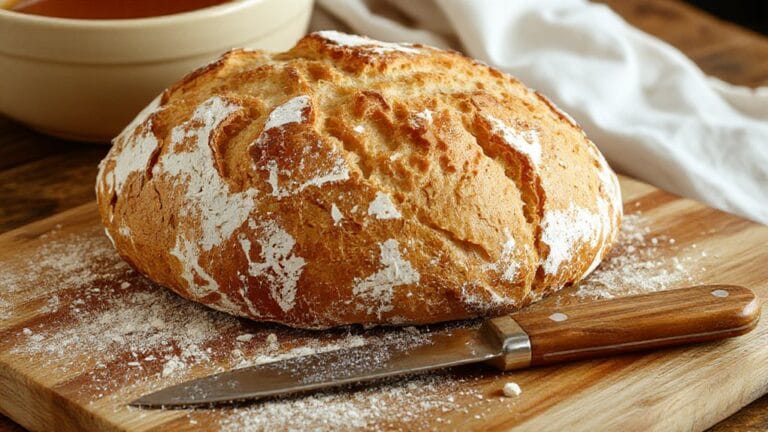
Imagine taking a golden-brown loaf out of the oven. Its aroma fills your home with comfort. Made with whole wheat and all-purpose flour, and a touch of honey, this bread is hearty yet tender. It’s perfect for toast, sandwiches, or with your favorite meal.
Whether you’re an experienced baker or just starting, this recipe is a delightful journey. It will inspire you to keep exploring the joys of homemade bread. Let’s start this tasty adventure together!
Table of Contents
Introduction to Honey Grain Bread
Making your own honey whole wheat bread is a fun journey. It turns simple ingredients into a tasty, healthy loaf. Plus, it makes your kitchen warm and smell amazing.
Benefits of Baking Your Own Bread
There are many good things about making your own honey whole wheat bread. Here are a few:
- You get to choose what goes into it.
- It’s fresher and healthier than store-bought.
- It’s cheaper than buying from a bakery.
- You can make it taste however you like.
Why This Recipe Stands Out
This honey whole wheat bread recipe is special. It has a great mix of flavors and textures. Honey, whole wheat flour, and special techniques make it stand out.
| Ingredient | Nutritional Benefit |
|---|---|
| Honey | Natural sweetener, antioxidant properties |
| Whole Wheat Flour | High fiber, rich in minerals |
| Olive Oil | Heart-healthy fats |
What Makes This Bread Special
The secret to great honey whole wheat bread is the right mix of ingredients and baking skills. Our recipe gives you a bread that’s both soft and hearty. It’s perfect for toast, sandwiches, and more.
“Baking bread is an art that connects us to centuries of culinary tradition.” – Artisan Baker
Essential Ingredients for Your Honey Grain Bread Recipe
To make the perfect honey grain bread, you need the right ingredients. These ingredients should work together to create a tasty, healthy loaf. Your bread will be filled with flavor, texture, and nutrients.
Here are the key ingredients for your bread:
- Flour Blend:
- Unbleached bread flour
- Whole wheat flour
- Liquid Ingredients:
- Warm water
- Milk (room temperature)
- Pure honey
- Binding and Flavor Agents:
- Active dry yeast
- Olive oil or vegetable oil
- Sea salt
Each ingredient is important for your honey grain bread. Bread flour and whole wheat flour mix for softness and nutrition. Honey adds sweetness and helps yeast rise.
Pro tip: Always use fresh, high-quality ingredients to ensure the best results in your bread recipe with honey.
Choose fresh, quality ingredients for the best results. Room temperature liquids help yeast work better. Fresh yeast makes your bread rise well. The right flours give your bread a rich flavor and texture.
Required Kitchen Tools and Equipment
Making the perfect honey wheat bread needs more than just the right ingredients. The right kitchen tools make the process smoother and more fun. Whether you’re new to baking or have experience, the right equipment helps you make delicious honey wheat bread with confidence.
Essential Baking Tools
To start with your honey wheat bread machine recipe, you’ll need some basic tools:
- Large mixing bowl
- Measuring cups and spoons
- Rubber spatula
- Bread loaf pan
- Wire cooling rack
Precision Measuring Instruments
Getting the measurements right is key for a great honey wheat bread. You might want to get these precise tools:
| Measuring Tool | Purpose | Recommended Type |
|---|---|---|
| Digital Kitchen Scale | Precise ingredient weighing | Electronic with gram/ounce settings |
| Instant-Read Thermometer | Check water and yeast temperature | Digital probe thermometer |
Optional Advanced Equipment
These tools are not necessary but can make bread-making better:
- Stand mixer with dough hook
- Bread machine
- Dough scraper
- Proofing basket
“The right tools transform bread-making from a chore to a delightful culinary adventure.”
Each tool has its own role in making your perfect honey wheat bread. Begin with the basics and add more as you get better at bread-making.
Understanding the Role of Yeast and Honey

Creating the perfect honey grain bread recipe requires knowing how yeast and honey work together. Yeast is the key ingredient that turns simple ingredients into a light, fluffy loaf.
Yeast is vital in your honey grain bread recipe. It starts fermentation, which is when yeast eats sugars and makes carbon dioxide. This creates air pockets that make bread soft and fluffy. Honey does two things in this process.
- It adds natural sweetness to the bread.
- It feeds the yeast during fermentation.
- It helps the yeast grow and work well.
Choosing the right yeast is important for your honey grain bread. Active dry yeast is the top pick for home bakers.
| Yeast Type | Storage Requirements | Activation Time |
|---|---|---|
| Active Dry Yeast | Refrigerated, airtight container | 20-30 minutes at room temperature |
| Instant Yeast | Cool, dry place | Immediate use |
Always check your yeast’s freshness before baking. A simple test is to mix yeast with warm water and watch for bubbles. If no bubbles appear, your yeast might be bad and your bread won’t rise.
Pro tip: Keep your yeast refrigerated and always check the expiration date to ensure the best results in your honey grain bread recipe.
Step-by-Step Mixing Process
Making the perfect wheat bread at home needs careful mixing. The mixing process is key for flavor and texture. Let’s go through the steps to make your wheat bread delicious every time.
Combining Wet Ingredients
Begin your wheat bread recipe by preparing the wet ingredients. You should:
- Warm the milk to about 110°F
- Dissolve honey completely in the liquid
- Add room temperature water
- Incorporate vegetable oil
Adding Dry Ingredients
When adding dry ingredients, precision is crucial. Follow these steps:
- Sift wheat flour to remove any lumps
- Measure dry ingredients accurately
- Create a well in the center of dry ingredients
- Slowly add wet mixture
Proper Kneading Techniques
Kneading turns your dough into a smooth, elastic mass. Here’s a quick guide to kneading:
| Kneading Method | Duration | Expected Result |
|---|---|---|
| Hand Kneading | 10-12 minutes | Smooth, elastic texture |
| Stand Mixer | 5-7 minutes | Consistent dough development |
Pro tip: The windowpane test is the best way to check if your dough is properly kneaded. Stretch a small piece of dough – if it becomes translucent without breaking, you’ve achieved the perfect consistency for your wheat bread recipe at home.
Mastering the Dough Rising Process

The dough rising process is key to making perfect honey whole wheat bread. Learning to care for your dough can take your baking to the next level.
To get the best rise, find a warm, draft-free spot in your kitchen. This spot should help your dough ferment well.
- Choose a location around 75-80°F for best results
- Cover the dough with a clean kitchen towel
- Allow sufficient time for the dough to double in volume
Temperature is very important for dough. Warmer places make dough rise faster, while cooler ones slow it down. If your kitchen is cold, try these tips:
- Place dough near a warm appliance
- Use a proofing box or warm oven
- Create a makeshift proofing space with a heating pad
| Rising Condition | Expected Results |
|---|---|
| Room Temperature (70-75°F) | 1-2 hours rising time |
| Warm Spot (75-80°F) | 45-60 minutes rising time |
| Refrigerator | Slow fermentation, enhanced flavor |
Busy bakers will love this honey whole wheat bread recipe. You can keep the dough in the fridge for up to a week. This makes baking easy and adds deep flavors.
Pro tip: The dough is ready when it has visibly expanded and feels puffy to the touch.
Shaping and Preparing for Baking
Turning your honey wheat bread machine recipe into a perfect loaf needs careful shaping and preparation. The last steps of bread making are key for that bakery-quality texture and look you want.
Loaf Pan Preparation Essentials
Getting your loaf pan ready is a vital step in your honey wheat bread machine recipe. Use a 9 x 5-inch pan for the best results. Proper preparation helps your bread come out easily and look great.
- Grease the pan well with butter or cooking spray
- Dust it lightly with flour to stop sticking
- Choose a non-stick pan for easier bread removal
Mastering the Final Rise
The final rise, or proofing, is when your bread gets its special texture. After shaping your dough, put it in the prepared loaf pan. Let it rise in a warm, draft-free spot.
| Rise Location | Temperature | Estimated Time |
|---|---|---|
| Warm Kitchen Counter | 75-80°F | 45-60 minutes |
| Proofing Box | 80-85°F | 30-45 minutes |
Pro tip: Your dough is ready when it has doubled in size and springs back slightly when gently pressed. This is the perfect time to bake your honey wheat bread.
Baking Temperature and Timing Guide
Getting your bread recipe with honey just right means paying close attention to temperature and timing. The right steps can turn your homemade bread into something truly special. Learning the details of baking will help you make a loaf that’s golden and has a great texture.
When baking your honey grain bread, being precise is crucial. Here are the key steps to follow for success:
- Preheat your oven to 375°F (190°C)
- Position the rack in the center of the oven
- Use a reliable instant-read thermometer
Baking times can change based on your oven and the bread recipe. Usually, you’ll bake for 30-35 minutes. Look for these important signs:
| Indicator | What to Look For |
|---|---|
| Color | Deep golden-brown crust |
| Internal Temperature | 190°F (88°C) at the center |
| Sound Test | Hollow sound when tapped on the bottom |
Pro tip for your honey grain bread: If the top browns too fast, cover it with foil. This prevents burning and makes sure the inside cooks well. Always let your bread rest for 10-15 minutes after baking. This lets the inside set properly.
The secret to perfect bread is patience and precise temperature control.
Storage and Freshness Tips
Keeping your homemade honey grain bread fresh is key. It’s important to store it right to keep its taste and texture perfect.
Keeping Your Bread Fresh at Home
Your honey grain bread recipe makes a tasty loaf. To keep it fresh, follow these tips:
- Room temperature storage works best for fresh bread
- Use an airtight container or bread box
- Keep bread away from direct sunlight and heat sources
- Wrap the bread in a clean kitchen towel to prevent moisture buildup
Freezing Your Homemade Bread
Freezing is a great way to keep your honey grain bread fresh longer. Here’s how to do it:
- Allow bread to cool completely before freezing
- Slice the bread before freezing for easier portioning
- Wrap tightly in plastic wrap, then in aluminum foil
- Place in a freezer-safe bag, removing as much air as possible
“Proper storage is the secret to enjoying homemade bread at its best!” – Baking Experts
Your honey grain bread can be frozen for up to 3 months. To enjoy it, thaw at room temperature or warm it gently in the oven.
Quick Storage Reference
Here’s a quick guide to keep your bread fresh:
- Counter: 3-4 days in airtight container
- Refrigerator: Up to 1 week
- Freezer: Up to 3 months
Recipe Variations and Substitutions
Making a versatile wheat bread at home opens up new culinary adventures. You can tailor your homemade bread to fit various tastes and dietary preferences.
When baking your wheat bread, you can try different flours:
- 100% whole wheat flour for maximum nutrition
- Blend of whole wheat and all-purpose flour for balanced texture
- Specialty flours like spelt or rye for unique flavor profiles
Changing sweeteners can alter your bread’s taste and health benefits:
- Maple syrup for a rich, earthy sweetness
- Agave nectar for a lighter, more neutral flavor
- Coconut sugar for deeper caramel notes
Adding mix-ins can boost your wheat bread’s flavor:
- Sunflower seeds for crunch
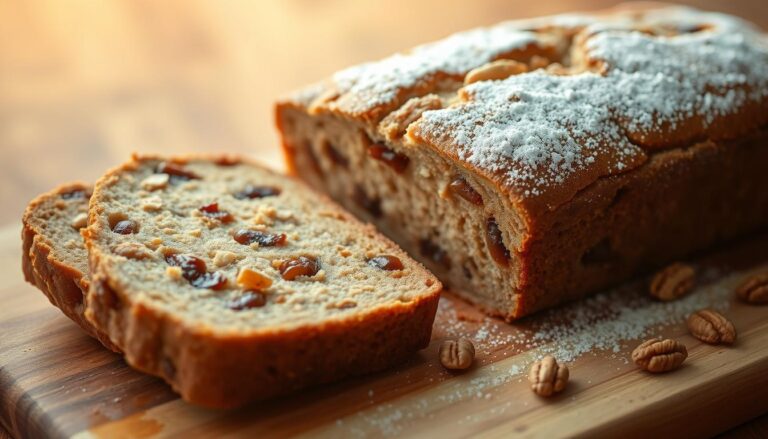
- Dried cranberries for sweetness
- Chopped walnuts for protein
For those with dietary restrictions, simple swaps can make this bread more inclusive:
- Gluten-free flour blends for celiac-friendly options
- Plant-based milk for vegan adaptations
- Reduced sugar alternatives for low-glycemic diets
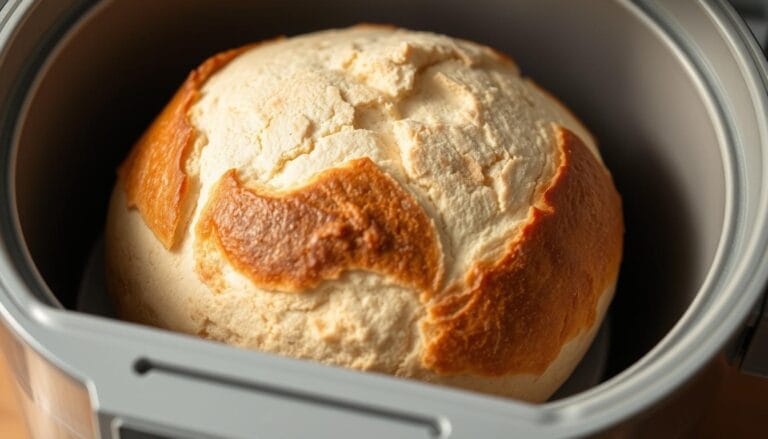
If you use a bread machine, adjust the liquid-to-dry ingredient ratio. Also, follow your machine’s specific instructions for the best results.
Conclusion
Making your own honey whole wheat bread is more than baking. It’s creating a tasty experience in your kitchen. This simple recipe turns basic ingredients into a soft, tender sandwich bread. It adds warmth and comfort to your home.
Baking your own bread lets you control what goes into it. You can customize flavors and enjoy the pride of making something special. The honey whole wheat bread recipe we’ve shared is perfect for those who care about health and want to improve their baking.
Remember, practice makes perfect. Every time you bake, you’ll get better and find your own way. Feel free to try different grains, add seeds, or change the honey amount to your liking. Your homemade bread is a blank canvas for your creativity.
We encourage you to share your baking stories, ask questions, and connect with others who love bread. Your baking journey begins here, one delicious slice at a time.
FAQ
Can I make this honey grain bread without a bread machine?
Yes, you can make this bread by hand or with a stand mixer. The recipe has instructions for both methods. This gives you the freedom to choose how you want to make your bread.
How long does homemade honey grain bread stay fresh?
Your bread will stay fresh for 3-4 days in an airtight container at room temperature. You can also freeze it for up to 3 months. This way, you’ll always have fresh homemade bread.
Can I substitute the honey with another sweetener?
Yes, you can use maple syrup, agave nectar, or brown sugar instead of honey. Remember, each sweetener changes the flavor and moisture of the bread. You might need to adjust the recipe a bit.
Is this bread recipe suitable for people with dietary restrictions?
This recipe can be modified for different diets. For gluten-free, use gluten-free flour. For vegan, replace milk with plant-based alternatives and honey with liquid sweetener. Always check the ingredients to meet your dietary needs.
What type of flour works best for this honey grain bread?
Use a mix of whole wheat and bread flour or all-purpose flour. This mix gives the best balance of nutrition and texture. Start with a 50/50 ratio of whole wheat to white flour to find your favorite texture.
How can I tell if my yeast is still active?
To check yeast, mix it with warm water and sugar. If it foams and bubbles in 5-10 minutes, it’s active. Always check the expiration date and store yeast in a cool, dry place.
Can I add seeds or nuts to this bread recipe?
Yes, adding seeds or nuts can enhance the bread’s taste and nutrition. Mix in about 1/4 to 1/2 cup of seeds or nuts during the mixing process. This keeps the bread’s structure intact.
What’s the best way to slice homemade bread?
Cool the bread completely before slicing. This prevents crumbling. Use a sharp knife and a gentle sawing motion. For even slices, use a bread slicer guide or wait until the bread is fully cooled the next day.
Your turn: Bake it, Rate it, Share it!
There are no reviews yet. Be the first one to write one.

